
how to measure your stairs for carpet treads
About This Guide
Ready to make your stairs safer and more stylish, but unsure how to get the measurements right for a perfect fit? You're not alone! This guide will walk you through the simple, DIY-friendly process of measuring your stairs. We'll show you how to account for small variations—common in many homes—to ensure your new Oak Valley Designs treads are custom-made to fit flawlessly, bringing warmth and elegance to your home.
Steps
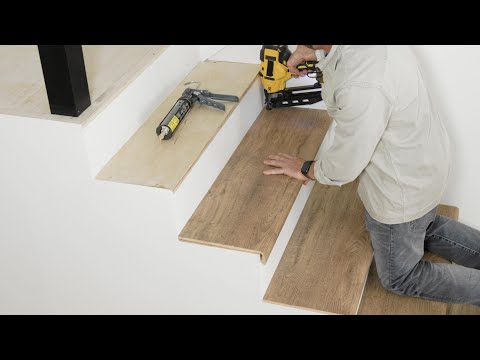
Step 1: Count Your Treads & Gather Your Gear
Before we begin, walk your staircase and count each individual tread you step on. A fun fact: you'll always have one more riser (the vertical part) than you have treads! Now, let's gather your tools for success. You'll need a quality tape measure, a carpenter's square for checking corners, a level, some masking tape for marking, and a pencil and paper to jot down your numbers. Having everything ready makes the process smooth and stress-free.
Step 2: Measure the Depth of Each Tread
Working one step at a time, place your tape measure firmly against the riser (the vertical back of the step). Extend it straight out across the tread, going over the rounded front lip, which we call the 'nosing'. A safety-conscious tip: For the most accurate measurement, always measure the bare wood. Measuring over old carpet remnants or adhesive can throw off your numbers and compromise the fit. Write down the depth for each individual step.
Step 3: Measure the Width for a Stylish Fit
Measure the width of your tread from side to side, keeping the tape measure parallel to the riser. If your stairs are between two walls, measure wall-to-wall. If a side is open, measure the full width of the wooden step. A design-conscious tip: Many homeowners prefer a classic bordered look, leaving about 1 inch of exposed wood on either side of the carpet tread. For example, a 36-inch wide stair is a perfect candidate for a 34-inch wide tread. Note the width for every step.
Step 4: Document and Double-Check for Accuracy
Create a simple list, noting the width and depth for every single tread. Don't be surprised if you find slight variations, especially in older homes—it's completely normal! Use small pieces of masking tape to number any steps with unique dimensions. This is the key to getting a truly custom-made to fit result. For extra peace of mind, especially with custom orders, snapping a quick photo of each step can be very helpful. Remember the golden rule of DIY: measure twice, order once. This ensures your project is a success from the start.
Questions about your project or which product fits? Oak Valley Designs's team is happy to help. Mon–Fri 9–5 ET

Subscribe for exclusive updates
Be the first to know about promotions, new products, and sales.