
DIY Hub
Guide Library
Step-by-step DIY guides built from real projects — matched to the products in Oak Valley Designs.

how to measure stairs for carpet stair treads
Ready to elevate your staircase with beautiful, safe, and custom-fit carpet treads? This DIY-friendly guide walks you through the essential steps to accurately measure each individual step of your straight staircase. Precision is key! We'll cover how to get exact width and depth measurements, especially crucial for those charming older homes where steps can vary. Follow our expert advice to record and label your measurements for a truly custom fit, ensuring your new Oak Valley Designs treads bring both safety and style to your home.

how to install stair treads without nails or tools
Ready to transform your staircase with confidence and ease? At Oak Valley Designs, we believe in a better way to tread. Our premium carpet stair treads feature a robust, pressure-sensitive adhesive backing, specially designed for a truly DIY-friendly installation. That means no nails, no glue, and no stress! This innovative method is not only quick and simple but also completely damage-free, ensuring your beautiful wooden stairs are protected. You'll achieve a professional, polished look and, most importantly, enhance the safety of your home – perfect for families with children or pets. Let's get started and elevate your staircase with peace of mind.

how to clean and maintain carpet stair treads
Your Oak Valley Designs carpet stair treads are crafted for lasting beauty and safety, and with a little care, they'll continue to elevate your staircase for years to come. We believe in providing solutions that are not only stylish but also easy to maintain. The secret to preserving their quality, non-slip backing, and vibrant look is simple: avoid machine washing. Instead, embrace our DIY-friendly approach to care, focusing on regular vacuuming, swift spot cleaning, and gentle hand-washing when needed. Always remember to air dry flat before reattaching them to ensure they offer continued peace of mind and protection for your beautiful wooden stairs.
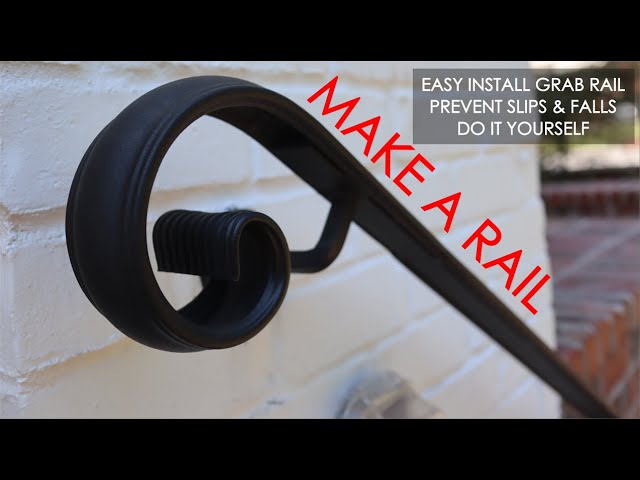
Install Outdoor Handrail
This project outlines the steps for installing a surface mount handrail on outdoor concrete steps. It covers selecting the appropriate handrail and hardware, preparing the concrete surface, marking and drilling holes, and securely mounting the handrail.
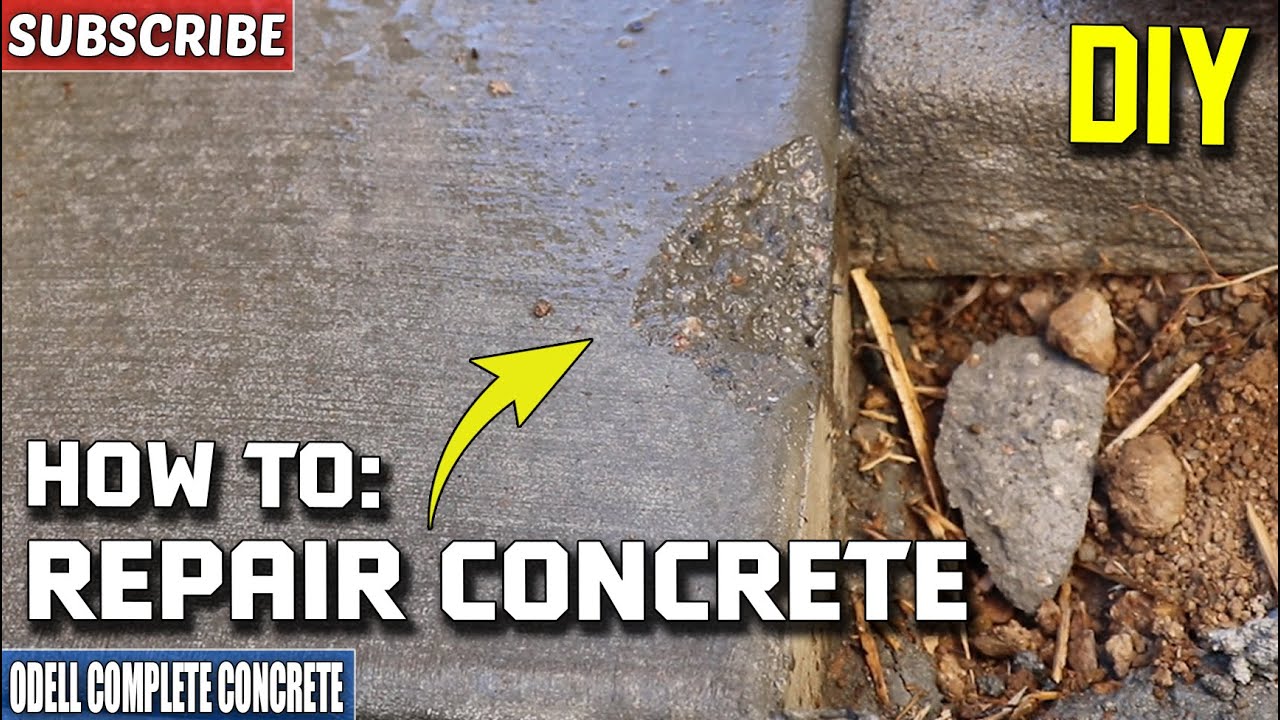
Concrete Step Repair
This project outlines the process for repairing cracked or chipped concrete steps using a suitable patching compound. The steps involve cleaning the damaged area, preparing it for repair, applying the patching material, and finishing the surface to match the surrounding concrete.
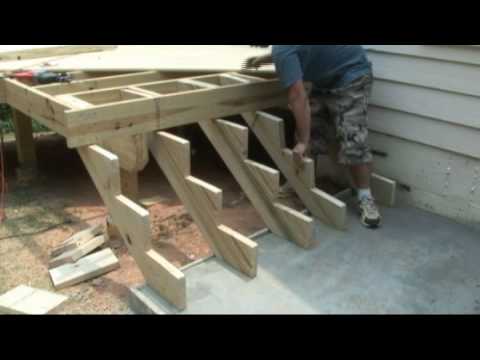
Deck Stairs
This project outlines the process of building deck stairs using pre-cut stringers. It covers site preparation, attaching the stringers to the deck, securing them to the ground, and installing treads and railings. Safety is paramount throughout the process, and it's recommended to consult local building codes and consider hiring a professional for complex steps.

Stair Riser Painting
A high-level outline for painting stair risers white, covering preparation, priming, painting, and finishing.
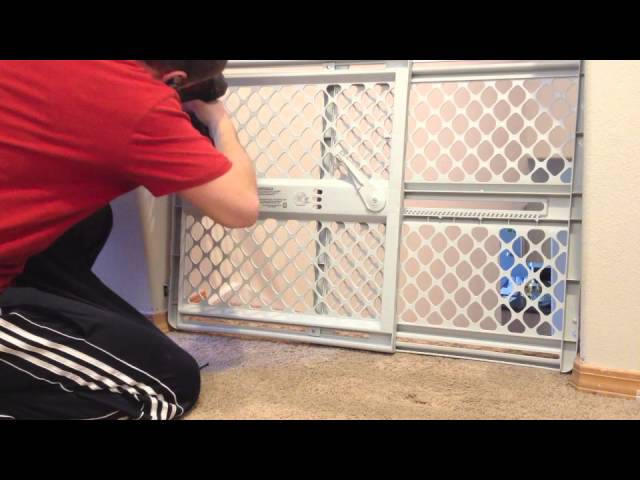
Childproof Stair Banister
This project involves securing a stair banister to prevent a child from passing through gaps and installing a baby gate at the top of the stairs to create a safe environment.
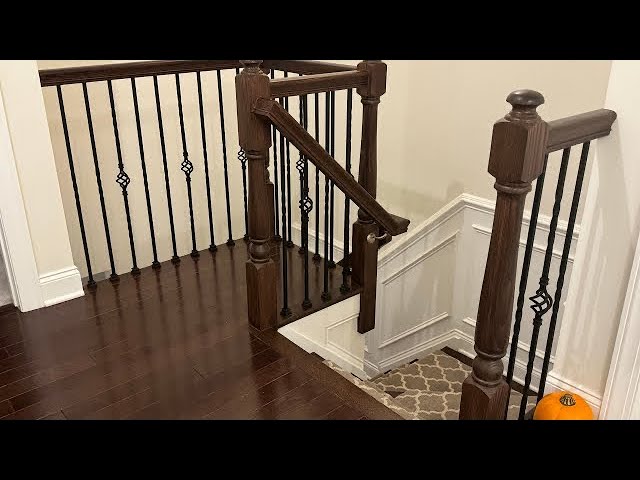
Baluster Replacement
This project involves removing existing wooden balusters and installing new wrought iron balusters for a staircase or railing. The process typically includes measuring, cutting, and securely attaching the new balusters while ensuring they meet safety and code requirements.
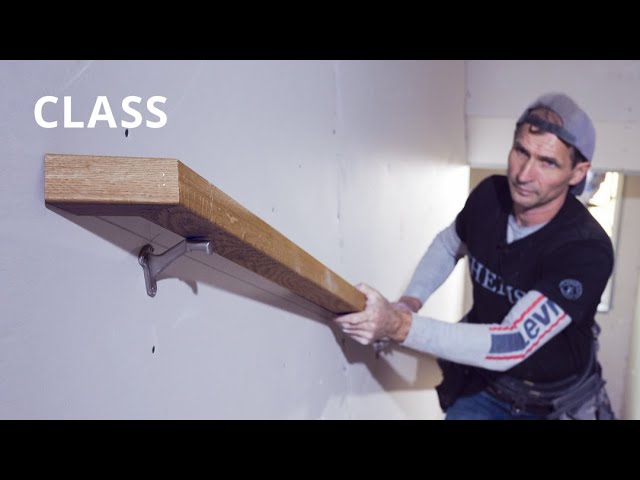
Stair Handrail Installation
This project outlines the steps for securely installing a wall-mounted stair handrail, ensuring it meets safety and building code requirements.
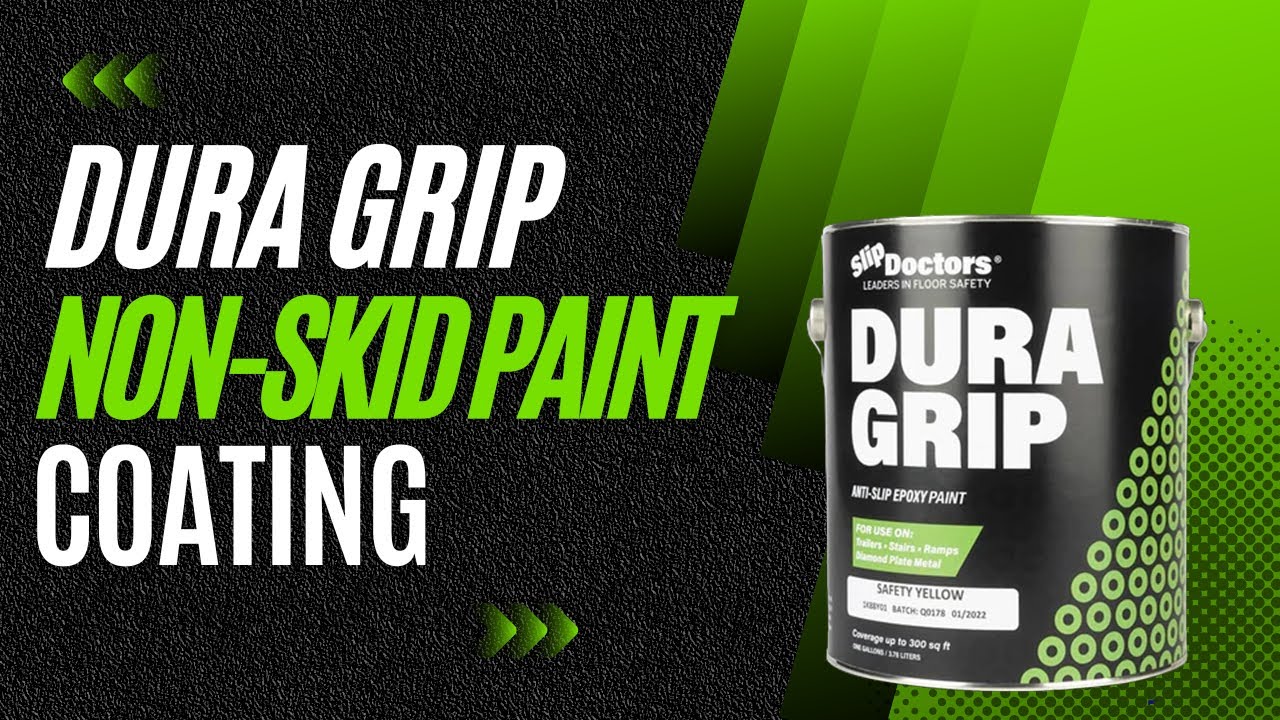
Anti-Slip Steps
This project involves preparing and painting outdoor or basement steps with anti-slip porch paint to improve safety and durability.
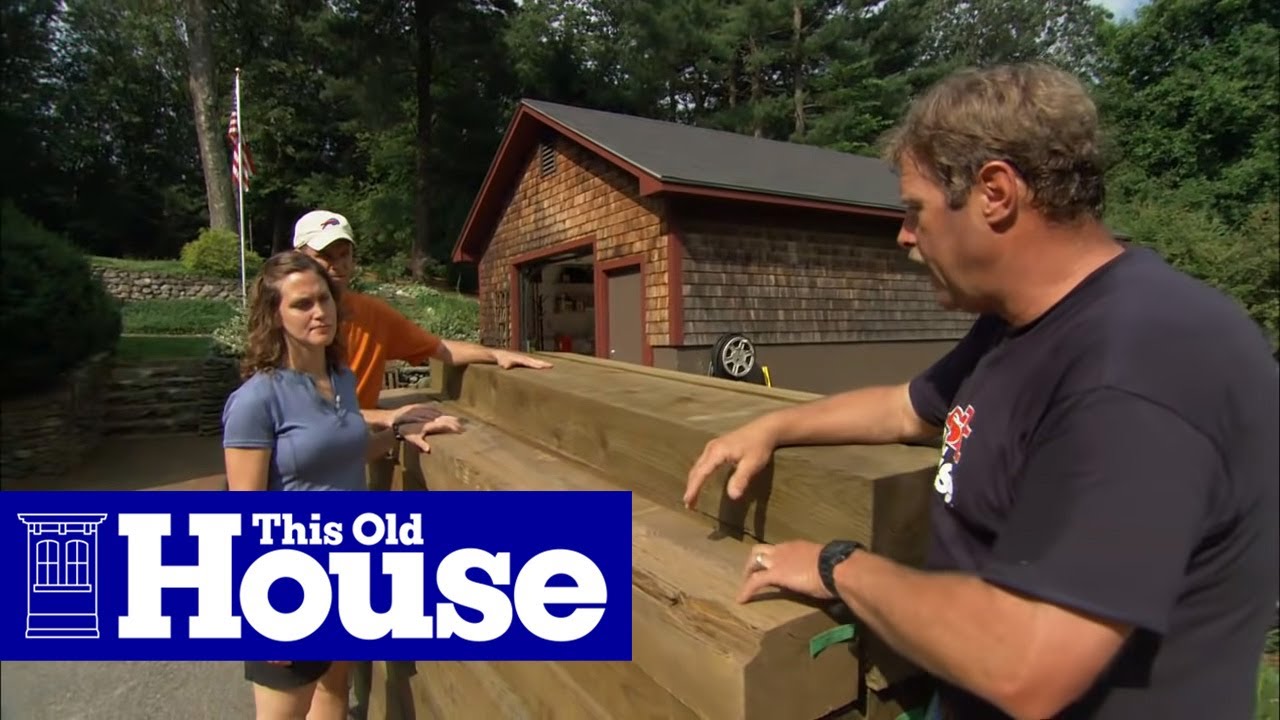
Landscape Steps
This project involves constructing timber and gravel steps on a slope to improve accessibility and aesthetics. The process includes planning the layout, excavating the area, building retaining walls for each step using timber, and filling the steps with compacted gravel for a durable and functional surface.
Powered by Stesso
Don't see your exact project?
Describe what you're building and Stesso AI generates a custom step-by-step guide — complete with matched tools, materials, and video clips from real installs in this store.

Subscribe for exclusive updates
Be the first to know about promotions, new products, and sales.