
How to Paint a Room | Painting Tips | The Home Depot
Video by The Home Depot · 2 moments used in Oak Valley Designs's DIY guides · 10:21 long
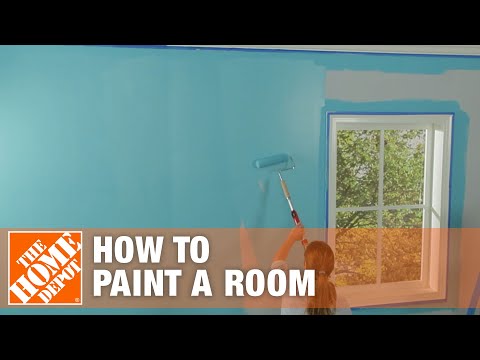
Moments in this video
- 6:08–6:28 Sand and Clean (Post-Primer)
From Stair Riser Painting, Step 4: Sand Between Coats (Optional)
Once the primer has completely dried, lightly sand away any remaining bumps, ridges, or surface imperfections that may have appeared after priming. Use very fine 220-grit sandpaper, folded into quarters, or a sanding sponge for this task. As the sandpaper section gets covered with paint dust, switch to an unused section or a fresh piece. After sanding, wipe the walls clean with a damp towel or sponge to remove all dust, and allow them to dry completely before applying the final coat of paint.
- 6:28–8:45 Paint the Walls
From Reading Nook Conversion, Step 6: Paint or Wallpaper Walls
Before starting your paint application, remix your chosen paint, such as 'BEHR PREMIUM PLUS INTERIOR FLAT', using a mixing stick or paint mixing tool. Do this anytime the paint has been sitting for an extended period. Pour the paint into a small paint container. First, 'cut in' the room again using a good quality paintbrush, applying paint to the edges and corners as you did with the primer. If you left your painter's tape on after priming, you can paint directly over it. If you removed it, reapply it before this step. To avoid overloading your brush and causing drips, begin by brushing paint onto the wall first, not directly onto the tape. Brush back and forth until most of the paint is applied, then use the remaining paint on the brush to carefully paint the area next to the tape, overlapping your strokes onto the tape itself. This ensures there's minimal paint on the brush when you get to the tape, preventing seepage. Next, use a paint roller with an extension pole to apply paint to the main wall sections. Work in small, manageable 3-foot by 3-foot areas from ceiling to floor, and from one side of the wall to the other. Load your roller fully but not to the point of dripping. Roll back and forth across the wall in a series of 'V' or 'W' shaped strokes until the section is covered. After covering a section, use smooth, continuous strokes from top to bottom and back and forth without lifting the roller. These smoothing strokes even the coat and cover roller tracks. Lightly lift the roller off the wall as you overlap already painted areas to avoid end marks and blend seamlessly. Avoid painting straight up and down in rows, as this can make it harder to blend evenly and result in a striped appearance.
Guides that use this video
More from the Oak Valley Designs DIY Hub
Read the guide Browse all guides
Planning this project? Shop Oak Valley Designs.

Subscribe for exclusive updates
Be the first to know about promotions, new products, and sales.