
How to Tighten a Loose Newel Post | Ask This Old House
Video by This Old House · 2 moments used in Oak Valley Designs's DIY guides · 6:01 long
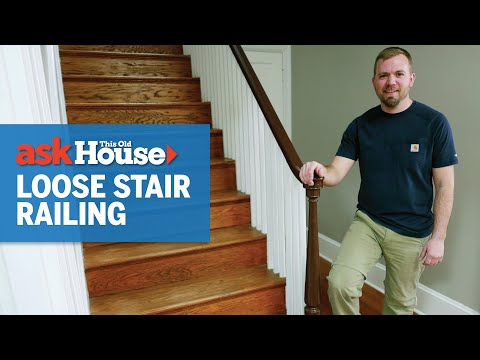
Moments in this video
- 2:13–2:31 Plumb and Secure the Newel Post Temporarily
From Newel Post and Banister Tightening, Step 6: Use Wood Shims and Adhesive for Gaps
Before permanently securing the newel post, it needs to be perfectly vertical or 'plumb'. Use a level to check its vertical alignment. Once it's plumb, use wooden shims inserted between the newel post and a temporary block (or the adjacent wall) to hold it in the correct position. The shims protect the finished surfaces while providing precise adjustment.
- 4:06–4:31 Drive Structural Screws
From Newel Post and Banister Tightening, Step 4: Reinforce Newel Post to Floor/Stringer
With the pilot holes ready, drive 6-inch structural screws into the holes. This step requires two people: one to hold the newel post firmly to prevent twisting or movement, and the other to operate the drill/driver. Drive the screws until their heads are recessed into the counter-sunk pockets, ensuring a tight and secure connection that anchors the newel post to the stair stringer.
The guide that use this video
More from the Oak Valley Designs DIY Hub
Read the guide Browse all guides
Planning this project? Shop Oak Valley Designs.

Subscribe for exclusive updates
Be the first to know about promotions, new products, and sales.