
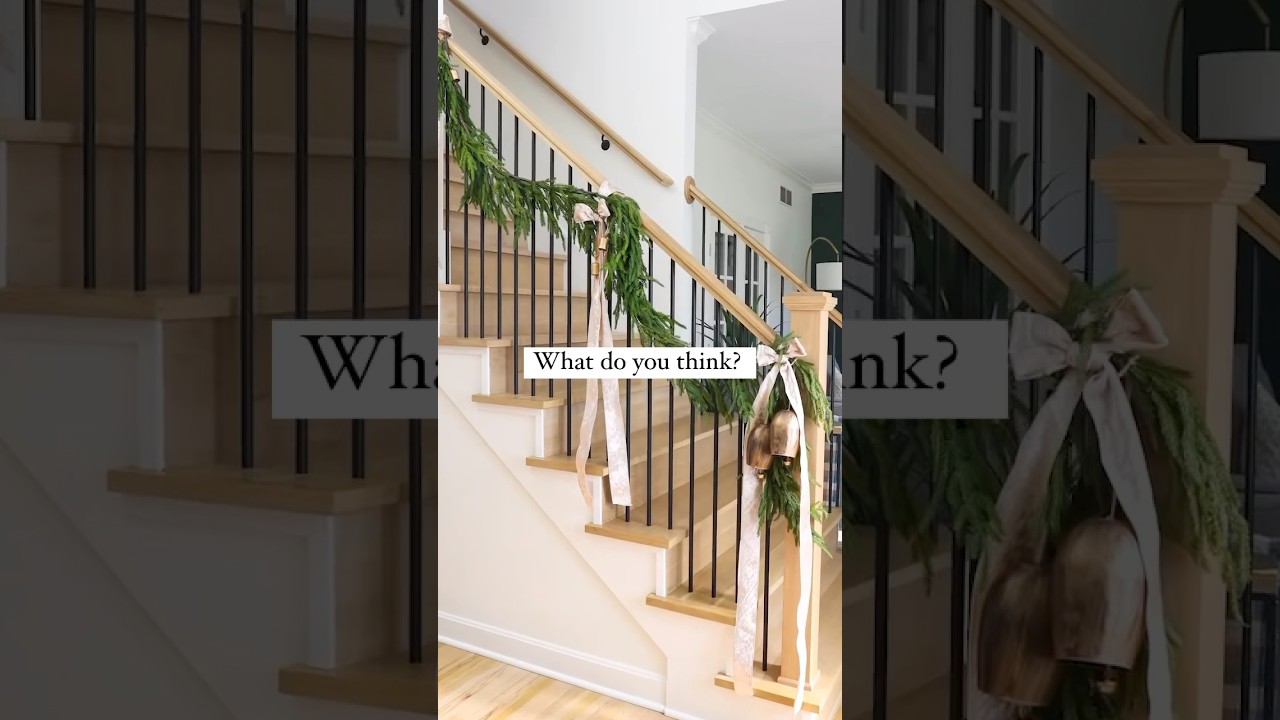
How to Hang Christmas Garland on a Staircase Banister Without Damage
About This Guide
This project outlines how to elegantly drape Christmas garland along a staircase banister while ensuring the banister remains undamaged. It covers preparation, securing methods, and finishing touches for a festive and damage-free display.
Tools & Materials
Steps

Inspect and Clean Banister
Before attaching any garland, carefully examine your staircase banister. Check for any wobbly spindles that might need tightening or any sharp edges, splinters, or protruding nails that could snag the garland or pose a safety hazard. Once you've confirmed the banister is structurally sound and smooth, use a clean, damp cloth to wipe down the entire length of the banister that will be adorned with garland. This removes any accumulated dust, dirt, or residues, which is crucial for a clean installation and to prevent potential scratching of the banister's finish by trapped debris.

Pre-shape Garland
Carefully uncoil the garland, laying it out on a clean floor space or a large table. Begin to gently bend and twist the garland to give it the desired shape and fullness. Think about how it will drape over the banister – you might want to create gentle swoops, elegant curves, or a more structured weave. This step is crucial for visualizing the final look and making the installation process smoother, as you'll be working with a garland that already has some form.
Attach Garland to Banister
Begin attaching the garland to the banister, starting at one end (often the top or a newel post). Use floral wire or specialized garland ties to secure the garland. Wrap the wire or tie around the garland and then around a sturdy part of the banister, such as a newel post, the top of a baluster, or a flat section of the handrail. Space these attachment points evenly, typically every 12-18 inches, depending on the garland's weight and how well it holds its shape. Ensure the ties are snug but not so tight that they damage the banister's finish or the garland itself. Aim to hide the ties within the garland's foliage.
Adjust and Secure Loose Sections
As you attach the garland, take breaks to step back and view it from different angles and distances. This allows you to identify any areas that look uneven, sag too much, or are not flowing as intended. Gently reposition the garland, ensuring it follows the natural lines of the banister. If a section appears to be drooping excessively, add another securing tie closer to that area. You might also need to gently fluff out the garland's branches to maintain its fullness and cover the attachment points as much as possible.

Add Embellishments (Optional)
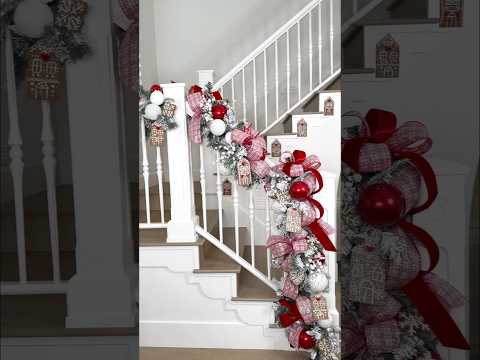
Once the garland is securely in place, you can add extra flair. This might include weaving in battery-operated fairy lights for a soft glow, attaching small ornaments using floral wire or ornament hooks, or tying decorative ribbons into bows and attaching them at intervals. When adding lights, ensure the battery pack is accessible for on/off switching and battery replacement. All embellishments should be attached to the garland material itself, not directly to the banister, to maintain the damage-free objective.
Questions about your project or which product fits? Oak Valley Designs's team is happy to help. Mon–Fri 9–5 ET
Related Guides
See All
How to Update Rental Stairs with Removable Carpet Treads
How to Update a Spiral Staircase

How to Put Carpet Treads on Already-Carpeted Stairs

How to Fix Popping Noises from Adhesive Carpet Treads on Wood Stairs

Subscribe for exclusive updates
Be the first to know about promotions, new products, and sales.