
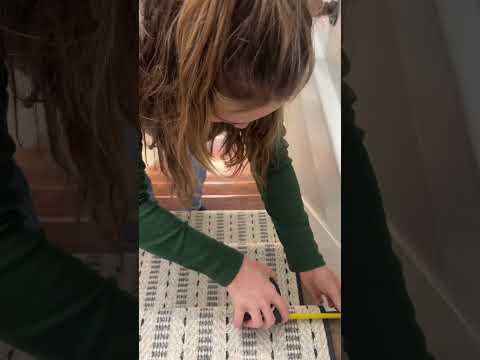
Clip 1/3
Helpful?
Step 1 · Prepare Your Stairs for Success
Before you begin, let’s ensure a solid foundation for your new non-slip solution. Dust and grit are not just unsightly; they’re also slippery and can prevent any adhesive from bonding properly. Start by thoroughly vacuuming each step to lift all loose debris. Follow this by wiping each step with a damp cloth to pick up any remaining fine dust. It’s essential that the surface is completely dry before moving on. This meticulous preparation is key to both immediate traction and the long-term durability of your installation, providing you with true peace of mind.
Tools and Materials
 Bayside Charm - Tread
Oak Valley Designs Pro Tip
Ensure your stairs are completely dry after cleaning for the best adhesion and lasting durability.

Subscribe for exclusive updates
Be the first to know about promotions, new products, and sales.