
← Guide
installing removable carpet stair treads
Step 2 of 2
Clip 1/3
Helpful?
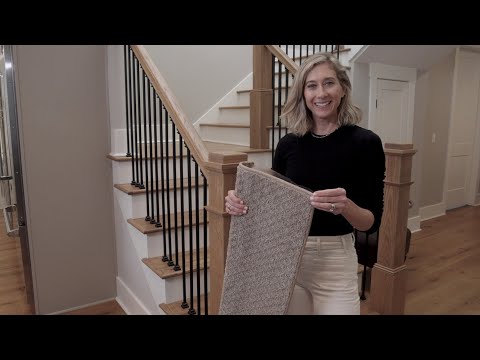
Step 2 · Step 2: Position and Press Firmly
Line up the tread with any marks you made during your planning phase. Once you're happy with the position, press down firmly, starting from the center and working your way out to the edges. This ensures a secure bond and a smooth, professional finish. That's it! An easy DIY stair remodel that brings warmth and elegance to your home.
Tools and Materials
 Classic Sisal (Set of 14)
You've reached the last step
Nice work — share this guide or find your next project.

Subscribe for exclusive updates
Be the first to know about promotions, new products, and sales.