
outdoor stair treads for dogs
About This Guide
Worried about your furry friend on slippery outdoor steps? This guide will walk you through choosing and installing durable, non-slip outdoor treads, giving your dog the confidence to navigate concrete stairs safely. It's an easy DIY project that provides peace of mind for the whole family.
Tools & Materials

Steps
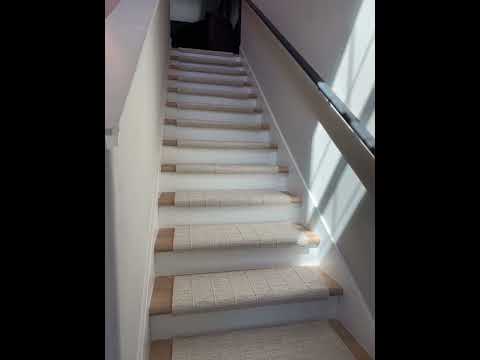
Step 1: Plan for Perfect Placement
Start by measuring the width, depth, and height of each concrete step. Having these precise measurements is key to selecting the perfect treads. When planning, aim for a slight overhang on the front edge—this creates a professional look and helps with water runoff. Most importantly, ensure the treads will cover the entire walking path to provide maximum traction and safety for your dog. Use a chalk or light pencil line to mark where each tread will go, ensuring a consistent and beautiful finish.
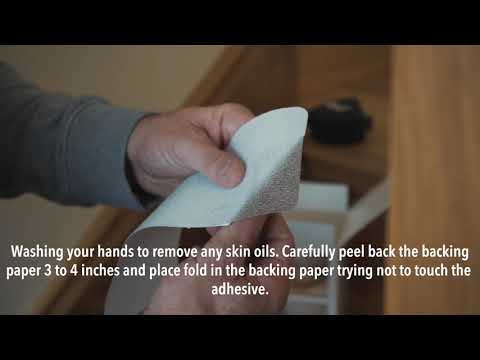
Step 2: Create a Clean Foundation
For your new treads to bond securely, you need to start with a spotless surface. Begin by sweeping or blowing off any loose dirt, leaves, and debris. For tougher grime, moss, or algae, use a stiff brush with a concrete cleaner or a pressure washer. Once scrubbed clean, rinse the steps thoroughly and let them dry completely—this is a critical step! Before moving on, give the surface a quick check for any crumbling concrete that might need repair.
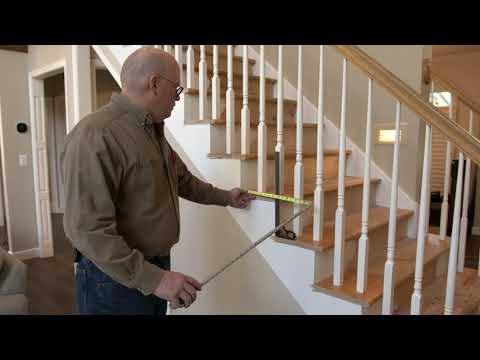
Step 3: Custom-Fit Your Treads (If Needed)
Using the measurements from Step 1, mark your new treads for cutting if they need to be sized for your stairs. Depending on the material, a circular saw (with the right blade) or a heavy-duty utility knife will work well. Always refer to the tread manufacturer's instructions for the best cutting method. And remember, safety first! Always wear your safety glasses and hearing protection when using power tools.

Step 4: Apply Your Exterior-Grade Adhesive
Always start by reading the adhesive manufacturer's instructions—they are your best guide. Typically, you'll apply a generous, even bead of construction-grade adhesive in a zig-zag pattern across the back of the tread. Make sure the adhesive goes close to the edges for a secure hold all around. You can also apply it directly to the clean concrete. Just be careful not to use too much, as it can squeeze out and create a mess.
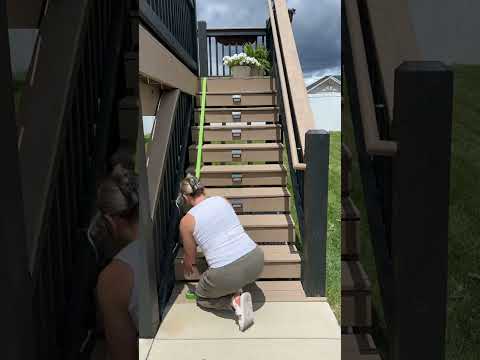
Step 5: Place and Press for a Perfect Bond
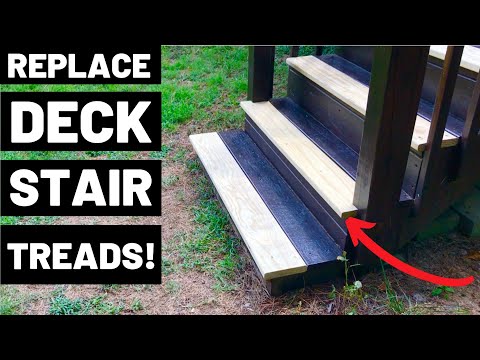
Gently place each tread onto the prepared step, using your chalk lines as a guide for perfect alignment. Once it's in position, press down firmly across the entire surface, working from the back of the step to the front. To ensure the best possible contact, use a hand roller or a spare piece of wood to apply even pressure across the tread. If any adhesive squeezes out, be ready to wipe it away immediately with a damp cloth for a clean finish.
Step 6: Add Extra Security with Fasteners (Optional)
While a quality adhesive is powerful, adding fasteners provides another level of durability. If your treads are designed for it, use the recommended exterior-grade screws or rivets. You may need to pre-drill pilot holes through the tread and into the concrete. A key safety tip: ensure any fasteners are countersunk so they sit flush with the tread and don't create a new tripping hazard. Follow the manufacturer's spacing recommendations for the strongest possible hold.

Step 7: The Final Step—Patience!
Every adhesive needs time to cure and achieve its maximum strength. The product label will tell you the specific curing time, which can be anywhere from 24 to 72 hours, depending on the weather. Giving your project this time is essential for long-term success. During this curing period, be sure to keep all foot traffic—both human and paw—off the new treads.
Questions about your project or which product fits? Oak Valley Designs's team is happy to help. Mon–Fri 9–5 ET

Subscribe for exclusive updates
Be the first to know about promotions, new products, and sales.