
Stair Tread Replacement
About This Guide
Are your outdoor wooden stairs looking worn, or worse, feeling unsafe? Replacing old, damaged treads is a straightforward DIY project that can restore both the safety and beauty of your entryway or deck. This guide will walk you through replacing 1-3 treads using quality treated lumber, giving your family renewed peace of mind.
Tools & Materials

Steps
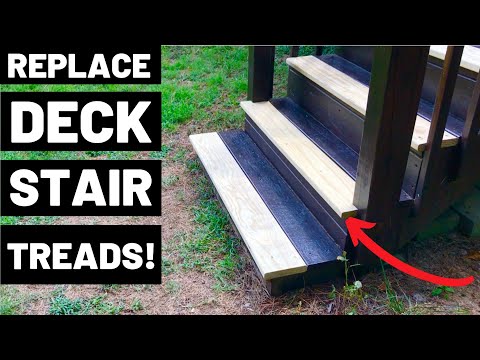
Step 1: Carefully Remove the Old Treads
Gently wedge your pry bar under the edge of an old tread. Tap the pry bar with your hammer to begin lifting the wood. Work your way around the tread, repeating this process to loosen it from the screws. For any especially stubborn fasteners, a reciprocating saw can be a great help. Safety first: be extremely careful to cut only the old screws or nails, not the underlying stair stringers (the support beams your treads rest on). Damaging the stringers can create a much bigger project.
Step 2: Prep and Clean the Stair Stringers
Take a moment to inspect the stair stringers. Remove any leftover hardware, splinters, or old adhesive residue. A stiff brush and a scraper are perfect for this job. The goal is a clean, smooth, and level surface. This simple prep work is key to ensuring your new treads sit flush and are properly supported for long-lasting safety.
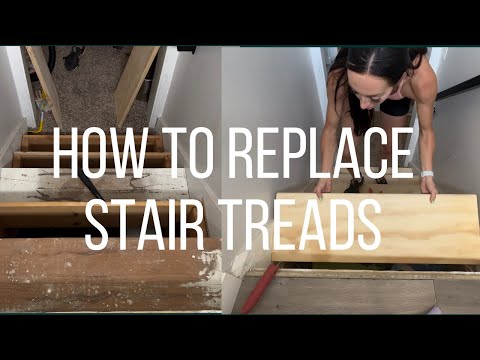
Step 3: Measure Twice, Cut Once for a Perfect Fit
Carefully measure the width of the stair opening for each tread you're replacing—don't assume they're all identical! Mark these measurements clearly on your new treated lumber. Using a circular saw or a handsaw, make your cuts. Strive for perfectly straight, square cuts, as this will ensure your new treads fit beautifully without any unsightly gaps.
Step 4: Secure Your New Treads
Position a new tread onto the clean stringers. Make sure it sits flush against the front edge and fits snugly side-to-side. To prevent the wood from splitting and ensure a strong hold, always pre-drill pilot holes through the tread and into the stringer below. Then, drive high-quality, exterior-grade screws through your pilot holes to fasten the tread securely. For maximum stability, use a minimum of two screws for each point where the tread meets a stringer.
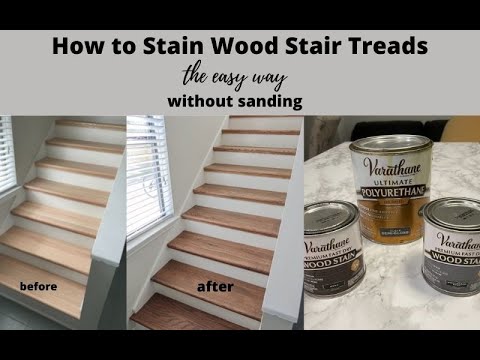
Step 5: Protect Your Investment (Optional but Recommended)
With your new treads firmly in place, consider this final step to protect your hard work. Choose a quality wood sealant or stain formulated for outdoor use. Using a brush or roller, apply an even coat, always following the manufacturer's specific instructions for application and drying times. This will not only enhance the look of the wood but also provide crucial protection against moisture and wear, ensuring your stairs look great for years to come.
Questions about your project or which product fits? Oak Valley Designs's team is happy to help. Mon–Fri 9–5 ET

Subscribe for exclusive updates
Be the first to know about promotions, new products, and sales.