
← Guide
Stair Tread Replacement
Step 4 of 5
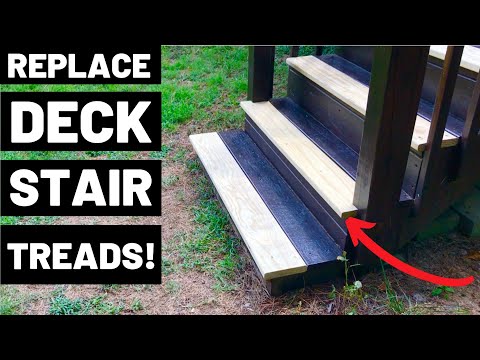
Step 4 · Step 4: Secure Your New Treads
Position a new tread onto the clean stringers. Make sure it sits flush against the front edge and fits snugly side-to-side. To prevent the wood from splitting and ensure a strong hold, always pre-drill pilot holes through the tread and into the stringer below. Then, drive high-quality, exterior-grade screws through your pilot holes to fasten the tread securely. For maximum stability, use a minimum of two screws for each point where the tread meets a stringer.
Tools and Materials
 Oak Valley Felicity - Tread
Countersink the screws slightly so they sit flush with or just below the surface of the tread.
Countersink the screws slightly so they sit flush with or just below the surface of the tread.
General Hazard
Use exterior-grade screws to prevent rust and ensure longevity.

Subscribe for exclusive updates
Be the first to know about promotions, new products, and sales.