
← Guide
Stair Tread Installation
Step 1 of 6
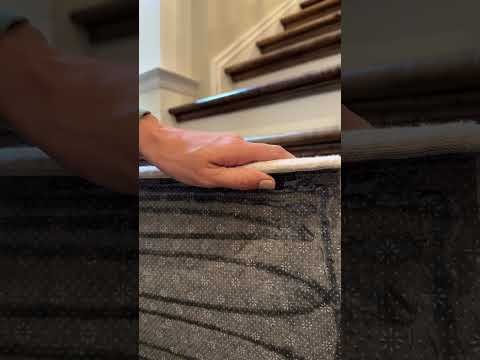
Clip 1/3
Helpful?
Step 1 · Prep Your Surface for a Perfect Bond
Start by vacuuming or wiping down each stair to remove any dust, dirt, or oils. A completely dry surface is essential, as even a little moisture can prevent our special adhesive from creating a secure bond. If you have any rough spots, a light sanding will help. Safety Note: Please allow any freshly painted or finished stairs to cure completely before applying your treads, as the adhesive needs a stable surface to grip.
Oak Valley Info Pro Tip
Dirt and dust interfere with the adhesive and cause treads to lift or shift, so clean and dry the stairs completely first.
Safety Warnings
(2)
General Hazard
Adhesive will not hold on a dirty or damp step.
General Hazard
Do not apply over fresh paint or varnish.

Subscribe for exclusive updates
Be the first to know about promotions, new products, and sales.