
Check and Adjust First Stringer
From How to Lay Out and Cut Deck Stair Stringers · Step 6 of 6 · Video by Perkins Builder Brothers
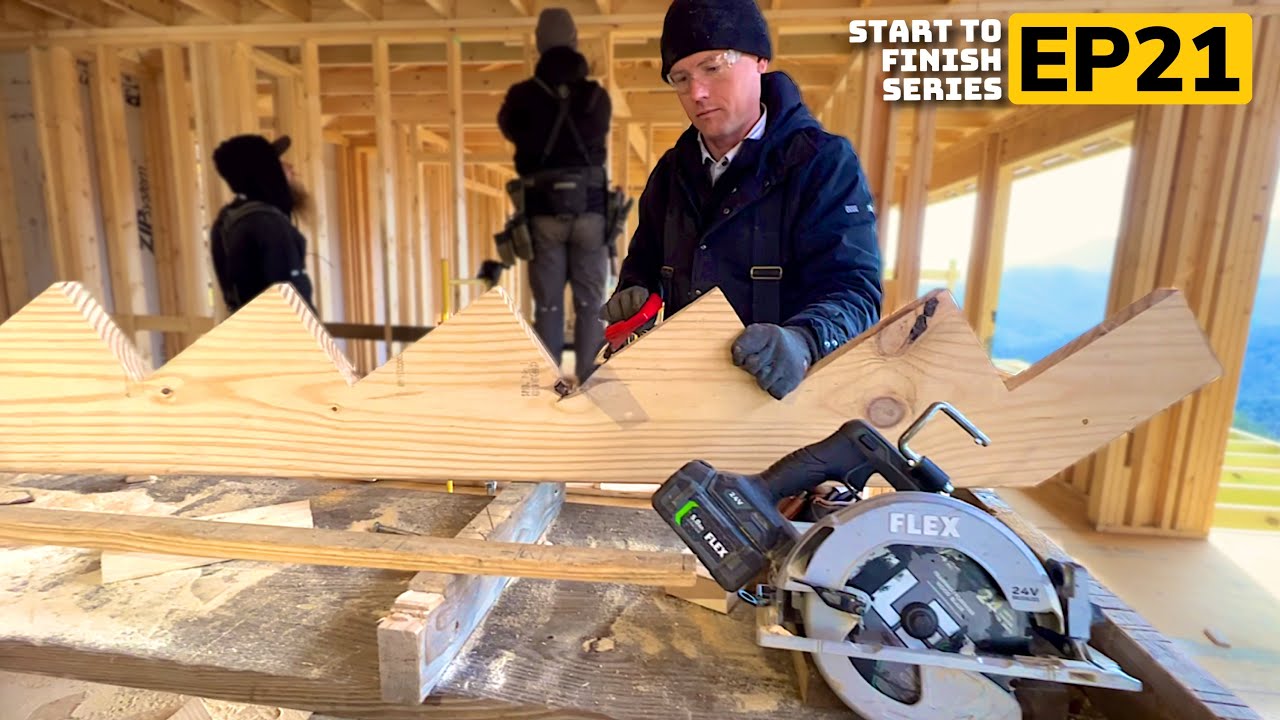
Showing 7:30–8:22 of the source video. Watch the full video with every moment.
What happens in this clip
Place the first cut stringer in its intended position and use a level to check if each tread surface is perfectly horizontal. If the stringer is not sitting level (e.g., if the heel cut is open on one side), mark the area that needs trimming. Use a circular saw to carefully trim the excess material from the heel cut. Recheck with the level to ensure the stringer now sits flush and level.
Goal: Verify the levelness and fit of the first cut stringer and make any necessary adjustments to the heel cut.
What's used
Tools
- Circular Saw
- Level
About the full video
This video provides a detailed guide on calculating individual rise and run dimensions for stair stringers, adhering to building codes for safety and comfort. It covers framing the stairwell opening, constructing a landing, marking and cutting stringers, and installing sub-treads. Practical tips are shared for precise marking and safe cutting, emphasizing the importance of uniform steps.
Step 6 of 6: Trim the Bottom of the Stringers
The bottom of each stringer often has a triangular waste piece. You need to trim this off to create a flat surface. The amount to trim depends on your specific layout, but it's typically a straight cut across the bottom edge of the stringer where the lowest tread will sit. This ensures the stringer sits flush and supports the first tread properly. Measure and mark this trim cut accurately on all stringers.
Every video in How to Lay Out and Cut Deck Stair Stringers
Step 1: Determine Stair Riser Height and Tread Depth
- 0:06–1:32 Calculate Stair Dimensions
- 0:19–0:57 Calculate Stair Dimensions and Stringer Type
- 0:51–1:37 Calculate Individual Step Rise and Total Run
Step 2: Select Stringer Material
- 0:00–0:03 Cut Stringers
- 6:08–6:51 Stair Stringer Fabrication
- 2:20–3:14 Mark and Cut Stringers
Step 3: Mark the First Stringer Layout
- 3:10–3:59 Mark the Stringer Board
- 6:59–9:34 Mark the Stair Stringer for Cutting
- 6:12–7:01 Marking the Stringers
Step 4: Cut the First Stringer
- 6:15–7:14 Cut Out the Stringer
- 4:16–5:49 Cut Stringers
- 15:12–19:27 Cutting the Stair Stringer
Step 5: Transfer Layout and Cut Additional Stringers
- 8:43–8:58 Cutting Remaining Stringers using Template
- 7:14–7:47 Replicate Stringers (Pattern Use)
- 2:49–3:44 Layout and Cut Stringers
Step 6: Trim the Bottom of the Stringers
- 7:25–10:59 Mark Top and Bottom Stringer Cuts
- 7:30–8:22 Check and Adjust First Stringer (this video)
- 8:10–9:35 Mark Top and Bottom Stringer Cuts
How to Lay Out and Cut Deck Stair Stringers
Outline for laying out and cutting deck stair stringers, including material selection, measurement, layout, and cutting techniques.
Read the full guide Browse all guides
Planning this project? Shop Oak Valley Designs.

Subscribe for exclusive updates
Be the first to know about promotions, new products, and sales.