
Mark and Cut Stringers
From How to Lay Out and Cut Deck Stair Stringers · Step 2 of 6 · Video by Lowe's Home Improvement
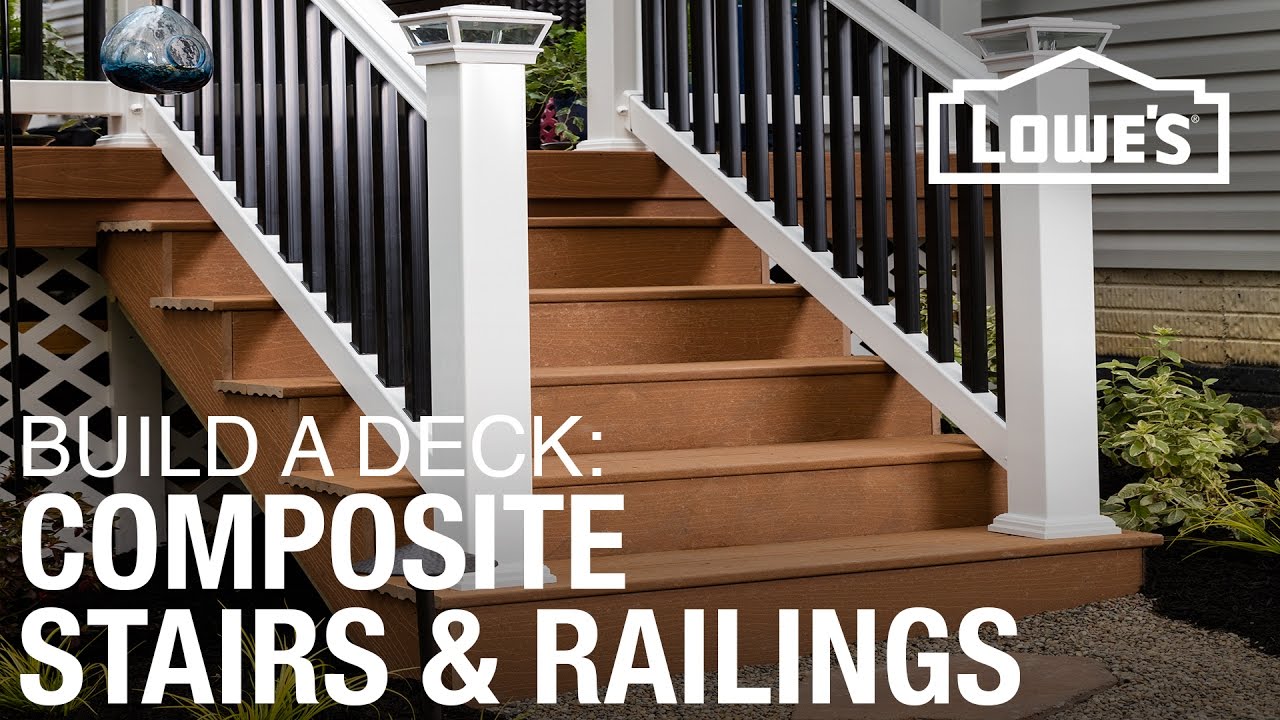
Showing 2:20–3:14 of the source video. Watch the full video with every moment.
What happens in this clip
Place the 2x12 treated lumber boards, which will become the stringers, on sawhorses. Using a framing square equipped with stair gauges (set to the previously calculated rise and run), mark the steps onto the board. Start by marking the top run at the corner of the plank, then slide the square along the plank to mark both the rise and run for each subsequent step. Continue marking until you have the correct number of steps for your stringer. Once marked, use a circular saw to cut along the lines, stopping short of the corners to avoid overcutting. Finish the cuts cleanly at the corners with a hand saw. Use this first cut stringer as a template to mark and cut the remaining stringers, ensuring consistency across all stair supports.
Goal: Accurately cut stair stringers based on calculated rise and run.
What's used
Tools
- Circular Saw Kobalt
- Framing Square
- Hand Saw
- Pencil
- Safety Glasses
- Sawhorses
- Stair Gauges
- Treated Lumber (2x12)
About the full video
This project provides a step-by-step guide on how to build composite stairs and install railings for a deck. It covers calculating stair dimensions, installing footers and posts, marking and cutting stringers, attaching them to the deck, installing toe kicks and treads, and finally assembling and securing the composite railing system.
Step 2 of 6: Select Stringer Material
Select the lumber for your stair stringers. Pressure-treated lumber is highly recommended for exterior applications like decks to resist rot and insect damage. Common choices are 2x12 boards. Ensure the boards are straight, with minimal warping or cupping, and free from large knots or cracks that could compromise their structural integrity. The length of the stringers will depend on the total run of your stairs.
Every video in How to Lay Out and Cut Deck Stair Stringers
Step 1: Determine Stair Riser Height and Tread Depth
- 0:06–1:32 Calculate Stair Dimensions
- 0:19–0:57 Calculate Stair Dimensions and Stringer Type
- 0:51–1:37 Calculate Individual Step Rise and Total Run
Step 2: Select Stringer Material
- 0:00–0:03 Cut Stringers
- 6:08–6:51 Stair Stringer Fabrication
- 2:20–3:14 Mark and Cut Stringers (this video)
Step 3: Mark the First Stringer Layout
- 3:10–3:59 Mark the Stringer Board
- 6:59–9:34 Mark the Stair Stringer for Cutting
- 6:12–7:01 Marking the Stringers
Step 4: Cut the First Stringer
- 6:15–7:14 Cut Out the Stringer
- 4:16–5:49 Cut Stringers
- 15:12–19:27 Cutting the Stair Stringer
Step 5: Transfer Layout and Cut Additional Stringers
- 8:43–8:58 Cutting Remaining Stringers using Template
- 7:14–7:47 Replicate Stringers (Pattern Use)
- 2:49–3:44 Layout and Cut Stringers
Step 6: Trim the Bottom of the Stringers
- 7:25–10:59 Mark Top and Bottom Stringer Cuts
- 7:30–8:22 Check and Adjust First Stringer
- 8:10–9:35 Mark Top and Bottom Stringer Cuts
How to Lay Out and Cut Deck Stair Stringers
Outline for laying out and cutting deck stair stringers, including material selection, measurement, layout, and cutting techniques.
Read the full guide Browse all guides
Planning this project? Shop Oak Valley Designs.

Subscribe for exclusive updates
Be the first to know about promotions, new products, and sales.