Install Wooden Trim Around Opening
From Attic Ladder Installation · Step 6 of 6 · Video by FogoFox
Showing 3:16–4:18 of the source video.
What happens in this clip
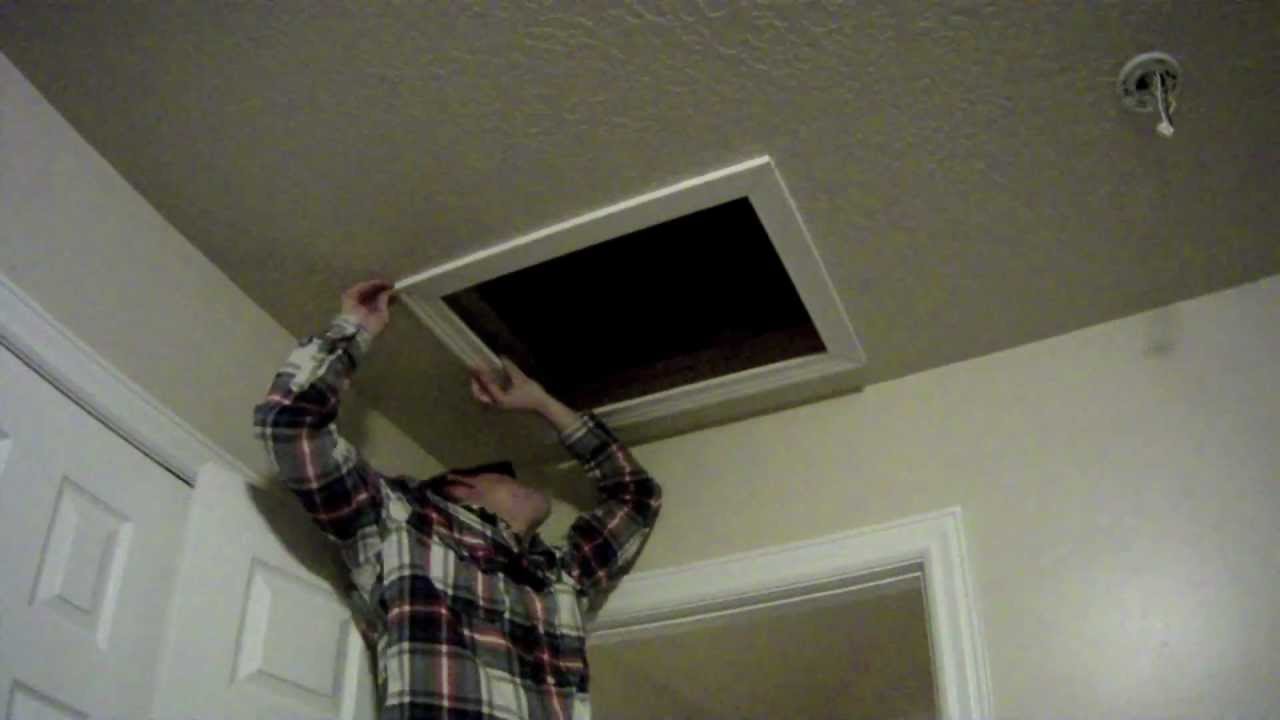
Once the attic opening is clear and supported, remove the blue painter's tape from the ceiling around the hole. Next, install the decorative wooden trim around the perimeter of the opening. The trim pieces used are typically 2.5 inches (6.35 cm) wide and should be pre-cut with 45-degree mitered corners for a seamless joint. These cuts can often be made at the hardware store using their miter box and saw in the trim aisle. To determine the correct length for each trim piece, first measure the length of the hole itself, then add 2.75 inches (about 7 cm) to that measurement for each piece. This accounts for the mitered corners and overhang. Begin by nailing the first trim piece into place, ensuring it is perfectly aligned and straight. This piece will serve as a guide for the remaining pieces. Use a pneumatic nail gun for efficient and secure attachment, ensuring that the trim is nailed into the underlying ceiling joists or the newly installed bracing. To correctly position the third trim piece, temporarily install the fourth piece and hold it in place. This will help you align the third piece accurately. Nail the third piece into position. Finally, nail in the fourth and final trim piece. The finished trim creates a clean and professional frame for the attic access.
Goal: Provide a finished and decorative edge to the attic access opening.
What's used
Tools
- Miter Box and Saw
- Pneumatic Nail Gun
- Tape Measure
Materials
- Nails (for nail gun)
- Wooden Trim Unknown (pre-primed)
About the full video
This project guides you through the process of cutting a new attic access door into a drywall ceiling, installing supporting wooden braces in the attic, and finishing the ceiling opening with decorative wooden trim for a clean, finished look. The project is undertaken to improve attic insulation access.
Step 6 of 6: Install Trim and Finish
Measure and cut trim pieces to fit around the perimeter of the attic ladder opening, covering the gap between the ladder frame and the ceiling. Secure the trim with finish nails and fill any nail holes. Sand, prime, and paint or stain the trim to match the surrounding ceiling.
Other videos for this step
Attic Ladder Installation
This project involves installing a pull-down attic ladder to provide safe and convenient access to your attic space. The process typically includes measuring for the correct ladder size, cutting an opening in the ceiling, framing the opening, securing the ladder, and ensuring it operates smoothly.
Read the full guide Browse all guides
Planning this project? Shop Oak Valley Designs.