
Restore Power and Test the New Fixtures
From How to Remove a Ceiling Light Cover to Change the Bulbs · Step 6 of 7 · Video by Moore Approved
Showing 10:35–10:39 of the source video. Watch the full video with every moment.
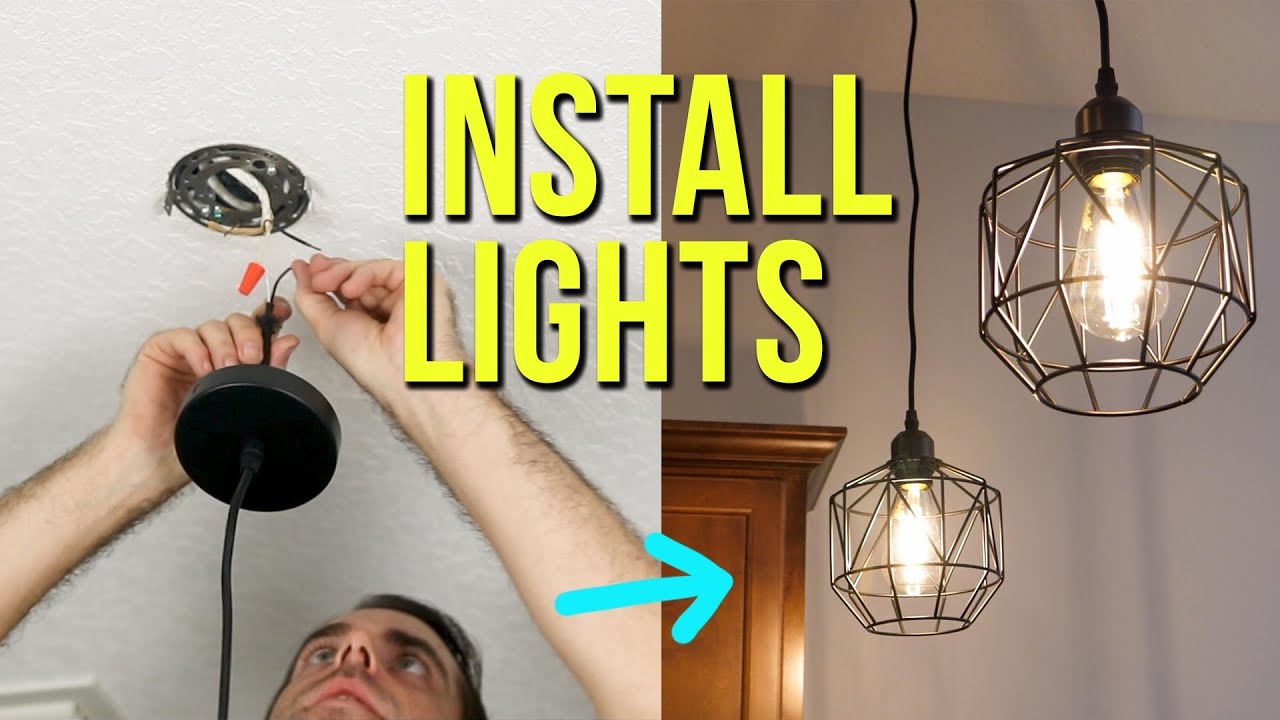
What happens in this clip
Once the new lighting fixture is fully installed and secured, return to the circuit breaker panel. Flip the circuit breaker back to the 'on' position to restore power. Activate the light switch for the fixture to confirm it is working correctly. Enjoy your new lighting!
Goal: Verify the functionality of the newly installed lighting fixture
About the full video
This project provides comprehensive, step-by-step instructions for safely installing new lighting fixtures in your home. It emphasizes critical safety precautions, proper tool usage, and detailed wiring connections, ensuring a secure and functional installation. The guide covers replacing existing flush-mount and pendant-style fixtures.
What's said in this clip
set screws all right and she's set now to flip the breaker and test it out so that about wraps it up for more approved as you can see installing light fixtures is actually fairly simple fairly easy consult a professional before undertaking anything like this if you do do it yourself be confident in what you're doing if you're not
Automatically transcribed from the source video.
Step 6 of 7: Restore power to the light fixture
Return to your electrical panel and flip the circuit breaker for the ceiling light fixture back to the 'ON' position. This will restore power to the fixture.
Every video in How to Remove a Ceiling Light Cover to Change the Bulbs
Step 1: Turn off power to the light fixture
- 0:50–1:05 Turn Off Power at Circuit Breaker
- 0:47–0:52 Turn Off Power at Circuit Breaker
- 0:03–0:05 Shut Off Power to the Circuit
Step 2: Remove the light fixture cover
- 1:50–2:38 Remove Old Light Fixture Glass Cover and Bulbs
- 1:03–1:50 Remove Light Fixture Cover
- 0:17–0:23 Remove Light Bulb Cover and Bulbs
Step 3: Remove old light bulbs
- 0:34–0:50 Unscrew Old Bulb
- 1:50–2:05 Remove Light Bulbs
- 0:38–1:04 Remove the Old Bulb
Step 4: Install new light bulbs
- 1:15–1:30 Install New Light Bulb
- 1:04–1:12 Install the New Bulb
- 0:26–0:31 Install the New Light Bulb
Step 5: Reattach the light fixture cover
- 6:11–6:23 Replace the Fixture Cover
- 0:57–1:08 Reinstall Dome Light Cover
- 0:55–1:09 Install the Light Cover
Step 6: Restore power to the light fixture
- 10:35–10:39 Restore Power and Test the New Fixtures (this video)
- 2:59–3:02 Restore Power
- 2:11–2:21 Restore Power and Test
Step 7: Test the light fixture
- 9:22–9:55 Restore Power and Test
- 8:04–8:19 Restore Power and Test
- 2:47–2:52 Test New Light Fixture
How to Remove a Ceiling Light Cover to Change the Bulbs
Outline for removing a ceiling light cover to change bulbs.
Read the full guide Browse all guides
Planning this project? Shop Oak Valley Designs.

Subscribe for exclusive updates
Be the first to know about promotions, new products, and sales.