
How to Build & Install Pull Out Shelves - DIY Guide
Video by Dan Pattison · 4 moments used in Oak Valley Designs's DIY guides · 12:52 long
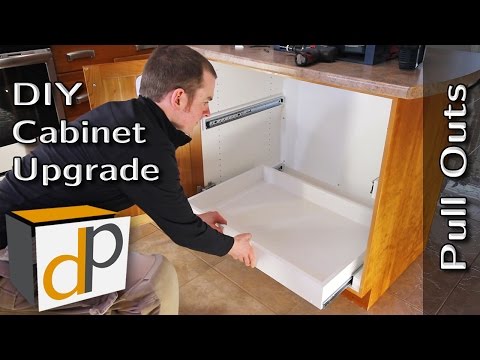
Moments in this video
- 1:06–1:52 Measure Cabinet Interior
From Under Stair Storage, Step 1: Measure Under-Stair Space
Accurate measurements of the cabinet interior are crucial. Measure the overall cabinet width, height, and depth inside. Additionally, identify and measure any projections, such as hinges, door components, or face frames, that might encroach into the cabinet's usable width. These projection measurements will determine the thickness of the necessary spacer strips for slide mounting.
- 1:52–2:27 Design Pull-out Specifications
From Under Stair Storage, Step 2: Design Storage Units
Determine the number of pull-outs needed, the desired height of their sides, and the vertical spacing between them. These design choices depend on the items to be stored. For larger items, opt for higher pull-out sides and more space between them. For smaller items, shorter sides and less space are appropriate. Also, consider the overall width of the pull-out, as wider pull-outs may require higher sides to prevent sagging.
- 3:46–5:30 Create Cut List and Verify Thickness
From Under-Stair Shelving, Step 3: Create a Cut List
Before making any cuts, create a detailed cut list. This list should specify the part name, quantity, material thickness, width, length, and any special notes (e.g., which edges need edge banding). When working with sheet goods like melamine, always measure the actual thickness of the material, rather than relying on nominal thicknesses, as discrepancies can throw off all calculations. A tip for the cut list is to use simpler fractions like 20 3/4" and add a note to 'minus 1/32"' instead of using complex fractions like 20 23/32", which makes measurements easier when cutting.
- 12:07–12:15 Insert Pull-out Shelves
From Under Stair Storage, Step 6: Install Storage Units
Once both sets of slides are installed in the cabinet, it's time to insert the assembled pull-outs. Simply align the pull-out with its respective slides and gently push it in until it engages. This is where the careful measurements and calculations pay off, ensuring a smooth and functional fit.
Guides that use this video
More from the Oak Valley Designs DIY Hub
Read the guide Browse all guides
Planning this project? Shop Oak Valley Designs.

Subscribe for exclusive updates
Be the first to know about promotions, new products, and sales.