
How to Replace a Stair Railing | This Old House
Video by This Old House · 2 moments used in Oak Valley Designs's DIY guides · 6:10 long
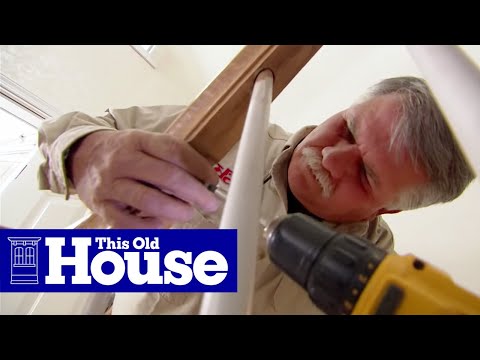
Moments in this video
- 0:17–1:26 Patch Old Baluster Holes
From Baluster Replacement, Step 3: Prepare New Baluster Mounting Points
Before installing new stair parts, patch the old baluster holes on the stair treads. First, use a drill with a Forstner bit to enlarge the existing baluster holes. To prevent the drill bit from wandering, place a wooden guide block with a pre-drilled hole of the correct size over the existing baluster hole, centering it precisely. Then, drill through the guide block into the stair tread. Apply wood glue around the edges of 1-inch diameter, 3/16-inch thick oak plugs and tap them into the newly enlarged holes using a hammer until they are flush. Once the glue is dry, sand the patched areas smooth with an orbital sander to prepare for the new baluster placement.
- 5:36–6:05 Install Balusters and Handrail
From How to Modernize a Dated Staircase with Rails, Lights and Treads, Step 4: Install New Balusters and Handrails
Begin by inserting each baluster into its corresponding pre-drilled hole in the stair tread. Apply construction adhesive into the tread holes before inserting the balusters for a stronger bond. Tap each baluster gently with a mallet to ensure it is fully seated and plumb. Once all balusters are set into the treads, carefully lift the assembled handrail (which includes the turnout section). With an assistant's help, meticulously align the pre-drilled holes on the underside of the handrail with the top tenons of each baluster. Slowly lower the handrail, guiding each baluster into its respective hole. Once all balusters are seated in the handrail, gently tap the handrail with a rubber mallet or a hammer protected by a wood block to ensure a tight, secure fit. Finally, secure the handrail to the newel post at the top of the stairs, and to the wall, completing the installation. (The video implies securing but doesn't explicitly show the final fasteners for the top connection.)
Guides that use this video
More from the Oak Valley Designs DIY Hub
Read the guide Browse all guides
Planning this project? Shop Oak Valley Designs.
Subscribe for exclusive updates
Be the first to know about promotions, new products, and sales.