
Clip 1/3
Helpful?
Step 3 · Cut and Install Battens
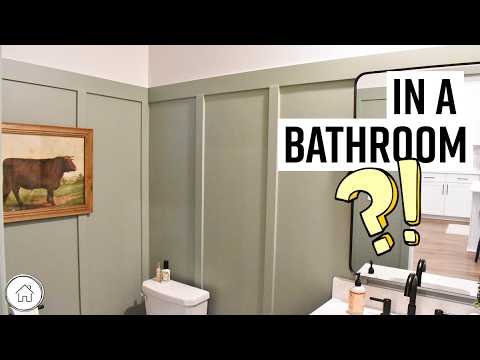
Determine the desired spacing for your battens. A common spacing is 16 inches on center, but this can vary. Measure the distance between the end of the wall (or corner) and the top board. Calculate the number of battens needed and the spacing between them. Cut your batten material (e.g., 1x3 pine or 1x4 pine) to the length required to go from the top board to the baseboard (or the marked height line). Use a level to ensure each batten is perfectly plumb (vertical). Attach the battens to the wall studs using finishing nails or screws. Ensure they are flush with the top board and meet the baseboard squarely.
Tools and Materials
Measuring Tape
pencil
RIDGID 15 Amp Corded 10 in. Dual Bevel Miter Saw with LED Cutline Indicator and Black Fine Point Permanent Workshop Marker
Rig Rite 3.5 in. x 12 in. - Black Horizontal Transducer Plate 925
Zircon StudSensor HD35 Stud Finder 65944
Freeman Pneumatic 18-Gauge 2 in. Brad Nailer with Quick Jam Release
Drill
Scrail 2 in. x 1/9 in. 20-Degree Coarse Thread FasCoat Plastic Strip Philips Head Nail Screw Fastener (1,000-Pack)
1 in. x 4 in. x 8 ft. Furring Strip Board 687642
Varathane 3.75 oz. White Wood Filler Putty 340261

Subscribe for exclusive updates
Be the first to know about promotions, new products, and sales.