
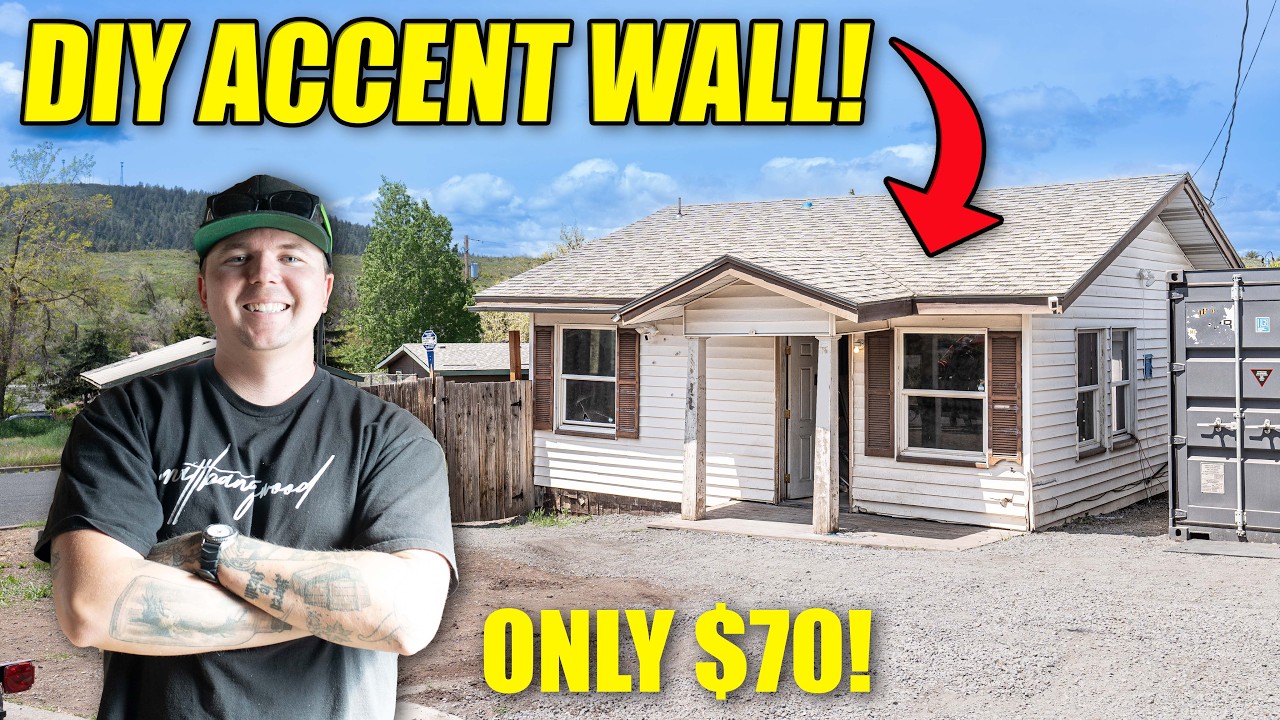
Board and Batten Wainscoting Installation
About This Guide
This project outlines the steps for installing board and batten wainscoting on a staircase wall. It includes measuring, cutting materials, attaching the boards, and applying battens. The process will enhance the aesthetic appeal of the wall and provide a durable finish.
Assembled from 10 on-camera clips by 10 independent creators demonstrating these exact steps.
Tools & Materials
Steps
Measure and Mark Wainscoting Height
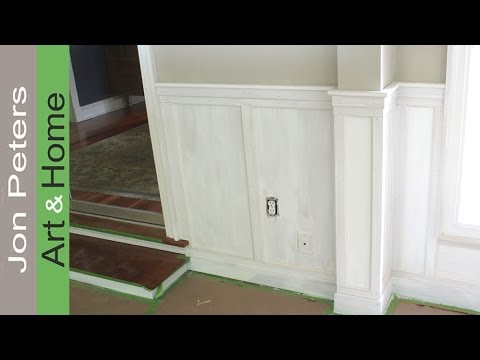
Using a tape measure, determine the desired height for the wainscoting. This is typically around 32 to 36 inches from the floor, but can be adjusted based on preference and ceiling height. Mark this height lightly with a pencil at several points along the wall, including the top and bottom of the staircase. Use a level to connect these marks and create a consistent horizontal line around the entire staircase wall. This line will serve as a guide for the top of your baseboard or the bottom of your board and batten.
Install the Top Board (or Cap Rail)
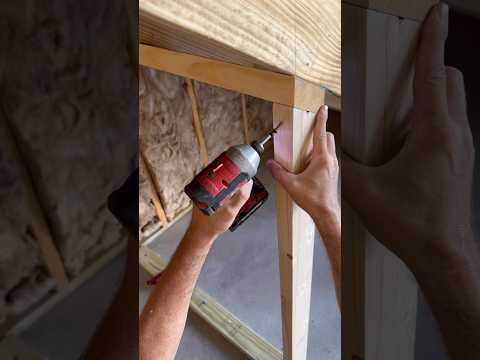
Cut your chosen top board material (e.g., 1x4 or 1x6 pine) to the lengths needed for each section of the staircase wall, accounting for any corner returns. Position the top board so its bottom edge aligns precisely with the level line marked in the previous step. Secure the board to the wall studs using finishing nails or screws. Ensure the board is flush against the wall and level before fastening. If using a thicker profile for the top board, consider pre-drilling pilot holes to prevent splitting.
Cut and Install Battens
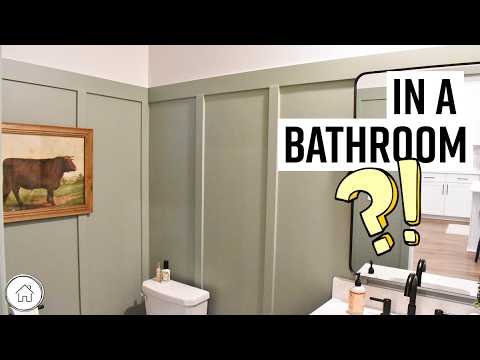
Determine the desired spacing for your battens. A common spacing is 16 inches on center, but this can vary. Measure the distance between the end of the wall (or corner) and the top board. Calculate the number of battens needed and the spacing between them. Cut your batten material (e.g., 1x3 pine or 1x4 pine) to the length required to go from the top board to the baseboard (or the marked height line). Use a level to ensure each batten is perfectly plumb (vertical). Attach the battens to the wall studs using finishing nails or screws. Ensure they are flush with the top board and meet the baseboard squarely.

Install Baseboard (if applicable)
If your design includes a baseboard below the battens, now is the time to install it. Measure and cut the baseboard material to fit the length of the wall sections. Position the baseboard so its top edge meets the bottom of the vertical battens. Ensure it is level and flush against the wall. Secure the baseboard to the wall studs using finishing nails or screws. If the baseboard is replacing an existing one, remove the old one first. Ensure a tight fit against the wall and the battens.
Fill Nail Holes and Caulk Gaps
Using wood filler, fill all visible nail holes left from attaching the top board, battens, and baseboard. Apply the filler slightly above the surface, as it will shrink as it dries. Once the filler is dry, sand it smooth with fine-grit sandpaper. Apply a bead of paintable caulk along all seams where the boards meet the wall and where different pieces of trim meet each other. This creates a seamless, professional finish. Wipe away any excess caulk immediately with a damp cloth.
Prime and Paint
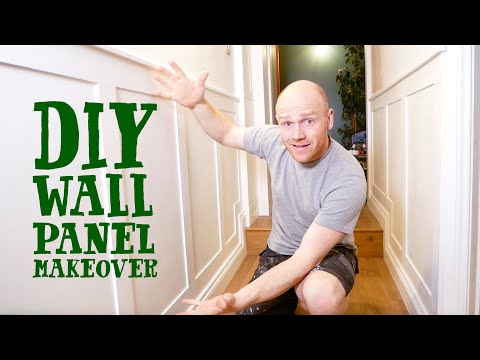
Apply a coat of high-quality primer to all the new wood surfaces, including the top board, battens, and baseboard. Primer ensures even paint coverage and helps the topcoat adhere properly. Allow the primer to dry completely according to the manufacturer's instructions. Once dry, lightly sand any rough spots with fine-grit sandpaper and wipe clean. Apply your chosen paint color in two or more thin, even coats. Allow each coat to dry thoroughly before applying the next. For a smooth finish, use a high-quality paintbrush and roller.
Frequently Asked Questions
How do I accurately measure and cut battens to match the angle of my staircase?
To accurately match staircase angles, use a digital angle finder or a protractor to measure the slope of the stairs directly from the wall or a scrap piece of wood. Transfer this angle to your miter saw, making test cuts on scrap material first. Ensure your battens run parallel to the stair stringer for a cohesive look.
What are the most critical safety precautions to take when installing wainscoting on a staircase?
Working on a staircase requires extra caution to prevent falls. Use a stable, securely placed ladder or scaffolding, and never overreach. Always wear safety glasses when cutting wood, and ear protection when using power tools like the miter saw and nail gun.
Given the 'intermediate' difficulty and '3-day' estimate, what typically takes the most time in this project?
The most time-consuming aspects are typically accurate measuring, cutting all the battens to precise angles, and ensuring everything is level and plumb on an angled staircase wall. Filling nail holes, caulking gaps, and the priming/painting steps also require significant time for a professional finish.
Why is a stud finder important for this project, and how should I use it effectively?
A stud finder is crucial for locating wall studs, allowing you to securely nail or screw your wainscoting components directly into the framing. Attaching to studs prevents the wainscoting from pulling away from the wall over time and provides a much stronger installation. Mark all stud locations lightly with your marking pencil before beginning installation.
Can I use construction adhesive in addition to fasteners for a stronger hold on the battens?
Yes, using a high-quality construction adhesive on the back of your battens and boards can significantly enhance the bond to the wall, especially if stud placement is sparse or uneven. Apply a thin bead of adhesive before nailing to create a more durable and long-lasting installation.
What should I do if my walls aren't perfectly straight or plumb, which is common in older homes?
If walls aren't perfectly straight, use shims behind the battens where necessary to bring them plumb and level. Small gaps can be filled effectively with painter's caulk before priming and painting. For larger irregularities, consider using thicker battens that can absorb minor wall imperfections.
Questions about your project or which product fits? Oak Valley Designs's team is happy to help. Mon–Fri 9–5 ET



Subscribe for exclusive updates
Be the first to know about promotions, new products, and sales.