

how to prepare and clean stairs before installing carpet treads
About This Guide
Transforming your staircase with Oak Valley Designs carpet stair treads is an incredibly easy DIY project, bringing safety and style to your home in no time! Our treads feature a unique, pressure-sensitive adhesive backing that allows for simple, secure installation and removal, all without damaging your beautiful wooden stairs. The entire process for a standard staircase is surprisingly quick, often taking just about 20 minutes. Once your stairs are clean, dry, and ready for their elegant upgrade, simply 'clean, peel, and stick' each tread into place. You'll enjoy the peace of mind that comes with a safer, more stylish staircase, knowing our treads are designed for easy removal and replacement, preserving your stairs for years to come. It’s the Oak Valley Difference — quality, convenience, and care, all in one.
Tools & Materials
Steps

Time to Peel: Unveiling the Adhesive Backing
With a steady hand, carefully peel away the protective plastic liner from the adhesive backing of your Oak Valley Designs carpet stair tread. This simple step exposes the special pressure-sensitive adhesive, ready to create a secure, yet non-damaging, bond with your staircase. You're one step closer to a safer, more beautiful home!
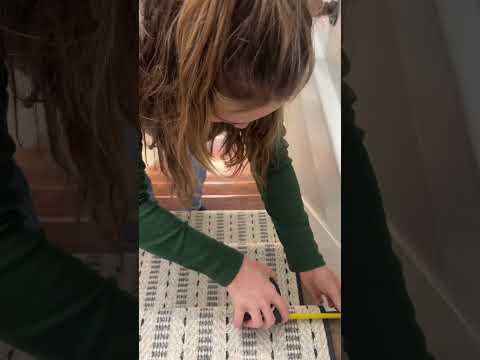
Secure and Align: Pressing Your Tread into Place
Now for the satisfying part! With the liner removed, carefully position your Oak Valley Designs carpet stair tread onto your chosen step or landing area. Take a moment to align it precisely with your desired placement – this attention to detail ensures a beautiful, professional finish. Then, apply firm, even pressure across the entire surface of the tread. This vital action allows our pressure-sensitive adhesive to make full contact and bond securely, providing a safe and stylish upgrade to your stairs. No nails, no glue, no stress – just a secure, elegant fit!
Questions about your project or which product fits? Oak Valley Designs's team is happy to help. Mon–Fri 9–5 ET

Subscribe for exclusive updates
Be the first to know about promotions, new products, and sales.