

How to Install Treads on Stairs with a Mid-Stair Landing
About This Guide
This project outlines the process of installing treads on stairs that include a mid-stair landing. It covers preparation, measurement, cutting, and fastening of new treads to ensure a safe and aesthetically pleasing staircase.
Tools & Materials
Steps
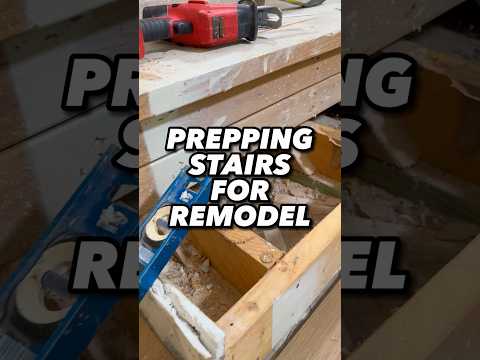
Assess Existing Stair Treads
Before installing new treads, carefully examine each existing stair tread. Look for signs of wear, rot, or structural damage. Ensure all previous coverings, such as carpet or linoleum, have been completely removed. Check for loose treads or risers and address any stability issues before proceeding. This assessment helps in planning the installation and identifying any necessary repairs to the underlying stair structure.

Measure and Template Treads
Measure the depth from the front edge of the tread to the face of the riser, and the width of the tread from wall to wall (or from open side to wall). For treads that are not perfectly square, create a cardboard template by tracing the exact shape of the existing tread. This is especially important for staircases with angled or winding treads. Ensure measurements are taken consistently for all treads.
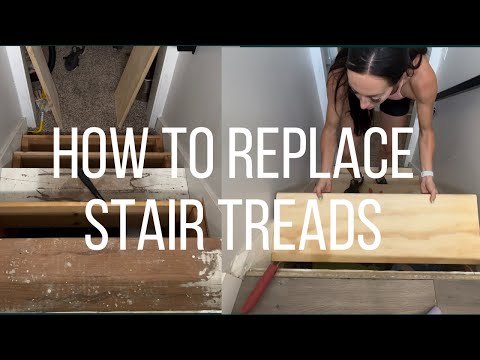
Cut New Stair Treads
Using the templates or direct measurements, carefully cut the new stair treads from your chosen material (e.g., hardwood, plywood). Ensure all cuts are straight and accurate, especially if using a miter saw for clean, professional edges. For curved or angled treads, use a jigsaw guided by the cardboard template. Wear appropriate safety gear during cutting.

Prepare Tread Surfaces
After cutting, thoroughly sand each new tread. Start with a coarser grit sandpaper (e.g., 80-100 grit) to remove any saw marks or rough edges, then progress to a finer grit (e.g., 150-220 grit) for a smooth finish. Vacuum or wipe down each tread to remove all dust. This preparation is crucial for proper adhesion of any finishes and for a clean appearance.
Test Fit New Treads
Before permanently fastening, place each newly cut and sanded tread onto its intended stair. Ensure it sits flush against the riser and any adjacent walls or stringers. Check for any gaps or overhangs. Minor adjustments can be made by carefully trimming edges with a sander or a fine-toothed saw. This step prevents costly mistakes and ensures a professional finish.

Apply Adhesive and Fasten Treads
Apply a generous bead of high-quality construction adhesive along the top surface of the existing stair substrate, ensuring full coverage. Carefully place the new tread onto the adhesive. For added security, fasten the tread from the top using wood screws. Predrill pilot holes to prevent splitting the wood, and countersink the screw heads so they can be filled later. If you have access from below, you can also use screws driven upwards into the tread, or specialized angle brackets.

Install Risers (if applicable)
If your stairs have separate riser boards, install them now. Cut the riser material to fit snugly between the underside of the new tread and the top of the tread below. Secure the risers in place using construction adhesive and finishing nails or screws. Ensure the risers are flush and create a clean vertical line. This step may not be necessary if your stairs have integrated risers.
Fill Screw Holes and Finish
Once all treads are securely fastened, fill the countersunk screw holes with wood filler or putty. Allow the filler to dry completely according to the manufacturer's instructions. Sand the filled areas smooth, ensuring they are flush with the tread surface. Then, apply your desired finish (stain, paint, or sealant) to the new treads and any new risers. Follow the product's instructions for application and drying times.
Questions about your project or which product fits? Oak Valley Designs's team is happy to help. Mon–Fri 9–5 ET
Related Guides
See All
How to Update Rental Stairs with Removable Carpet Treads
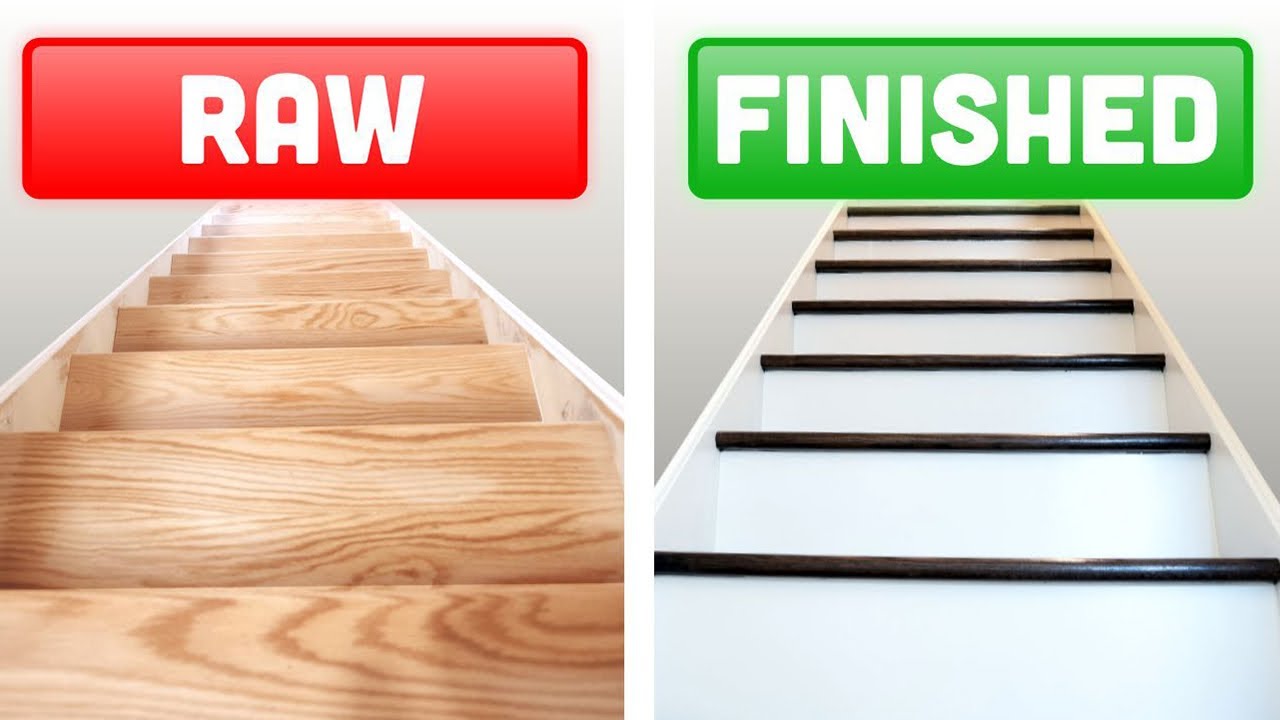
How to Update a Spiral Staircase

How to Put Carpet Treads on Already-Carpeted Stairs

How to Fix Popping Noises from Adhesive Carpet Treads on Wood Stairs

Subscribe for exclusive updates
Be the first to know about promotions, new products, and sales.