
Apply Adhesive-Backed Anti-Slip Products
From How to Keep Outdoor Stairs Safe in Ice and Snow · Step 3 of 5 · Video by Ezvid Wiki
Showing 0:51–4:06 of the source video. Watch the full video with every moment.
What happens in this clip
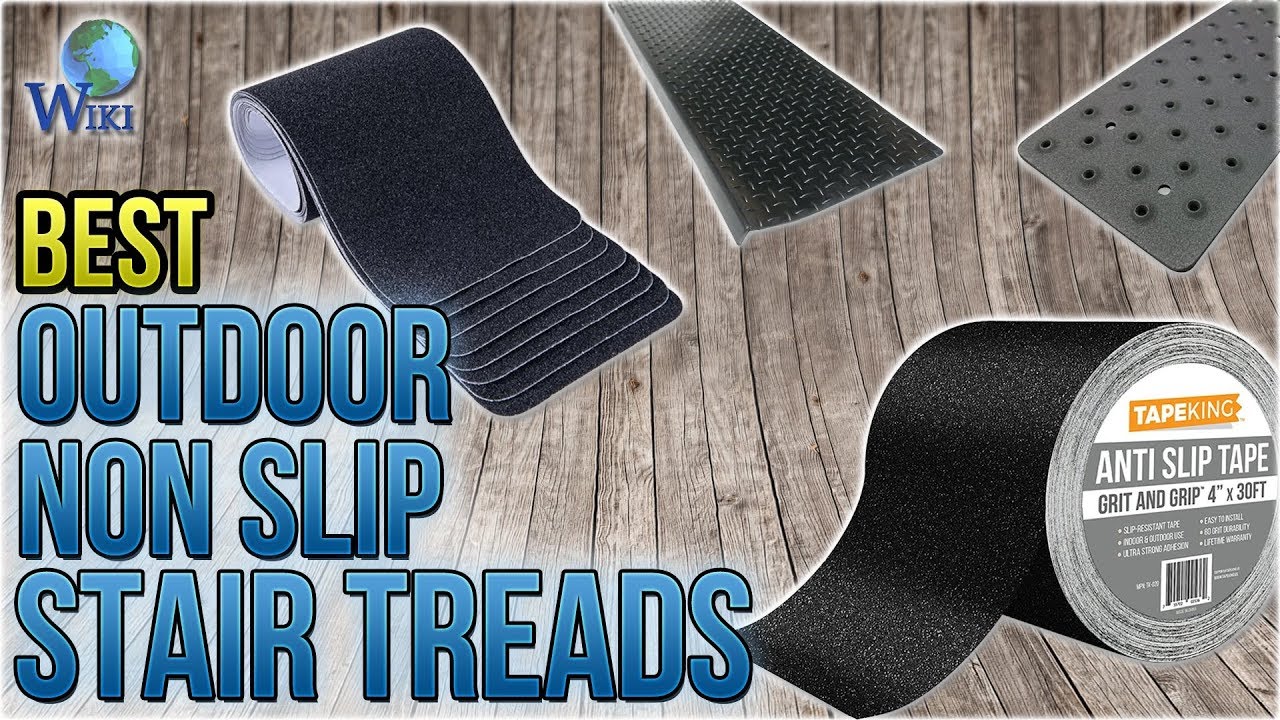
Once the surface is prepared and the material is sized, carefully apply the adhesive-backed anti-slip products. For items like the 'Casa Pura Bullnose' rubber treads or 'SlipDoctors Tape', which feature adhesive backing, simply peel off the protective layer and firmly press the material onto the clean, dry surface. Apply even pressure across the entire surface to ensure full contact and eliminate any trapped air bubbles, enhancing the bond's strength. Note that products with rounded corners, such as 'Slip Guard Safety' strips, are designed to help reduce peeling over time.
Goal: Securely attach adhesive-backed anti-slip materials to the prepared surface.
About the full video
This guide compiles information from a product review video to offer generalized steps for selecting and installing various outdoor anti-slip stair treads and tapes that predominantly utilize adhesive bonding or are made of rubberized materials. While the video primarily showcases different commercial products, these instructions extrapolate best practices for surface preparation, customization, and application of such materials for enhanced safety on stairs and walkways, adhering to the context of rubber walkway installation with adhesive bond.
Step 3 of 5: Apply Anti-Slip Treads
Select either pre-fabricated anti-slip stair treads made of rubber, aluminum, or composite materials, or opt for an anti-slip coating system. If using pre-made treads, follow the manufacturer's instructions for cutting to size (if necessary) and adhering them to each step using a strong, weather-resistant adhesive. Ensure they are positioned evenly and securely. If using a coating, prepare the surface as directed by the product manufacturer, which may involve priming. Apply the coating evenly across the stair surface, often incorporating grit or aggregate for texture. Allow adequate drying time as specified by the product.
Every video in How to Keep Outdoor Stairs Safe in Ice and Snow
Step 1: Inspect Existing Stairs
- 0:00–0:15 Observe Existing Outdoor Stairs
- 0:15–0:26 Evaluate Stair Safety
- 0:00–0:17 Initial Visual Assessment of Step Construction
Step 2: Clean Stair Surfaces
- 0:19–0:32 Clean Outdoor Wooden Surfaces
- 1:12–1:14 Clean and Dry Steps
- 1:13–1:37 Prepare the Surface
Step 3: Apply Anti-Slip Treads
- 0:02–0:06 Apply Anti-Slip Strip
- 0:51–4:06 Apply Adhesive-Backed Anti-Slip Products (this video)
- 0:09–0:15 Understand Anti-Slip Product Options
Step 4: Install or Reinforce Railings
- 0:24–0:42 Check Railing Height
- 2:39–3:22 Check Railing Stability
- 4:56–5:38 Attach Handrail
Step 5: Implement Snow and Ice Melting Solutions
- 0:03–0:07 Apply De-Icing Salt to Surfaces
- 0:07–0:20 Prepare Ice Melt and Traction Materials
- 0:35–1:06 Ensure Snow and Ice Removal Readiness
How to Keep Outdoor Stairs Safe in Ice and Snow
Develop a comprehensive plan to ensure outdoor stairs remain safe and accessible during icy and snowy conditions.
Read the full guide Browse all guides
Planning this project? Shop Oak Valley Designs.

Subscribe for exclusive updates
Be the first to know about promotions, new products, and sales.