
Sanding the Stairs for Smoothness
From How to Modernize a Dated Staircase with Rails, Lights and Treads · Step 5 of 6 · Video by Francis Barnett
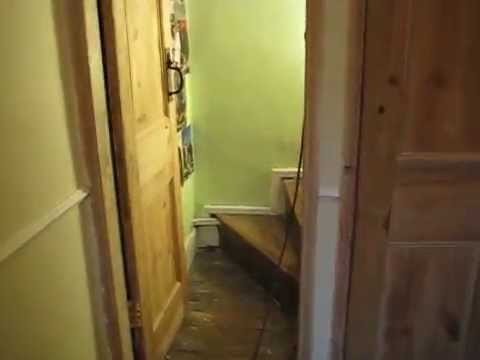
Showing 0:37–0:45 of the source video. Watch the full video with every moment.
What happens in this clip
With the stairs now clean of old finish and residue, the next critical step is sanding to achieve a smooth, uniform surface, as is evident in the video's 'after' shots of the stairs which appear perfectly prepared. Begin with a coarser grit sandpaper (e.g., 80 or 100-grit) to remove any remaining stubborn imperfections, minor scratches, or slight discolorations from the stripping process. Progress through successively finer grits (e.g., 120, 150, 220-grit) to gradually smooth the wood. For the flat treads and risers, an orbital sander or belt sander (used carefully) can speed up the process. For edges, corners, and balusters (if applicable), use a detail sander, sanding block, or hand-sanding with appropriate sandpaper. Always sand in the direction of the wood grain to avoid cross-grain scratches that will become prominent once a new finish is applied. The goal is to create a consistently smooth surface ready to accept stain or sealer.
Goal: Achieve a smooth, uniform wood surface on the stairs.
What's used
Tools
- Detail Sander
- edges
- and smaller areas.
- Dust Mask
- Orbital Sander
- Random orbital sander
- Sanding Block
- Sandpaper
About the full video
This project details the process of restoring old, worn wooden stairs by thoroughly removing existing paint or varnish, meticulously cleaning the wood, and preparing the surface for a new finish. The video visually demonstrates the dramatic before-and-after transformation, moving from neglected, coated stairs to a clean, natural wood appearance.
Step 5 of 6: Sand and Finish Treads and Handrails
Using sandpaper of progressively finer grits, sand all exposed wood surfaces, including treads, risers, and handrails, until they are smooth to the touch. Wipe away all dust with a tack cloth or damp cloth. Apply your chosen finish according to the manufacturer's instructions. This may involve multiple coats of primer, paint, stain, or polyurethane. Allow adequate drying time between coats and light sanding if recommended. Ensure proper ventilation during this process.
Every video in How to Modernize a Dated Staircase with Rails, Lights and Treads
Step 1: Remove Old Treads and Risers
- 1:39–2:35 Cut Tread Fasteners & Remove Old Treads
- 0:01–0:09 Remove Old Carpet and Treads
- 0:05–0:08 Remove Old Stair Components
Step 2: Inspect and Repair Staircase Structure
- 0:00–0:13 Assess Existing Stairs and Planning
- 0:09–0:14 Repair and Prepare Stair Structure
- 3:59–6:57 Replace Damaged Stair Treads or Risers
Step 3: Install New Treads and Risers
- 6:45–8:03 Install New Treads and Secure with Shims/Glue/Nails
- 9:53 Install New Treads
- 0:06–0:09 Install Treads and Risers
Step 4: Install New Balusters and Handrails
- 5:36–6:05 Install Balusters and Handrail
- 0:23–0:31 Install Oak Handrails and Metal Balusters
- 3:35–4:17 Install Balusters and Fillets
Step 5: Sand and Finish Treads and Handrails
- 0:20–0:25 Sand and Finish Treads
- 0:37–0:45 Sanding the Stairs for Smoothness (this video)
- 0:15–0:17 Sand the Stairs
Step 6: Install Stair Lighting (Optional)
- 0:01–0:04 Apply LED Strip Lights to Treads
- 7:31–9:55 Install LED Lighting and Treads
- 0:00–0:19 Install Flexible LED Strip Lighting
How to Modernize a Dated Staircase with Rails, Lights and Treads
This project involves updating a dated staircase by replacing or refinishing treads, modernizing the handrails and balusters, and potentially incorporating lighting elements for both aesthetics and safety. The goal is to create a more contemporary and inviting look for the staircase.
Read the full guide Browse all guides
Planning this project? Shop Oak Valley Designs.

Subscribe for exclusive updates
Be the first to know about promotions, new products, and sales.