
How to Fix Squeaky Stairs for Good! | Today's Homeowner with Danny Lipford
Video by Today's Homeowner with Danny Lipford · 6 moments used in Oak Valley Designs's DIY guides · 0:53 long
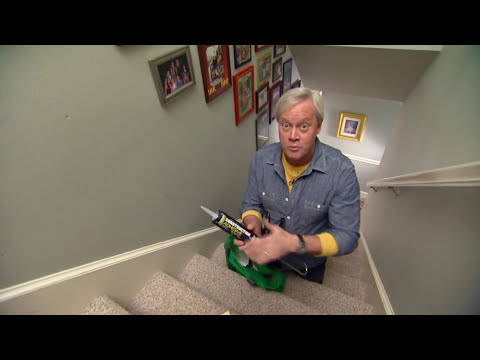
Moments in this video
- 0:14–0:34 Fix Squeaks from Underneath with Shims
From How to Fix Squeaky Stairs from Underneath with Shims and Glue Blocks, Step 1: Locate Squeaky Tread
If you have access to the underside of your stairs, purchase wooden shims from a home center. Locate the area under the stairs where the squeak is occurring. Gently tap a wooden shim into the gap between the stair tread and the stringer or riser using a hammer. The goal is to fill the void and prevent movement. Once the shim is in place and the squeak is eliminated or significantly reduced, apply a good quality construction adhesive around the shim to seal it in place and provide additional rigidity, further preventing future squeaks.
- 0:14–0:34 Fix Squeaks from Underneath with Shims
From How to Fix Squeaky Stairs from Underneath with Shims and Glue Blocks, Step 2: Prepare Shim Material
If you have access to the underside of your stairs, purchase wooden shims from a home center. Locate the area under the stairs where the squeak is occurring. Gently tap a wooden shim into the gap between the stair tread and the stringer or riser using a hammer. The goal is to fill the void and prevent movement. Once the shim is in place and the squeak is eliminated or significantly reduced, apply a good quality construction adhesive around the shim to seal it in place and provide additional rigidity, further preventing future squeaks.
- 0:14–0:34 Fix Squeaks from Underneath with Shims
From How to Fix Squeaky Stairs from Underneath with Shims and Glue Blocks, Step 5: Test for Squeaks
If you have access to the underside of your stairs, purchase wooden shims from a home center. Locate the area under the stairs where the squeak is occurring. Gently tap a wooden shim into the gap between the stair tread and the stringer or riser using a hammer. The goal is to fill the void and prevent movement. Once the shim is in place and the squeak is eliminated or significantly reduced, apply a good quality construction adhesive around the shim to seal it in place and provide additional rigidity, further preventing future squeaks.
- 0:14–0:34 Fix Squeaks from Underneath with Shims
From How to Fix Squeaky Hardwood Stairs from Above, Step 2: Access from Above
If you have access to the underside of your stairs, purchase wooden shims from a home center. Locate the area under the stairs where the squeak is occurring. Gently tap a wooden shim into the gap between the stair tread and the stringer or riser using a hammer. The goal is to fill the void and prevent movement. Once the shim is in place and the squeak is eliminated or significantly reduced, apply a good quality construction adhesive around the shim to seal it in place and provide additional rigidity, further preventing future squeaks.
- 0:14–0:34 Fix Squeaks from Underneath with Shims
From How to Fix Popping Noises from Adhesive Carpet Treads on Wood Stairs, Step 6: Address Sub-Surface Creaks
If you have access to the underside of your stairs, purchase wooden shims from a home center. Locate the area under the stairs where the squeak is occurring. Gently tap a wooden shim into the gap between the stair tread and the stringer or riser using a hammer. The goal is to fill the void and prevent movement. Once the shim is in place and the squeak is eliminated or significantly reduced, apply a good quality construction adhesive around the shim to seal it in place and provide additional rigidity, further preventing future squeaks.
- 0:46–0:52 Fix Squeaks on Hardwood Stairs with Screws and Putty
From How to Fix Squeaky Hardwood Stairs from Above, Step 5: Test for Squeaks
For hardwood stairs, the process is similar to carpeted stairs but with an additional finishing step. Locate the squeaky area and use small diameter screws driven by a cordless drill to secure the tread. Drive the screws slightly below the surface of the hardwood, creating a small indentation. After the screw is in place, fill the recessed hole with color-matched wood putty. Once the putty dries, it should blend seamlessly with your hardwood, making the repair almost invisible.
Guides that use this video
More from the Oak Valley Designs DIY Hub
Read the guide Browse all guides
Planning this project? Shop Oak Valley Designs.

Subscribe for exclusive updates
Be the first to know about promotions, new products, and sales.