
Wiring Light Fixtures
Video by Ask the Builder · 3 moments used in Oak Valley Designs's DIY guides · 1:56 long
Moments in this video
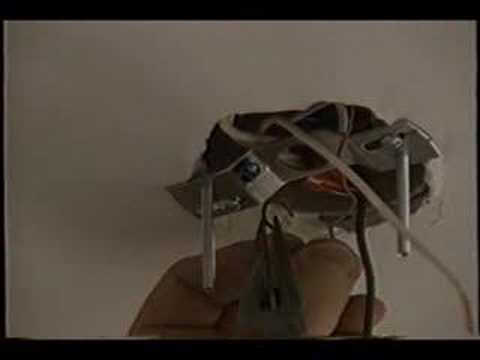
- 0:40–0:42 Install Mounting Bracket
From Light Fixture Replacement, Step 8: Prepare New Fixture Mounting Bracket
Attach the light fixture's metal mounting bracket to the electrical box in the ceiling. This bracket typically uses screws that come with the fixture or are already present in the electrical box. Make sure it is securely fastened as it will support the weight of the new fixture.
- 1:36–1:44 Restore Power and Test Functionality
From Light Fixture Replacement, Step 12: Restore Power and Test
After the fixture is fully installed, return to your circuit breaker panel and switch the power back on. Insert a working light bulb into the new fixture. Finally, flip the wall switch to test if your new light fixture is functioning correctly. If it doesn't work, retrace your steps to check connections and ensure the correct breaker was reset.
- 1:36–1:44 Restore Power and Test Functionality
From How to Install Recessed Step Lights in a Stairwell Wall, Step 6: Restore Power and Test
After the fixture is fully installed, return to your circuit breaker panel and switch the power back on. Insert a working light bulb into the new fixture. Finally, flip the wall switch to test if your new light fixture is functioning correctly. If it doesn't work, retrace your steps to check connections and ensure the correct breaker was reset.
Guides that use this video
More from the Oak Valley Designs DIY Hub
Read the guide Browse all guides
Planning this project? Shop Oak Valley Designs.

Subscribe for exclusive updates
Be the first to know about promotions, new products, and sales.