

How to Install Recessed Step Lights in a Stairwell Wall
About This Guide
This project outlines the steps for installing recessed lighting fixtures into the walls alongside a stairwell. This involves planning the layout, cutting openings, running electrical wire, connecting the fixtures to a power source, and finishing the installation.
Tools & Materials
Steps
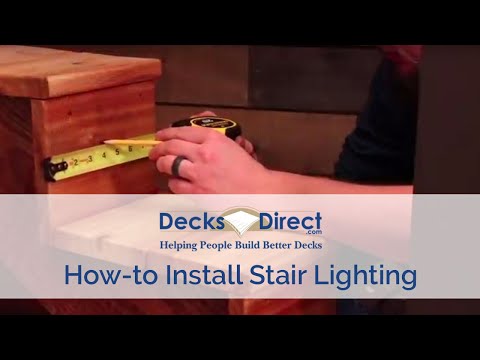
Cut Fixture Openings
Using the template provided with the recessed light fixture (or the fixture's housing itself), trace the outline onto the wall at each marked center point. Carefully cut along the traced lines using a drywall saw or oscillating tool, taking care not to cut into any electrical wires or plumbing that may be behind the wall. Ensure the cut is clean and slightly larger than the trim of the light fixture to allow for adjustment.
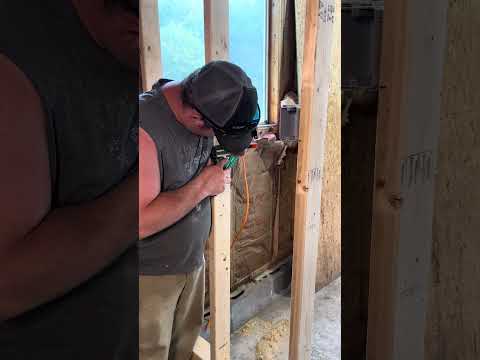
Run Electrical Wire
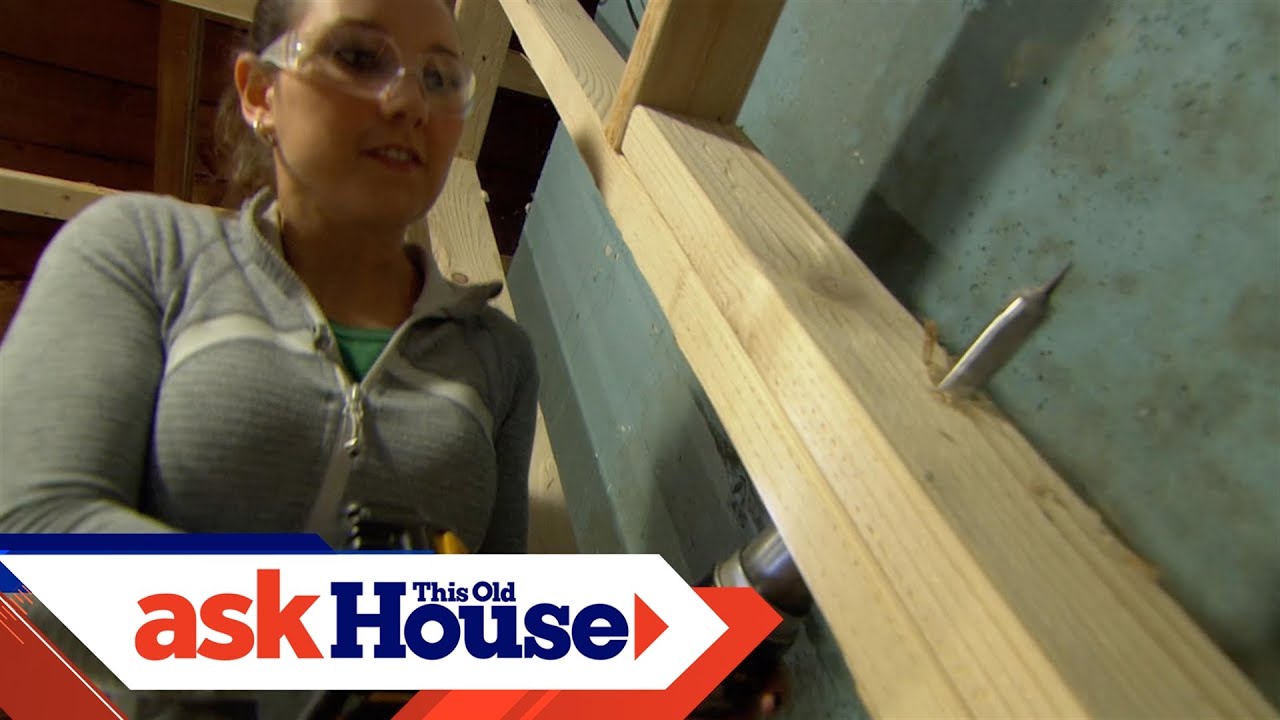
Determine the most efficient path to run the electrical cable (e.g., Romex) from the power source (typically a junction box or switch) to each of the cut openings. This may involve running wire through wall cavities, attics, or crawl spaces. Secure the cable using appropriate clips or staples to the framing members, ensuring it is not pinched or damaged. Leave enough slack at each opening to make the electrical connections.
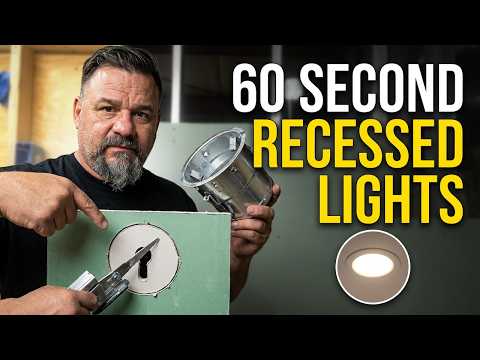
Connect Fixtures to Power
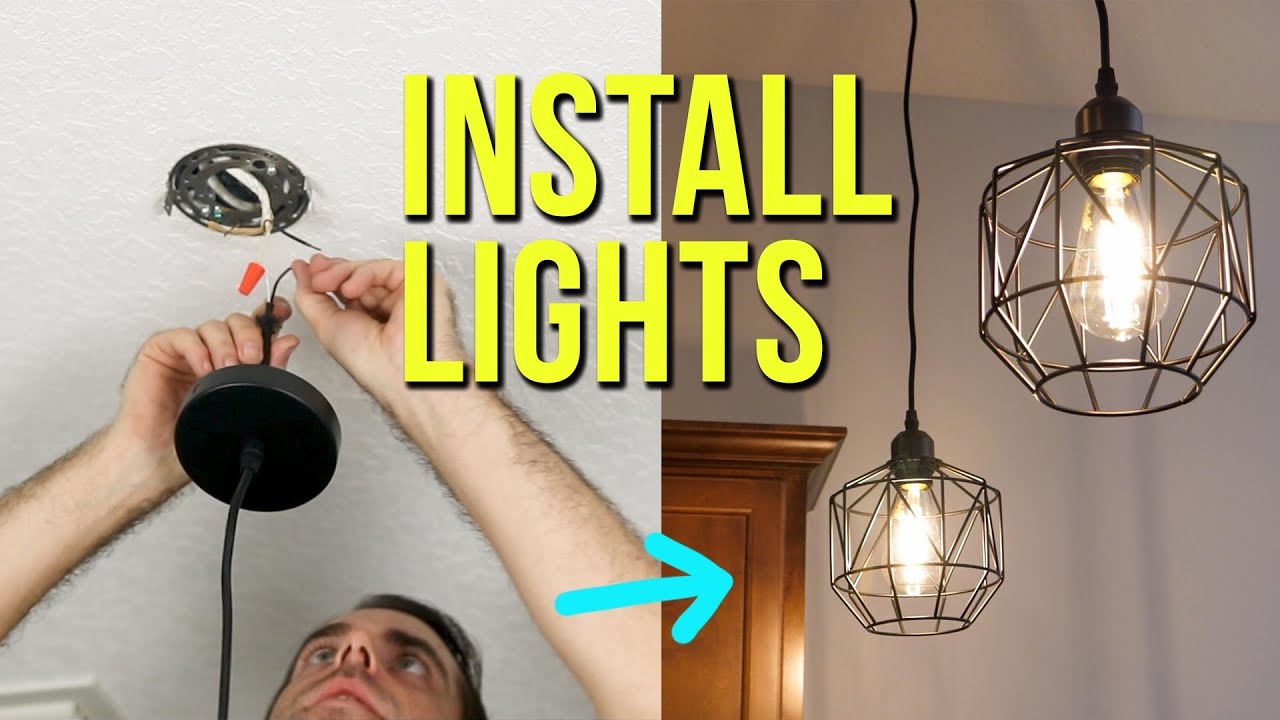
At each opening, identify the hot (black), neutral (white), and ground (bare copper or green) wires from the cable. Connect these wires to the corresponding wires on the recessed light fixture using appropriate wire connectors (e.g., wire nuts). Ensure all connections are secure and properly insulated. Tuck the connected wires and the fixture's junction box neatly into the opening.
Install Light Fixtures
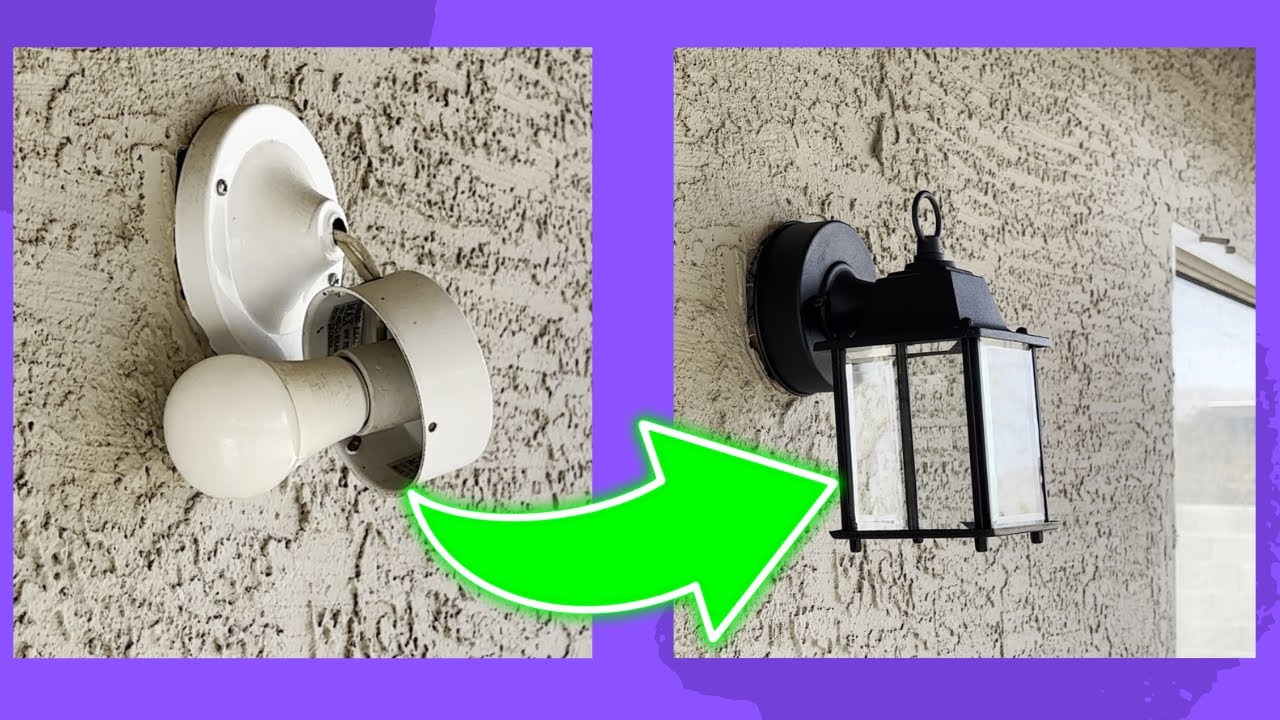
Carefully push the wired recessed light fixture into the opening created in the drywall. Most fixtures have spring clips or mounting tabs that will engage with the back of the drywall to hold the fixture in place. Ensure the fixture is seated flush against the wall surface and is stable.
Restore Power and Test
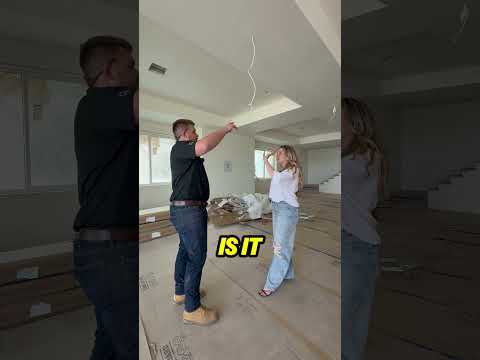
Once all fixtures are installed and connections are made, return to the electrical panel and turn the breaker back on for the circuit you were working on. Test each light to ensure it illuminates correctly. If any light does not work, turn the power off again and re-check all wiring connections.

Questions about your project or which product fits? Oak Valley Designs's team is happy to help. Mon–Fri 9–5 ET


Subscribe for exclusive updates
Be the first to know about promotions, new products, and sales.