

How to Install Motion-Sensor LED Strip Lights on Stair Treads
About This Guide
Install motion-sensor LED strip lights on stair treads for improved visibility and safety.
Tools & Materials
Commercial Electric 16 ft. LED White and RGB Tape Light Kit- Under Cabinet Light 423510
Lutron Caseta Motion Sensor, Occupancy/Multi-Location, White (PD-OSENS-WH) PD-OSENS-WH
Commercial Electric 16 ft. LED White and RGB Tape Light Kit- Under Cabinet Light 423510
Lutron Caseta Motion Sensor, Occupancy/Multi-Location, White (PD-OSENS-WH) PD-OSENS-WH
Steps
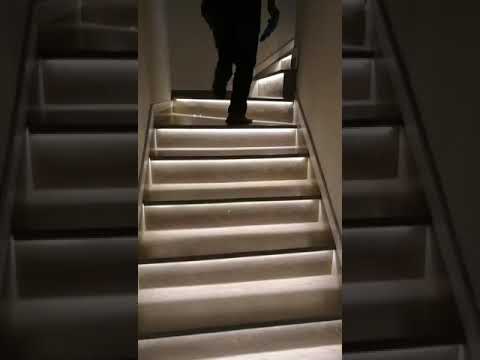
Plan LED Strip Placement
Determine the exact location for each LED strip on the front edge of the stair treads. Consider where the power cable will run from the first light to the last and where the motion sensor will be positioned to ensure it effectively detects movement on the stairs. Aim to place the strips just under the lip of each tread to create a floating light effect and hide the strip itself. Plan the route for the wires to run discreetly along the side of the stairs, perhaps behind a baseboard or railing, to the power source.
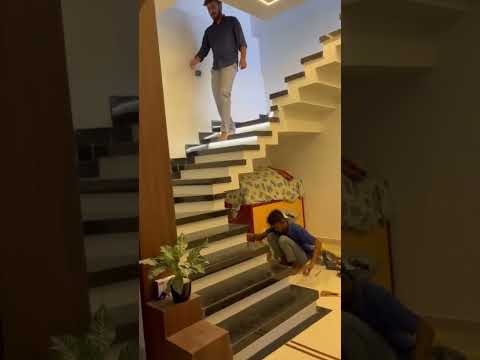
Prepare Stair Treads
Clean the underside front edge of each stair tread thoroughly with a degreaser or rubbing alcohol to remove any dust, dirt, grease, or old adhesive. Ensure the surface is completely dry before proceeding. If the stair material is rough, you may need to lightly sand the area to create a smoother surface for better adhesion of the LED strip's backing tape. Wipe away any sanding dust.
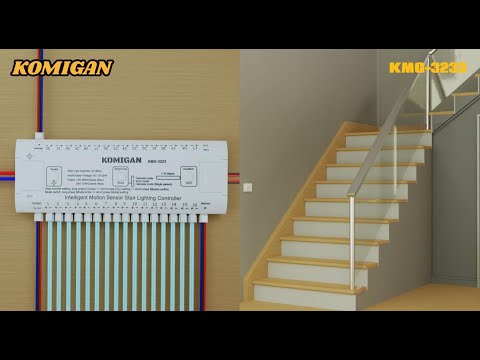
Install LED Strips
Carefully peel back the protective backing from the adhesive on the LED strip. Align the strip with the prepared edge of the first stair tread and press firmly into place, working from one end to the other. Ensure the strip is straight and centered. Repeat this process for all stair treads, following the planned layout. If the LED strips need to be cut to length, do so only at the designated cut marks on the strip.

Connect LED Strips and Motion Sensor
Follow the specific wiring diagram provided with your LED strip kit and motion sensor. Typically, this involves connecting the strips in series using the provided connectors or by soldering. Connect the output of the final LED strip to the input of the motion sensor. Ensure all connections are secure and properly insulated to prevent short circuits. The motion sensor will then be connected to the power source.
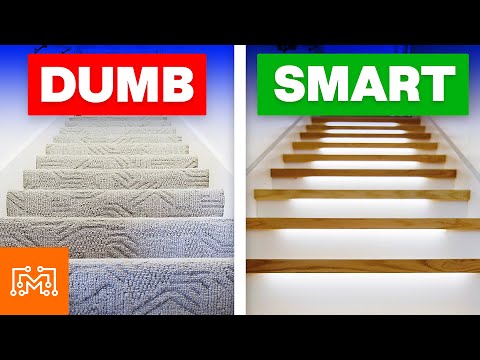
Mount Motion Sensor and Power Supply
Choose a location for the motion sensor that has a clear line of sight to the stairs and will effectively detect movement. Mount it using its adhesive backing or screws, ensuring it's firmly in place. Mount the power supply near an electrical outlet, again using adhesive or screws. Ensure that all wiring is neatly routed and secured using cable clips or ties to prevent it from hanging loosely or becoming a hazard.
Test the System
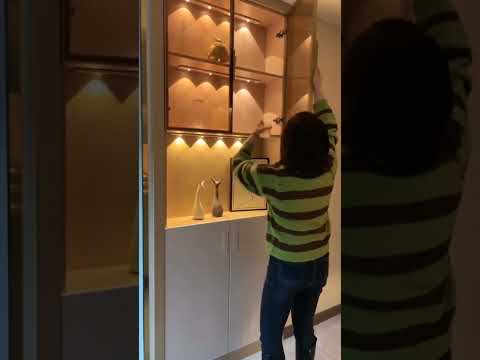
Plug in the power supply. Walk past the motion sensor to confirm that the LED lights activate. Observe the sensitivity and range of the motion sensor, adjusting its position or settings if necessary. Test to see if the lights turn off after the programmed delay. Ensure all LEDs illuminate evenly and that there are no flickering or dead spots. Check all connections one last time.
Questions about your project or which product fits? Oak Valley Designs's team is happy to help. Mon–Fri 9–5 ET



Subscribe for exclusive updates
Be the first to know about promotions, new products, and sales.