
Recessed Staircase Lighting
About This Guide
This project involves planning the layout, safely running electrical wiring, cutting holes in the wall, installing the light fixtures, and connecting them to a power source. It's a moderately complex electrical project that requires careful attention to safety and building codes.
Assembled from 13 on-camera clips by 10 independent creators demonstrating these exact steps.
Tools & Materials
Klein Tools Laser Level, Self-Leveling Red Cross-Line Level and Red Plumb Spot (93LCLS)
Square D Homeline 125 Amp 20-Space 40-Circuit Indoor Main Lug plug-on neutral Electrical Panel with Cover, Ground Bar
Klein Tools Laser Level, Self-Leveling Red Cross-Line Level and Red Plumb Spot (93LCLS)
Square D Homeline 125 Amp 20-Space 40-Circuit Indoor Main Lug plug-on neutral Electrical Panel with Cover, Ground Bar
Steps
Plan Lighting Layout
Carefully plan the exact location for each recessed light fixture. For optimal safety and visibility, consider placing a light at every other step, or at the bottom and top of the stairs and spaced evenly in between. Measure and mark the center point for each fixture on the wall adjacent to the stairs. Account for the angle of the stairs and the desired light spread. Ensure markings are level and consistent.
Determine Power Source and Circuit Needs
Locate a nearby electrical box or junction that can safely accommodate the new lighting circuit. Assess the existing circuit's amperage and determine if it has enough capacity for the added load of the new lights. If the existing circuit is insufficient or if local codes require a dedicated circuit for lighting, you will need to run a new cable from the main electrical panel. Consult an electrician if you are unsure about load calculations or code requirements.
Install Wiring
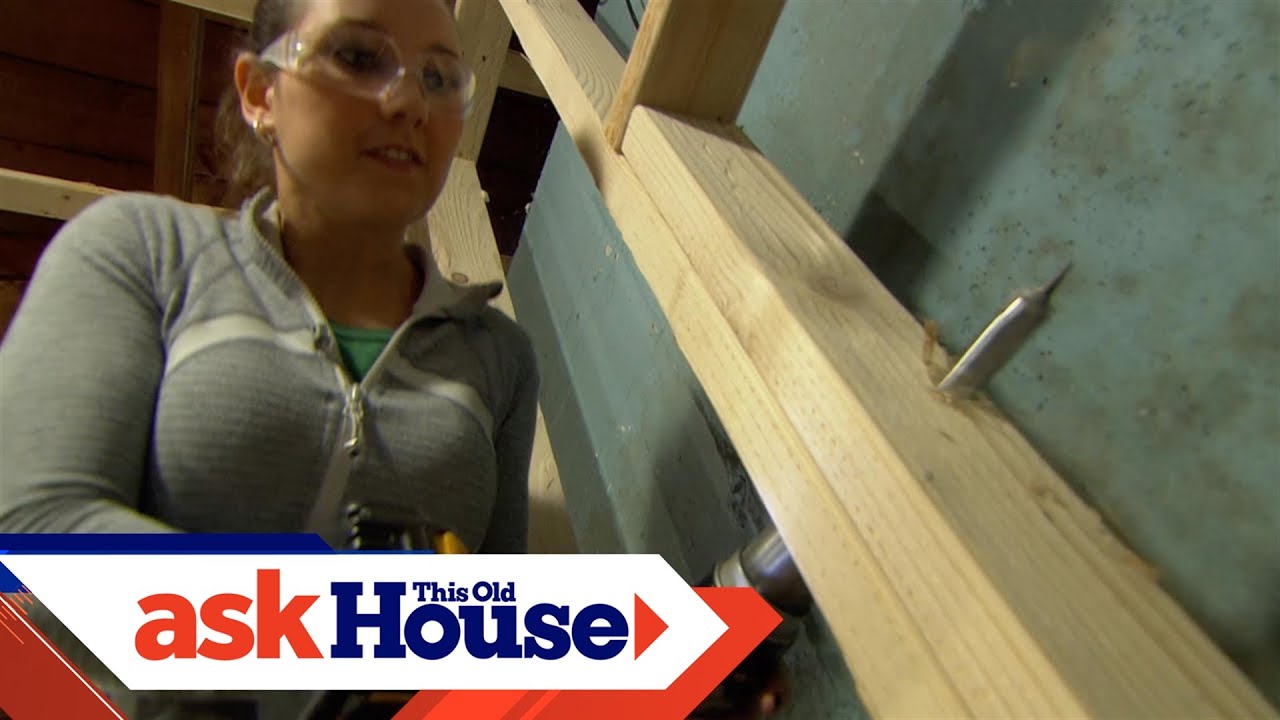
Drill holes through wall studs or ceiling joists as needed to route the electrical cable. Use a fish tape or similar tool to pull the wire through. Ensure the wire is secured properly and does not come into contact with sharp edges. Leave enough slack at each fixture location for making connections. The wire type and gauge must be appropriate for the circuit's amperage and the fixture's requirements, typically 14/2 or 12/2 NM-B cable for residential lighting.
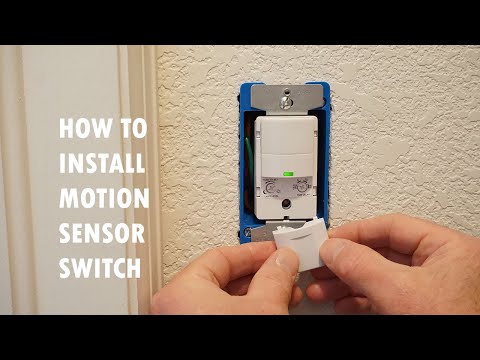
Cut Fixture Openings
Using a template provided with the light fixture or by measuring precisely from your markings, trace the outline of the fixture on the wall surface. Carefully cut along the traced line using a drywall saw or oscillating multi-tool. Be precise to ensure a snug fit for the light fixtures. Avoid cutting into existing wiring or plumbing within the walls.

Install Light Fixtures
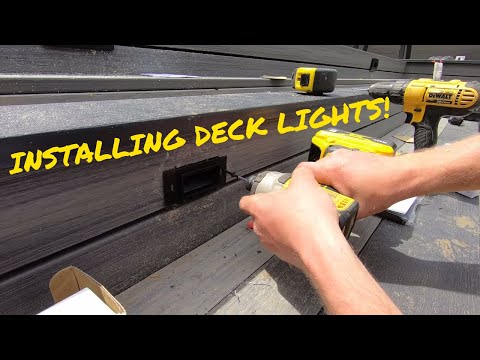
Gently feed the electrical cable through the back of the recessed light housing. Insert the fixture into the opening, ensuring it sits flush against the wall. Most recessed lights have spring clips or mounting brackets that will secure the fixture to the drywall. Engage these clips or brackets according to the manufacturer's instructions. Ensure the fixture is stable and securely fastened.
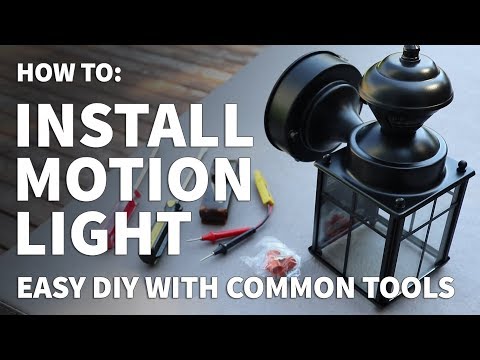
Connect Wiring
Strip about 0.5 inches of insulation from the ends of the electrical cable wires (black, white, and ground). Connect the black wire (hot) from the cable to the corresponding black wire on the fixture using a wire nut. Connect the white wire (neutral) from the cable to the white wire on the fixture. Connect the bare copper or green wire (ground) from the cable to the green or bare ground screw on the fixture. Ensure all connections are tight and no bare wire is exposed outside the wire nut or connection point. Tuck wires neatly into the fixture's junction box.
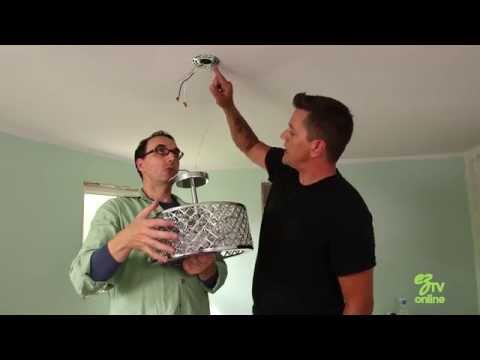
Test the System
Once all connections are made and fixtures are installed, go to the main electrical panel and turn the power back on to the circuit. Test each light by operating the associated switch. Verify that all lights illuminate properly and consistently. If any light does not work, immediately turn off the power and re-check all wiring connections.
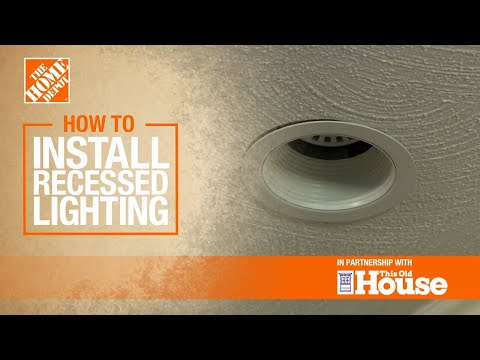
Install Trim or Covers
Many recessed light fixtures come with a trim or cover that snaps or screws into place to conceal the drywall edge and the fixture housing. Install these components as per the manufacturer's instructions to complete the installation and provide a clean, professional appearance.
Frequently Asked Questions
What are the most critical safety precautions I need to take for this electrical project?
Always ensure the power is off at the circuit breaker before starting any electrical work. Use a voltage/circuit tester to confirm wires are dead before touching them. Familiarize yourself with local electrical codes and wear appropriate safety gear, including insulated gloves and eye protection. If you are uncertain about any step, hire a licensed electrician.
What specialized tools are absolutely essential for installing recessed staircase lighting?
Beyond basic tools, you'll need a voltage/circuit tester for safety and a good drill. A fish tape (like the Klein Tools 100 ft. Non-Conductive Fiberglass Fish Tape) is crucial for running wires through finished walls. A specialized auger bit (e.g., DIABLO 1/2 in. x 7-1/2 in. Auger Bit) is recommended for drilling through studs, and a cable stapler helps secure wiring correctly.
How important is the initial planning for light placement, and what's a common mistake to avoid?
Planning the light layout is crucial for achieving even illumination and avoiding glare, especially on stairs. A common mistake is not considering the light beam spread or stair dimensions, resulting in inadequate lighting or harsh hot spots. Use painter's tape or temporary lights to visualize the effect before cutting any holes.
The project is estimated to take '3 days'; what contributes most to that time, and can it be shortened?
The 3-day estimate accounts for careful planning, safely running new wiring, precise hole cutting, fixture installation, and potentially patching or painting. Much of the time is dedicated to ensuring electrical safety and code compliance. While careful work takes time, having all tools and materials ready can prevent delays, but rushing electrical work is never recommended.
Are there any less invasive or easier alternatives to recessed lighting for staircases?
Yes, if cutting into walls for recessed fixtures seems too daunting, consider surface-mount step lights or LED strip lighting. LED strips can be installed under stair nosings or along handrails, offering a softer, diffused light. These options generally require less structural modification but still involve proper electrical connections.
Questions about your project or which product fits? Oak Valley Designs's team is happy to help. Mon–Fri 9–5 ET





Subscribe for exclusive updates
Be the first to know about promotions, new products, and sales.