Install Recessed Light Housing
From Recessed Staircase Lighting · Step 5 of 8 · Video by This Old House
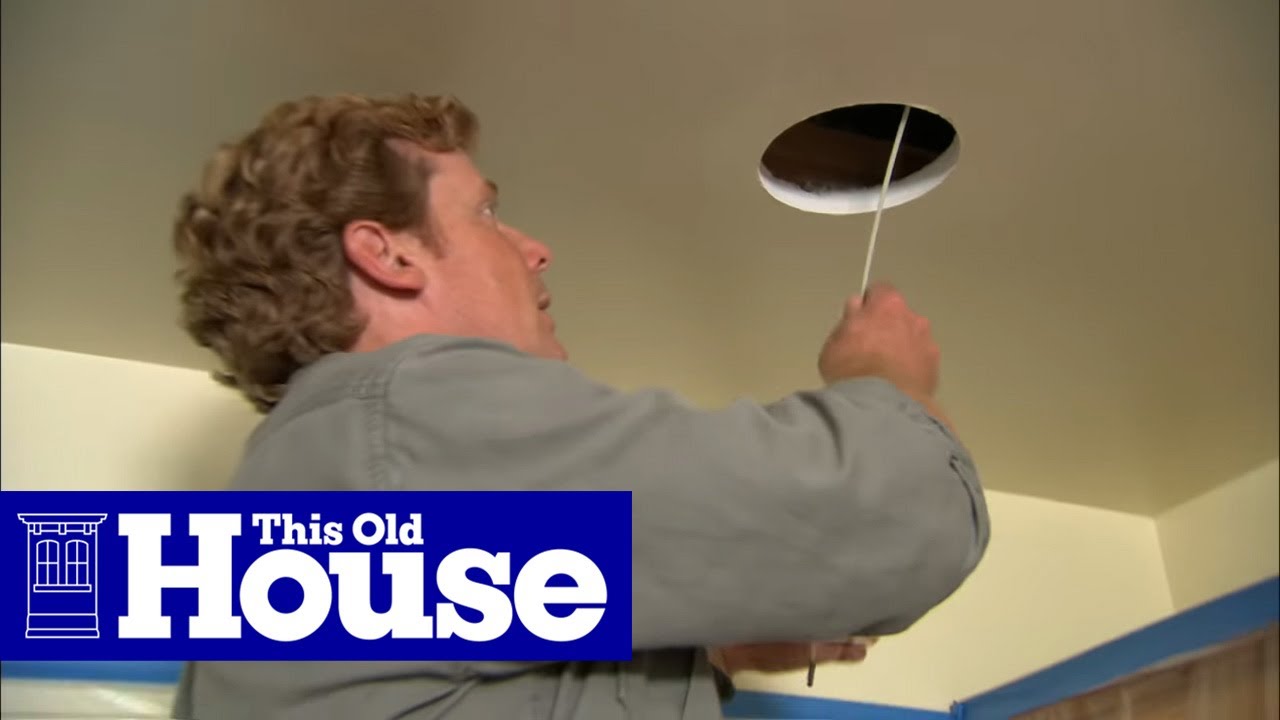
Showing 2:04–3:10 of the source video.
What happens in this clip
With the wiring connections made and safely enclosed in the junction box, the recessed light housing can now be installed. Push the entire housing assembly up into the previously cut hole in the ceiling. The remodel housing features four internal clips that, when pushed outwards from inside the fixture, will grab onto the drywall, securely holding the fixture in place. Push the housing firmly until it sits flush with the ceiling, ensuring all four clips are engaged.
Goal: Securely mount the recessed light housing into the ceiling opening
What's used
Tools
- Ladder
- Recessed Light Remodel Housing
About the full video
This project provides a detailed, step-by-step guide on how to install recessed lights in a ceiling. It covers planning light placement, safely cutting holes with dust control, fishing electrical wires through the ceiling, making electrical connections both at the light fixture and in the attic, and finally installing the light housings, trim, and bulbs. The video emphasizes working safely and efficiently, particularly for remodel situations where attic access might be required for main connections.
Step 5 of 8: Install Light Fixtures
Gently feed the electrical cable through the back of the recessed light housing. Insert the fixture into the opening, ensuring it sits flush against the wall. Most recessed lights have spring clips or mounting brackets that will secure the fixture to the drywall. Engage these clips or brackets according to the manufacturer's instructions. Ensure the fixture is stable and securely fastened.
Other videos for this step
Recessed Staircase Lighting
This project involves planning the layout, safely running electrical wiring, cutting holes in the wall, installing the light fixtures, and connecting them to a power source. It's a moderately complex electrical project that requires careful attention to safety and building codes.
Read the full guide Browse all guides
Planning this project? Shop Oak Valley Designs.