
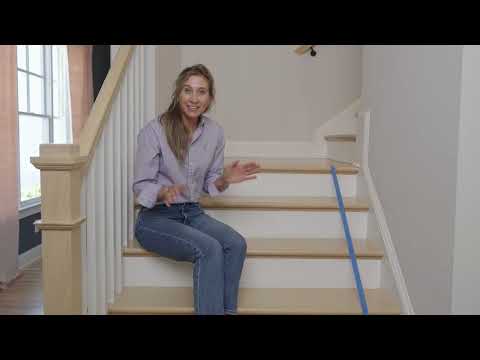
Step 5 · Secure the Bond: Press from the Center Out
To ensure a truly secure and lasting bond, apply firm, even pressure to the tread. Start from the very center and work your way outwards towards the edges. This technique is key to pushing out any trapped air bubbles and creating a smooth, flush finish. Pay extra attention to firmly pressing down all corners and edges – this prevents any curling or lifting, ensuring your treads stay put and look fantastic. A hand roller or even a flat, clean object can be a great help here to really seat the tread firmly, giving you confidence in its stability.
Tools and Materials
 Bayside Charm - Tread
Press from the center outward to push out air bubbles, and seat the corners firmly — a hand roller gives the most secure, lift-free bond.

Subscribe for exclusive updates
Be the first to know about promotions, new products, and sales.