
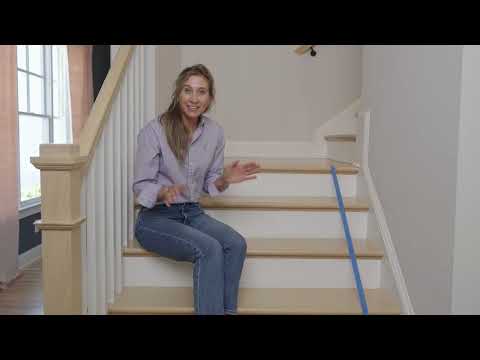
Step 6 · Steps to Success: Repeat and Enjoy Your Safer Stairs!
Now, simply repeat steps 4 and 5 for each remaining step, working your way down the staircase. Once all of your beautiful Oak Valley Designs treads are in place, take a moment to walk on your newly elevated staircase. This is your chance to feel the enhanced safety and stability! If you notice any edges that aren't perfectly flush, simply press them down firmly again. In rare cases, a bit more time for the adhesive to fully set can also do the trick. Congratulations – you've just created a safer, more stylish home environment, all by yourself!
Tools and Materials
 Bayside Charm - Tread
After walking your finished stairs, re-press any edge that isn't perfectly flush. In rare cases, just giving the adhesive more time to set does the trick.
You've reached the last step
Nice work — share this guide or find your next project.

Subscribe for exclusive updates
Be the first to know about promotions, new products, and sales.