
← Guide
Install stair treads
Step 1 of 6
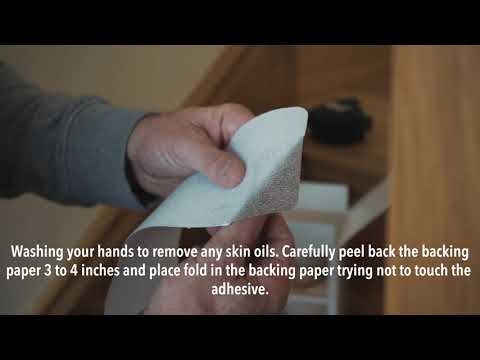
Step 1 · Prep Your Stairs for a Perfect Bond
Why is this step so crucial? Any dust, debris, or oils on your stair's surface can prevent our special adhesive from creating a secure grip, leading to treads that might shift or lift. Start by vacuuming or wiping each step clean. Then, give it time to dry completely, as even a little moisture can compromise the bond. For the best results on an uneven surface, a quick, light sanding does wonders. Safety-conscious tip: Always allow freshly painted or varnished stairs to cure fully before installation; the adhesive needs a stable, cured surface to adhere to properly.
Dirt and dust interfere with the adhesive and cause treads to lift or shift, so clean and dry the stairs completely first.
General Hazard
Even slight moisture weakens the bond.
General Hazard
Do not apply over freshly painted or varnished stairs; the adhesive won't bond to a fresh finish.

Subscribe for exclusive updates
Be the first to know about promotions, new products, and sales.