
← Guide
Install stair treads
Step 6 of 6
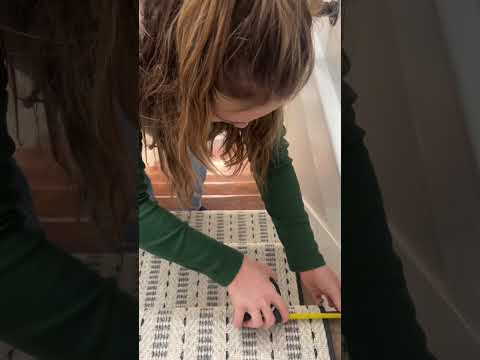
Step 6 · Repeat the Process and Admire Your Work
Work your way down the staircase, repeating the peel, place, and press method for each tread. Once you're done, it's time to feel the Oak Valley Difference! Walk your stairs to feel the new comfort and stability. If you notice any edge that seems to have lifted slightly, just apply firm pressure again. Now, you can enjoy the peace of mind that comes with a safer, more beautiful staircase.
Tools and Materials
 Oak Valley Tailored Square - Tread
Allow more set time if an edge lifts.
Allow more set time if an edge lifts.
The adhesive bonds best to clean, dry, smooth surfaces.
The adhesive bonds best to clean, dry, smooth surfaces.
To reposition or replace a tread without harming the wood, peel slowly so the adhesive releases cleanly.
To reposition or replace a tread without harming the wood, peel slowly so the adhesive releases cleanly.
You've reached the last step
Nice work — share this guide or find your next project.
Subscribe for exclusive updates
Be the first to know about promotions, new products, and sales.