
← Guide
Stair Tread Installation
Step 1 of 6
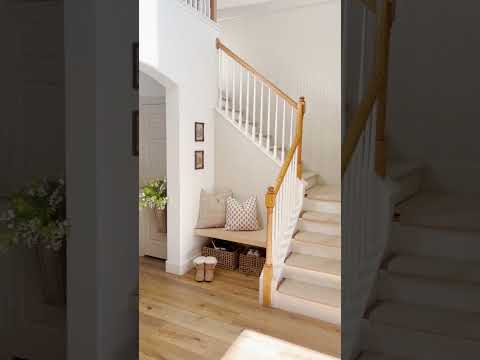
Step 1 · Prepare Your Surface for a Perfect Bond
For a bond that lasts, a clean, dry surface is non-negotiable. Dust, dirt, or even a little grease can prevent the adhesive from gripping properly, leading to treads that shift or lift. Vacuum or wipe each step clean, then let it dry completely—even a hint of moisture can weaken the bond. If your steps are rough, a light sanding can help. Important Safety Note: Never apply treads over freshly painted or varnished stairs; allow the finish to cure fully first, as the adhesive won't bond securely to an uncured surface.
Dirt and dust interfere with the adhesive and cause treads to lift or shift, so clean and dry the stairs completely first.
Lightly sand rough or uneven steps for better adhesion.
Lightly sand rough or uneven steps for better adhesion.
General Hazard
Adhesive won't hold on a dirty or damp step.
General Hazard
Do not apply over fresh paint or varnish.

Subscribe for exclusive updates
Be the first to know about promotions, new products, and sales.