
← Guide
Stair Tread Installation
Step 6 of 6
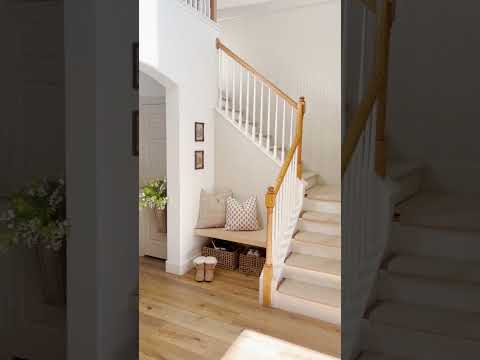
Step 6 · Repeat, Admire, and Test
Continue this simple process one step at a time as you work your way down the staircase. When you're done, walk up and down your newly transformed stairs to feel the difference! The added traction provides immediate peace of mind. If you notice any edge lifting slightly, just press it down firmly again or allow a bit more time for the adhesive to fully set.
Tools and Materials
 Classic Sisal (Set of 14)
Allow the adhesive adequate set time for optimal bonding.
Allow the adhesive adequate set time for optimal bonding.
Regularly test the treads by walking on them to catch any potential issues early.
Regularly test the treads by walking on them to catch any potential issues early.
Peel slowly when repositioning or replacing a tread to ensure the adhesive releases cleanly.
Peel slowly when repositioning or replacing a tread to ensure the adhesive releases cleanly.
You've reached the last step
Nice work — share this guide or find your next project.

Subscribe for exclusive updates
Be the first to know about promotions, new products, and sales.