
← Guide
Stair Tread Installation
Step 5 of 6
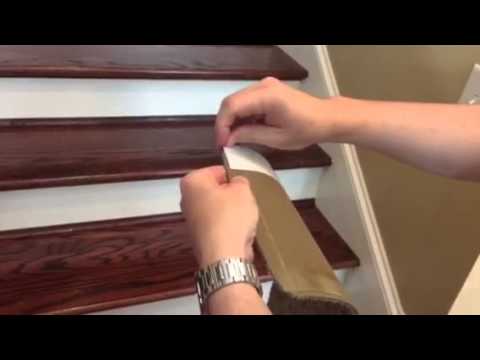
Step 5 · Secure the Bond
Now, let's lock it in. Press down firmly in the center of the tread and work your way out to the edges. This pushes out any trapped air bubbles and ensures full contact. Give extra attention to the corners and edges to prevent any curling or lifting. You can use a small hand roller or even a flat, solid object to help seat the tread firmly for maximum grip.
Tools and Materials
 Classic Sisal (Set of 14)
Always work from the center outward to push out air bubbles, then press the edges firm.
Applying firm pressure ensures the adhesive makes full contact with the surface.
Applying firm pressure ensures the adhesive makes full contact with the surface.
Pay special attention to the edges and corners to prevent lifting.
Pay special attention to the edges and corners to prevent lifting.

Subscribe for exclusive updates
Be the first to know about promotions, new products, and sales.