
Apply Grip Tape to the Deck
From How to Choose Between Carpet Treads, Grip Tape and Anti-Slip Coatings · Step 7 of 9 · Video by AndrewSchrock
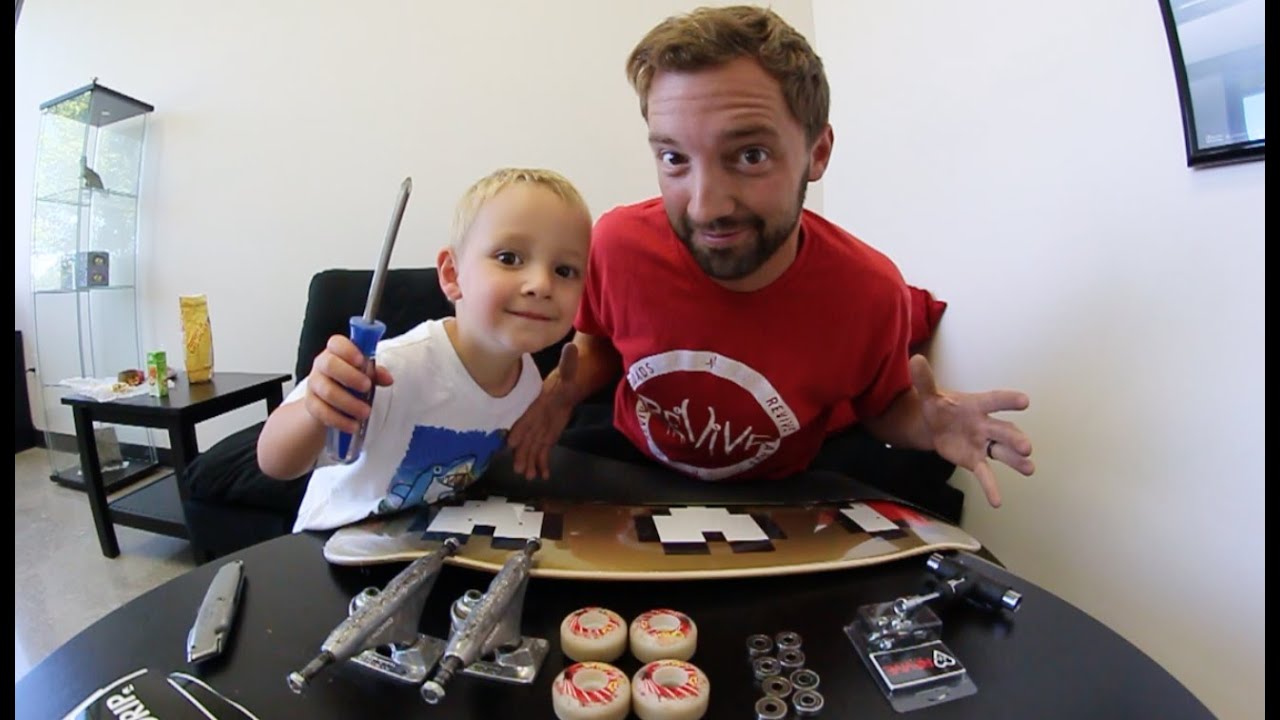
Showing 3:46–6:05 of the source video. Watch the full video with every moment.
What happens in this clip
Carefully peel a small section of the backing paper from one end of the grip tape. If you want to customize the grip tape by placing stickers underneath, do so now on the exposed adhesive part of the grip tape. The presenter demonstrates putting 'Revive' stickers underneath the cut-out section of the AMGRIP tape. Align the grip tape over the skateboard deck, making sure it's centered. Once aligned, slowly press the grip tape down from the middle outwards to prevent air bubbles, gradually peeling off the rest of the backing paper as you go. Alternatively, you can pull the backing paper out from the center outwards after adhering the middle section.
Goal: Secure the grip tape onto the skateboard deck evenly and without air bubbles.
What's used
Tools
- Grip Tape AMGRIP
- Skateboard Deck Revive Low Life (8-bit series)
Materials
- Stickers Revive
About the full video
This project provides a comprehensive guide on how to assemble a complete skateboard from individual components, including applying grip tape, attaching trucks, installing bearings, and mounting the wheels. It covers essential techniques for a functional and customized skateboard.
Step 7 of 9: Apply Grip Tape (if selected)
Measure and cut the grip tape into the required sections using a sharp blade. Carefully peel the backing paper away from one end of the tape and align it with the starting edge of the surface. Smooth the tape down onto the surface using firm, even pressure, working from the center outwards to avoid air bubbles and wrinkles. Ensure all edges are pressed down securely to prevent peeling.
Every video in How to Choose Between Carpet Treads, Grip Tape and Anti-Slip Coatings
Step 1: Assess Surface Type and Condition
- 0:28–0:32 Prepare Surface for Adhesive Application
- 0:51–4:06 Apply Adhesive-Backed Anti-Slip Products
Step 2: Determine Application Environment and Use
- 0:09–0:15 Understand Anti-Slip Product Options
- 0:03–0:16 Understand Anti-Slip Standards and Product
- 0:28–0:32 Prepare Surface for Adhesive Application
Step 3: Compare Anti-Slip Solution Options
- 0:09–0:15 Understand Anti-Slip Product Options
- 1:47–1:57 Ensure Drainage and Durability
- 0:46–0:59 Spray Clear Anti-Slip Coating
Step 4: Select Primary Anti-Slip Solution
- 0:46–0:59 Spray Clear Anti-Slip Coating
- 2:27–3:10 Apply Paint to Stairs
- 0:09–0:15 Understand Anti-Slip Product Options
Step 5: Prepare Surface for Selected Solution
- 0:00–0:20 Clean and Prepare Stair Surface
- 0:28–0:32 Prepare Surface for Adhesive Application
- 0:02 Prepare Stair Surface
Step 6: Install Carpet Treads (if selected)
- 0:16–0:21 Apply Peel-and-Stick Carpet Treads
- 1:16–2:09 Install Carpet Treads with Adhesive
- 0:06–0:14 Install Carpet Treads
Step 7: Apply Grip Tape (if selected)
- 3:46–6:05 Apply Grip Tape to the Deck (this video)
- 2:18–5:35 Apply Grip Tape to the Deck (Dry Method)
- 5:14–5:43 Apply Grip Tape
Step 8: Apply Anti-Slip Coating (if selected)
- 0:33–0:39 Apply Tuff Grip Anti-Slip Coating
- 0:18–0:45 Apply the Non-Skid Coating
- 0:26–0:28 Apply Anti-Skid Paint
Step 9: Cure and Inspect
How to Choose Between Carpet Treads, Grip Tape and Anti-Slip Coatings
Outline the process for evaluating and selecting the most suitable anti-slip solution among carpet treads, grip tape, and coatings for a given surface and application.
Read the full guide Browse all guides
Planning this project? Shop Oak Valley Designs.

Subscribe for exclusive updates
Be the first to know about promotions, new products, and sales.