
Apply Wood Glue
From How to Fix Squeaky Stairs from Underneath with Shims and Glue Blocks · Step 3 of 6 · Video by Ryan | Plumbing & Construction
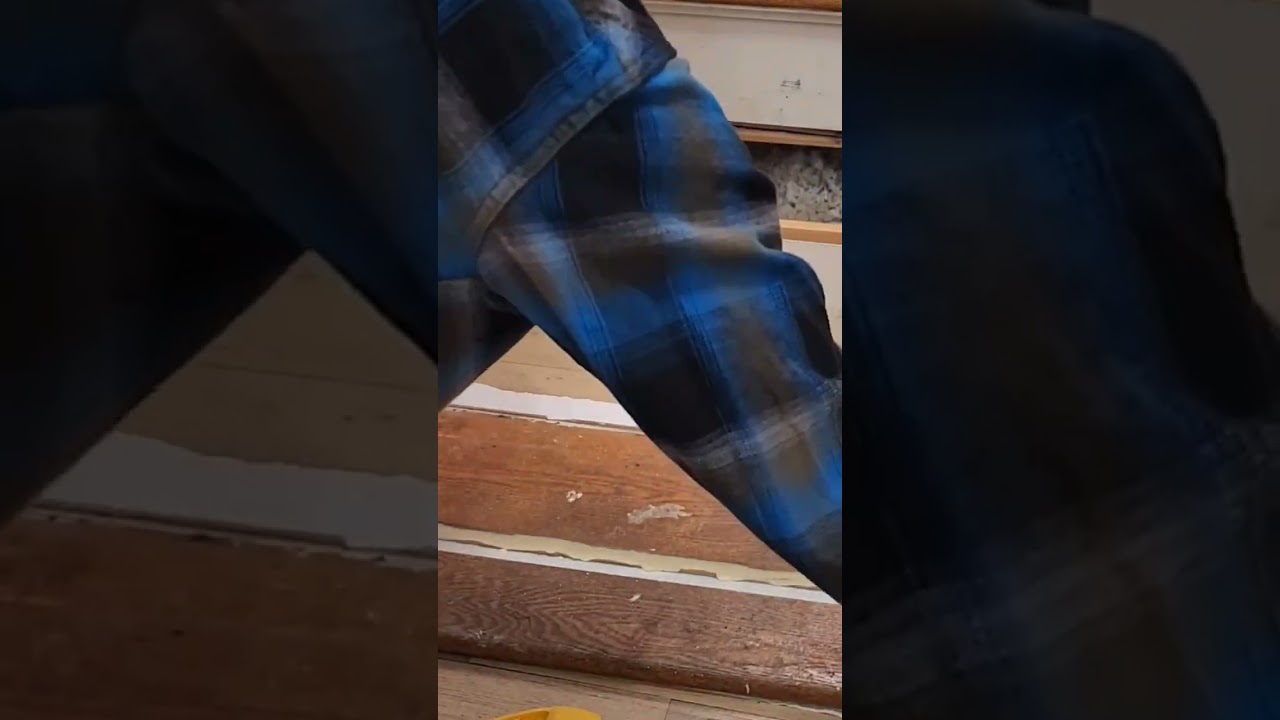
Showing 0:22–0:34 of the source video. Watch the full video with every moment.
What happens in this clip
Apply a generous, continuous bead of wood glue along the top edges of the exposed stair stringers and the riser where the new stair tread will sit. Ensure even coverage to maximize adhesion and help prevent future squeaks. The video clearly shows a bottle of Titebond brand wood glue being used for this purpose.
Goal: Apply wood glue to the stair stringers and riser
What's used
Materials
- Wood glue Titebond
- Elmer's Wood Glue
About the full video
This project guides you through the process of repairing a broken stair tread by carefully removing the damaged wood, preparing the underlying structure, and installing a new tread using wood glue and a nail gun for a secure and long-lasting repair.
Step 3 of 6: Apply Wood Glue
Once you've identified the rubbing points (usually where the tread meets the riser or the stringer), apply a generous amount of wood glue to these surfaces. If you're addressing a gap, apply glue to the edges of the shim material and the surfaces it will contact. This glue will help to bond the parts together and further reduce friction and noise.
Every video in How to Fix Squeaky Stairs from Underneath with Shims and Glue Blocks
Step 1: Locate Squeaky Tread
- 0:14–0:34 Fix Squeaks from Underneath with Shims
- 0:13–0:20 Locate Squeaky Floor Section
- 2:45–5:32 Identify Squeak Causes and Mark Fixings
Step 2: Prepare Shim Material
- 0:14–0:34 Fix Squeaks from Underneath with Shims
- 0:15–0:38 Shim Gaps from Underside
- 3:09–3:51 Tighten Loose Risers with Shims
Step 3: Apply Wood Glue
- 6:40–7:13 Apply Wood Glue (Back Risers)
- 0:22–0:34 Apply Wood Glue (this video)
- 6:22–6:49 Apply 5-Minute Wood Adhesive
Step 4: Insert and Secure Shims
- 4:46–5:44 Attach Support Blocks and Secure Wedges
- 4:08–4:28 Final Gap Filling and Tread Reinforcement
- 3:09–3:51 Tighten Loose Risers with Shims
Step 5: Test for Squeaks
- 4:28–5:00 Test the Repaired Stairs
- 0:14–0:34 Fix Squeaks from Underneath with Shims
- 5:45–6:01 Test the Repaired Stairs
Step 6: Clean Up
- 10:52–11:00 Clean Up Mess
- 13:42–14:26 Clean Glue Squeeze-out
How to Fix Squeaky Stairs from Underneath with Shims and Glue Blocks
This project outlines the steps to fix squeaky stairs from underneath by using shims and glue blocks to secure the treads and risers.
Read the full guide Browse all guides
Planning this project? Shop Oak Valley Designs.

Subscribe for exclusive updates
Be the first to know about promotions, new products, and sales.