
Test the Repaired Stairs
From How to Fix Squeaky Stairs from Underneath with Shims and Glue Blocks · Step 5 of 6 · Video by Game of Life
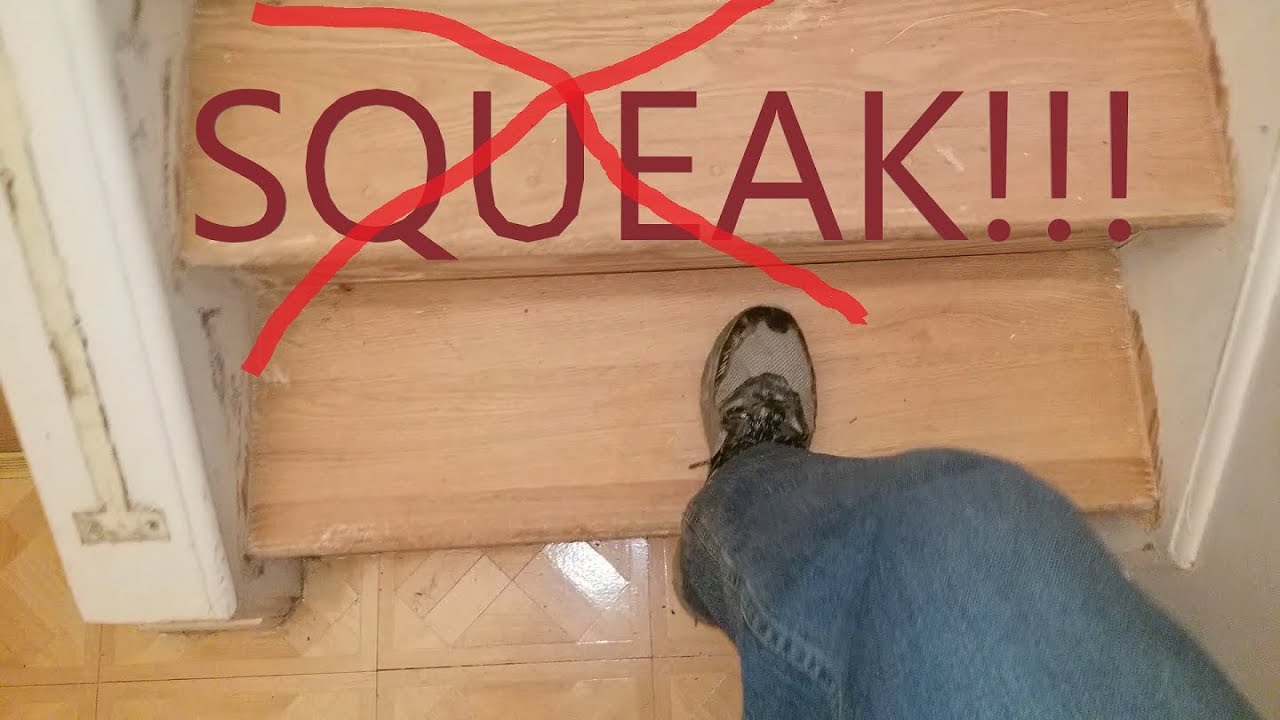
Showing 5:45–6:01 of the source video. Watch the full video with every moment.
What happens in this clip
Once all the support blocks and wedges have been installed and the glue has had some time to set (refer to the wood glue's drying time instructions), carefully walk up and down the stairs. Pay close attention to the areas where squeaks were previously present. You should notice a significant reduction or complete elimination of the noisy squeaks. The added support from the mini-risers and the tight fit of the wedges will prevent the tread from moving against the riser, thus silencing the stairs.
Goal: Verify that the stairs no longer squeak after the repairs.
About the full video
This project provides instructions on how to fix noisy stairs by adding support blocks (mini-risers) underneath the treads and risers, and by re-securing or replacing loose wedges in the stringers. The main issue addressed is the movement and rubbing between the tread and riser due to a lack of central support and the dislodging of structural wedges.
Step 5 of 6: Test for Squeaks
Once all shims and glue blocks are in place and any screws are secured, have your assistant walk on the stairs again. Listen carefully from underneath to confirm that the squeak has been resolved. If the squeak persists, you may need to repeat the process with slightly different shim placement or try adding more shims and glue.
Every video in How to Fix Squeaky Stairs from Underneath with Shims and Glue Blocks
Step 1: Locate Squeaky Tread
- 0:14–0:34 Fix Squeaks from Underneath with Shims
- 0:13–0:20 Locate Squeaky Floor Section
- 2:45–5:32 Identify Squeak Causes and Mark Fixings
Step 2: Prepare Shim Material
- 0:14–0:34 Fix Squeaks from Underneath with Shims
- 0:15–0:38 Shim Gaps from Underside
- 3:09–3:51 Tighten Loose Risers with Shims
Step 3: Apply Wood Glue
- 6:40–7:13 Apply Wood Glue (Back Risers)
- 0:22–0:34 Apply Wood Glue
- 6:22–6:49 Apply 5-Minute Wood Adhesive
Step 4: Insert and Secure Shims
- 4:46–5:44 Attach Support Blocks and Secure Wedges
- 4:08–4:28 Final Gap Filling and Tread Reinforcement
- 3:09–3:51 Tighten Loose Risers with Shims
Step 5: Test for Squeaks
- 4:28–5:00 Test the Repaired Stairs
- 0:14–0:34 Fix Squeaks from Underneath with Shims
- 5:45–6:01 Test the Repaired Stairs (this video)
Step 6: Clean Up
- 10:52–11:00 Clean Up Mess
- 13:42–14:26 Clean Glue Squeeze-out
How to Fix Squeaky Stairs from Underneath with Shims and Glue Blocks
This project outlines the steps to fix squeaky stairs from underneath by using shims and glue blocks to secure the treads and risers.
Read the full guide Browse all guides
Planning this project? Shop Oak Valley Designs.

Subscribe for exclusive updates
Be the first to know about promotions, new products, and sales.