
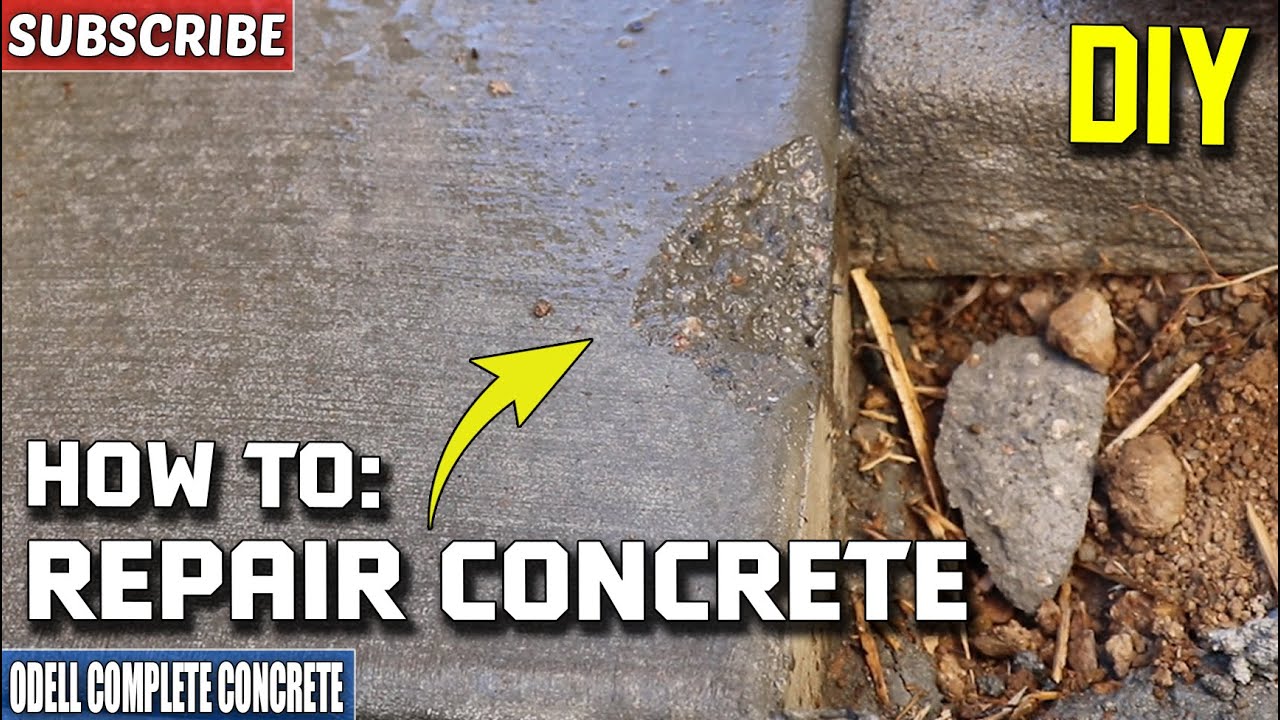
Concrete Step Repair
About This Guide
This project outlines the process for repairing cracked or chipped concrete steps using a suitable patching compound. The steps involve cleaning the damaged area, preparing it for repair, applying the patching material, and finishing the surface to match the surrounding concrete.
Assembled from 12 on-camera clips by 10 independent creators demonstrating these exact steps.
Tools & Materials
Lincoln Electric 14 in. Long Wooden Handled Carbon Steel Welding Wire Brush (.7 in. x 6.4 in. Bristle Area 3 x 19 Row)
XtremepowerUS 30 Gal. 125 PSI Maximum Pressure Heavy-Duty 13HP Gas Engine Piston Air Compressor
Lincoln Electric 14 in. Long Wooden Handled Carbon Steel Welding Wire Brush (.7 in. x 6.4 in. Bristle Area 3 x 19 Row)
XtremepowerUS 30 Gal. 125 PSI Maximum Pressure Heavy-Duty 13HP Gas Engine Piston Air Compressor
Steps

Clean the Damaged Area
Using a stiff brush or wire brush, scrub the damaged area to dislodge any loose concrete, dirt, or debris. For stubborn dirt or efflorescence, a pressure washer or garden hose with a strong spray can be used. After brushing, use a shop vacuum or compressed air to remove all dust and fine particles from the crack and surrounding area. Ensure the area is completely dry before proceeding.

Prepare the Patching Compound
Read the instructions on the concrete patching compound packaging carefully. Typically, you will pour the required amount of compound into a mixing container and gradually add water or a liquid bonding agent, mixing thoroughly with a trowel or mixing stick until it reaches a thick, paste-like consistency similar to peanut butter. Avoid mixing more than you can use within the product's working time.
Apply the Patching Compound
Using a trowel or putty knife, scoop a portion of the mixed patching compound and press it firmly into the crack or chip. Work the compound into all voids and ensure it makes good contact with the underlying concrete. Overfill slightly to allow for shrinkage and easier feathering.

Smooth and Finish the Surface
Once the patching compound has begun to set but is still workable, use a clean trowel to smooth the surface, striking off any excess material and feathering the edges into the surrounding concrete. For texture, you can use a stiff brush, a broom, or a concrete finishing brush to mimic the existing surface texture. This may involve light stippling or sweeping motions.
Cure the Patch
Once finished, the patched area needs to cure properly to achieve its maximum strength. Keep foot traffic and other loads off the repaired step for at least 24-48 hours, or as specified by the patching compound manufacturer. Protect the patch from direct sunlight, extreme heat, freezing temperatures, and heavy rain during the curing period. Lightly misting the patch with water periodically for the first 24-72 hours can aid in curing, especially in hot, dry conditions (follow product instructions).
Frequently Asked Questions
Can I use any concrete patch material, or is the Quikrete Vinyl Concrete Patch specific for this project?
For repairing cracked or chipped concrete steps, a vinyl-modified concrete patch like Quikrete's is recommended. This type of material offers superior adhesion, flexibility, and resistance to cracking, which is crucial for high-traffic areas and outdoor exposure. Generic concrete mixes may not bond as effectively or provide the same long-term durability.
How thoroughly do I really need to clean and prepare the old concrete before patching?
Thorough cleaning and preparation are the most critical steps for a successful and lasting concrete repair. Any loose debris, dirt, oil, or existing failing concrete will prevent the new patch from adhering properly, causing it to crack or delaminate prematurely. Use a pressure washer, wire brush, chisel, and shop vacuum to ensure the surface is clean, sound, and slightly roughened for best adhesion.
Do I really need an air compressor and a pressure washer for this beginner project?
While a pressure washer and air compressor are excellent for thoroughly cleaning and preparing larger repair areas, they might be overkill for small, localized chips or cracks. For smaller repairs, a stiff wire brush, chisel, hammer, and a shop vacuum can often provide sufficient cleaning and surface preparation. Use a hose with a high-pressure nozzle if a pressure washer isn't available.
Why is curing important for concrete patch repair, and how do I do it correctly?
Proper curing is essential for the concrete patch to achieve its maximum strength, hardness, and durability, preventing it from drying out too quickly and cracking. Keep the repaired area continuously damp for at least 24-48 hours by covering it with the provided plastic tarp and lightly misting it with water periodically. This allows the patching compound to hydrate slowly and properly.
What are the most common mistakes beginners make when repairing concrete steps?
Common mistakes include inadequate surface preparation, which leads to poor adhesion and premature failure, and improper mixing of the patching compound. Another frequent error is applying the patch too thickly in one layer, which can cause shrinkage cracks as it dries. Always follow the product's mixing instructions precisely and apply in thin layers if needed.
What safety precautions should I take when working with concrete patching materials and tools?
Always wear appropriate personal protective equipment, including safety glasses to protect from flying debris, gloves to prevent skin irritation from concrete, and a dust mask to avoid inhaling concrete dust. When using power tools like a pressure washer or air compressor, ensure stable footing and be mindful of high-pressure streams or flying particles. Handle chisels and hammers with care to prevent hand injuries.
When is a concrete step repair project too big or complex for a DIY beginner?
If your concrete steps show extensive structural damage, such as large crumbling sections, significant deep cracks affecting the entire step, or noticeable settling/movement, it's best to consult a licensed professional. DIY repair is suitable for minor chips, surface spalling, and small, non-structural cracks, but structural integrity issues require expert assessment for safety.
Questions about your project or which product fits? Oak Valley Designs's team is happy to help. Mon–Fri 9–5 ET


Subscribe for exclusive updates
Be the first to know about promotions, new products, and sales.