
Protect and Cure the Repair
From Concrete Step Repair · Step 5 of 5 · Video by QUIKRETE
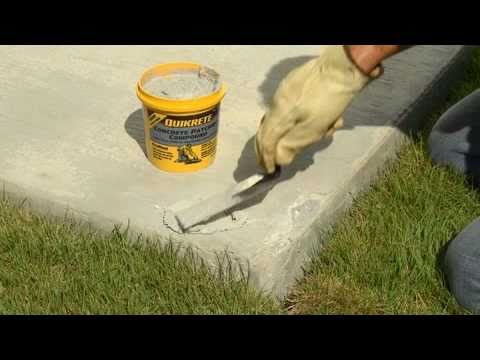
Showing 3:03–3:11 of the source video.
What happens in this clip
After applying either type of concrete repair material, protect the repaired area. Shield it from foot traffic for at least 24 hours and from vehicle traffic for a minimum of three days to allow for proper curing and strength development. QUIKRETE Concrete Patching Compound will form a skin in about 20 to 40 minutes and harden completely in 1 to 2 hours, depending on temperature, humidity, and the depth of the patch. For all concrete repairs, proper curing is essential for long-term durability.
Goal: Allow the concrete repair to properly cure and achieve full strength.
About the full video
This project provides step-by-step instructions for repairing minor damage, such as chips, scaling, and cracks, on exterior concrete surfaces. It covers proper surface preparation, including removing unsound material and thorough cleaning, followed by mixing and applying the appropriate QUIKRETE concrete repair products, either Vinyl Concrete Patcher or Concrete Patching Compound, to achieve a durable and aesthetically pleasing finish.
Step 5 of 5: Cure the Patch
Once finished, the patched area needs to cure properly to achieve its maximum strength. Keep foot traffic and other loads off the repaired step for at least 24-48 hours, or as specified by the patching compound manufacturer. Protect the patch from direct sunlight, extreme heat, freezing temperatures, and heavy rain during the curing period. Lightly misting the patch with water periodically for the first 24-72 hours can aid in curing, especially in hot, dry conditions (follow product instructions).
Other videos for this step
Concrete Step Repair
This project outlines the process for repairing cracked or chipped concrete steps using a suitable patching compound. The steps involve cleaning the damaged area, preparing it for repair, applying the patching material, and finishing the surface to match the surrounding concrete.
Read the full guide Browse all guides
Planning this project? Shop Oak Valley Designs.

Subscribe for exclusive updates
Be the first to know about promotions, new products, and sales.