
← Guide
Stair Tread Installation
Step 1 of 6
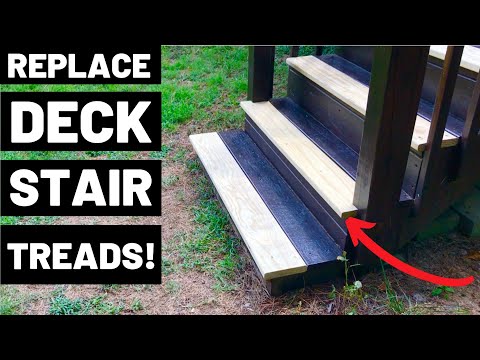
Step 1 · Carefully Remove the Old Treads
The first step to elevate your staircase is removing what's already there. Locate the seam where your existing tread meets the vertical riser and the side support (the stringer). Gently insert a pry bar into this gap and apply steady leverage to loosen the tread. Work your way along the edge. If the treads are fastened with visible screws or nails, remove them first to make this job easier. For a stubborn tread, a firm tap on the pry bar with a rubber mallet can provide the necessary force, but always work with care to avoid damaging the core structure of your staircase. Remove each tread one by one.
Start removal from the nose of the tread and work towards the back for easier leverage.
Start removal from the nose of the tread and work towards the back for easier leverage.
General Hazard
Be cautious not to damage the stair stringers or risers during removal, as this can lead to more complex repairs.

Subscribe for exclusive updates
Be the first to know about promotions, new products, and sales.