
← Guide
Stair Tread Installation
Step 6 of 6
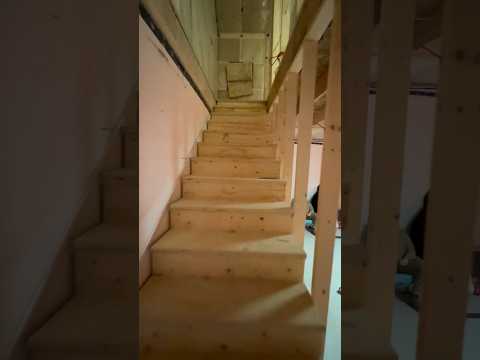
Step 6 · Final Finishing and Inspection
The final touches are all about ensuring quality and safety. Once all treads are installed, inspect them for any rough spots or sharp edges and lightly sand them smooth. Fill any visible screw holes with a matching wood putty, let it dry completely, and then sand the area smooth for a seamless finish. After cleaning up all dust and debris, it's time for the most important test. Walk up and down the stairs, testing each tread for stability, squeaks, or any movement. Confirm that railings are secure. Now you can enjoy the peace of mind that comes with a beautiful, safer staircase.
Consider applying a protective finish (stain, varnish, or paint) to the new treads for durability and aesthetics.
Consider applying a protective finish (stain, varnish, or paint) to the new treads for durability and aesthetics.
Check local building codes for requirements on stair tread nosing and finishing.
Check local building codes for requirements on stair tread nosing and finishing.
General Hazard
Do not use the stairs until you are completely satisfied with their stability and safety.
You've reached the last step
Nice work — share this guide or find your next project.

Subscribe for exclusive updates
Be the first to know about promotions, new products, and sales.