
← Guide
Stair Tread Installation
Step 3 of 6
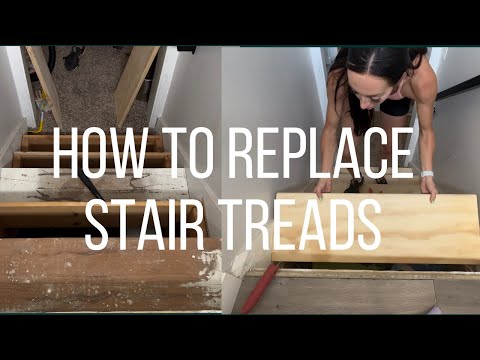
Step 3 · Measure and Cut Your New Treads
Precision is what makes a DIY project look professionally done. Measure the exact width of each stair opening from one side stringer to the other. Next, determine the depth you need, measuring from the face of the riser to where you want the new 'nosing' (the front edge of the tread) to overhang. Carefully transfer these measurements to your new tread material with a pencil and a straight edge. For the cleanest, most accurate cuts, we recommend a jigsaw or circular saw. Pro tip for a no-stress installation: always test-fit each cut tread in its intended place before moving on to permanent fastening.
Tools and Materials
 Classic Sisal (Set of 14)
Label each tread with its corresponding stair number (e.g., 'Tread 1', 'Tread 2') as you cut it to avoid confusion.
Label each tread with its corresponding stair number (e.g., 'Tread 1', 'Tread 2') as you cut it to avoid confusion.
Consider a slight bevel on the underside of the tread nosing if it will overlap the riser, to ensure a flush fit.
Consider a slight bevel on the underside of the tread nosing if it will overlap the riser, to ensure a flush fit.
General Hazard
Accuracy is crucial. Off-sized treads will not fit correctly and can create tripping hazards or structural issues.

Subscribe for exclusive updates
Be the first to know about promotions, new products, and sales.