
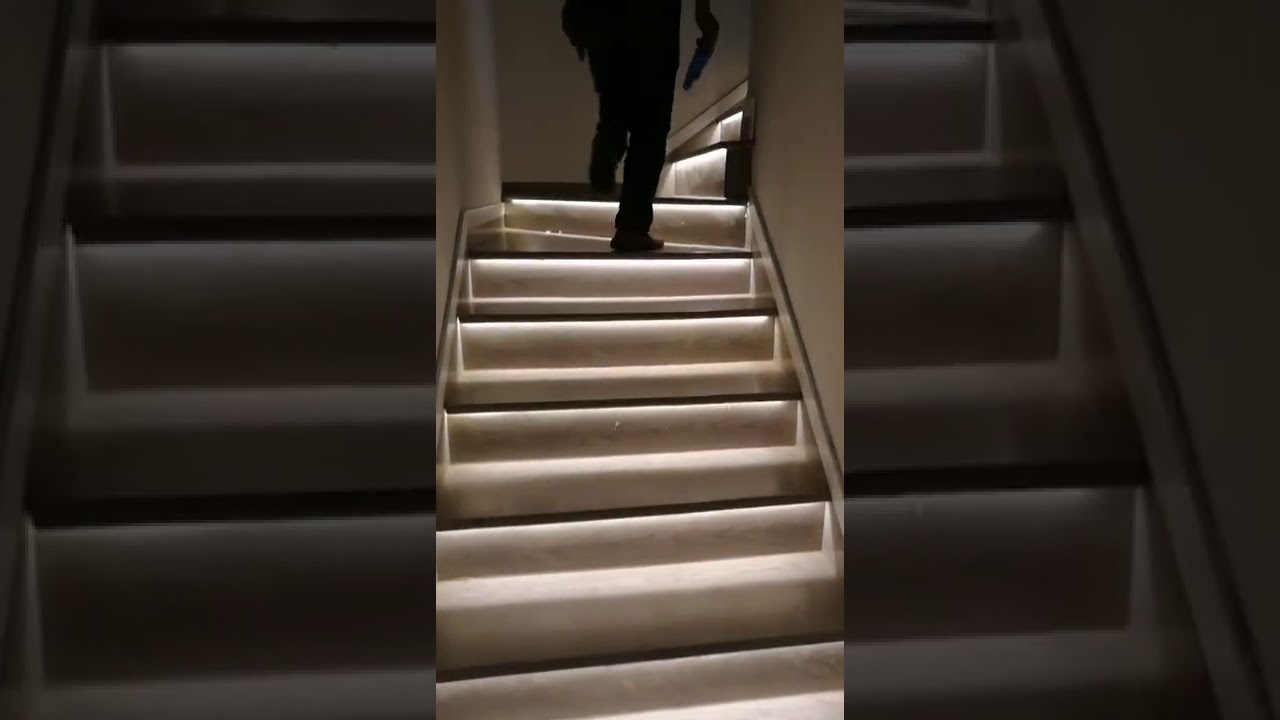
Staircase Lighting
About This Guide
This project involves installing motion-activated LED strip lights on a staircase to provide automatic illumination and enhance safety and ambiance. The process includes planning the layout, selecting appropriate materials, wiring the lights and sensors, and mounting the components.
Assembled from 11 on-camera clips by 10 independent creators demonstrating these exact steps.
Tools & Materials
Mylen STAIRS Reroute Galvanized Exterior 42in Diameter, Fits Height 85in - 95in, 2 42in Tall Platform Rails Spiral Staircase Kit
Armacost Lighting RibbonFlex Pro 32.8 ft. 12-Volt White Tape Strip Light 60 LEDs/m Soft White (2700K) 132250
Mylen STAIRS Reroute Galvanized Exterior 42in Diameter, Fits Height 85in - 95in, 2 42in Tall Platform Rails Spiral Staircase Kit
Armacost Lighting RibbonFlex Pro 32.8 ft. 12-Volt White Tape Strip Light 60 LEDs/m Soft White (2700K) 132250
Steps
Plan LED Strip Layout
Before cutting any wires or drilling holes, carefully plan where each LED strip will be placed. Typically, this involves mounting them under the lip of each stair tread. Also, determine the optimal locations for the motion sensors to ensure they effectively detect movement up and down the stairs. Consider the power source location and how the wiring will be concealed.
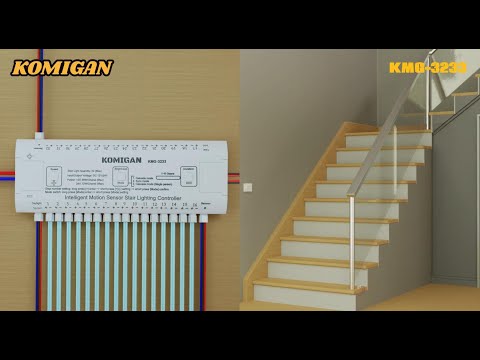
Cut LED Strips to Length
Based on your layout plan, measure and cut the LED strips to the appropriate length for each stair tread. Most LED strips have designated cut marks; ensure you cut only at these points to avoid damaging the circuitry. You will likely need to cut multiple strips, one for each stair.

Connect LED Strips
Connect the cut segments of LED strips using appropriate connectors. If your strips are designed for continuous runs, you'll need to solder or use specific clip-on connectors to join them. Ensure all connections are secure and insulated to prevent short circuits. This step will create a single, continuous run of LEDs or separate runs for each stair as planned.
Mount LED Strips
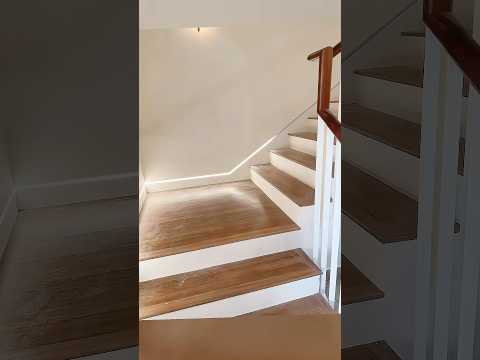
Peel off the backing from the adhesive on the LED strips and carefully press them into place, typically along the underside of each stair tread. Ensure they are firmly attached and aligned according to your plan. If the adhesive is not sufficient, you may need to use additional mounting clips or a stronger adhesive.
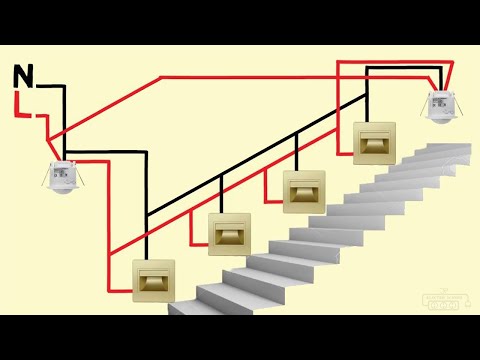
Test the System
Before permanently concealing wiring, turn on the power to the system and test its functionality. Walk past the motion sensors to ensure the LED lights illuminate. Check that they turn off after the designated delay period. Troubleshoot any issues with connections or sensor sensitivity.
Conceal Wiring
Once you have confirmed the system is working correctly, neatly route and secure all wires. Use cable clips, raceways, or conduits to hide the wiring along the walls, under the stairs, or behind baseboards. The goal is to create a clean, professional look and prevent tripping hazards.
Frequently Asked Questions
What are the most crucial safety precautions I need to take when installing electrical components for this project?
Always turn off the power at the circuit breaker that controls the staircase's lighting circuit before starting any wiring. Double-check that the power is off using a voltage tester. If you're unsure about any electrical work, consult a licensed electrician to ensure compliance with local codes.
Is a soldering iron truly necessary, or can I use an easier method to connect the LED strips?
While soldering provides the most robust and reliable electrical connection for LED strips, many beginner-friendly kits offer solderless connectors. These 'quick connectors' simply clip onto the strip ends, making the process much faster and easier if you're not comfortable with soldering.
What type of LED strips and motion sensors should I choose for the best results on a staircase?
Opt for 12V LED strips with a consistent light output (e.g., 60 LEDs/meter) and a warm color temperature (2700K-3000K) for a cozy ambiance. For motion sensors, choose PIR (Passive Infrared) sensors with adjustable sensitivity and time delay, ensuring they cover the top and bottom of your staircase effectively.
What is a common mistake beginners make with motion-activated lighting, and how can I avoid it?
A frequent mistake is improper motion sensor placement or sensitivity settings. To avoid this, temporarily position and test your sensors before final mounting. Experiment with their angles and sensitivity to ensure they reliably detect movement on the stairs without false triggers or dead spots.
Is the 8-hour estimated time realistic for someone new to DIY electrical projects?
Eight hours is a reasonable estimate for a beginner, assuming you have all materials and tools ready. Planning the layout, carefully cutting and connecting strips, and concealing wiring can take significant time. Working methodically and allowing for troubleshooting will help you stay within or close to this timeframe.
What are the best methods for concealing all the wiring and making the installation look professional?
To achieve a clean look, route wires along discreet edges, such as under stair nosings or behind the kick plate. Use small adhesive cable clips or wire channels that match your staircase color. Planning your power supply and sensor locations carefully from the start will minimize visible wires.
Are there any alternative power supply options if I don't want to hardwire the system?
For permanent motion-activated staircase lighting, a dedicated wired 12V power supply (transformer) is recommended for consistent performance and safety. While some temporary LED solutions use batteries or USB, these are generally not suitable for a robust, always-ready staircase illumination system.
Questions about your project or which product fits? Oak Valley Designs's team is happy to help. Mon–Fri 9–5 ET





Subscribe for exclusive updates
Be the first to know about promotions, new products, and sales.