Install LED Strips on Stair Treads
From Staircase Lighting · Step 4 of 7 · Video by Smart Bright LEDs
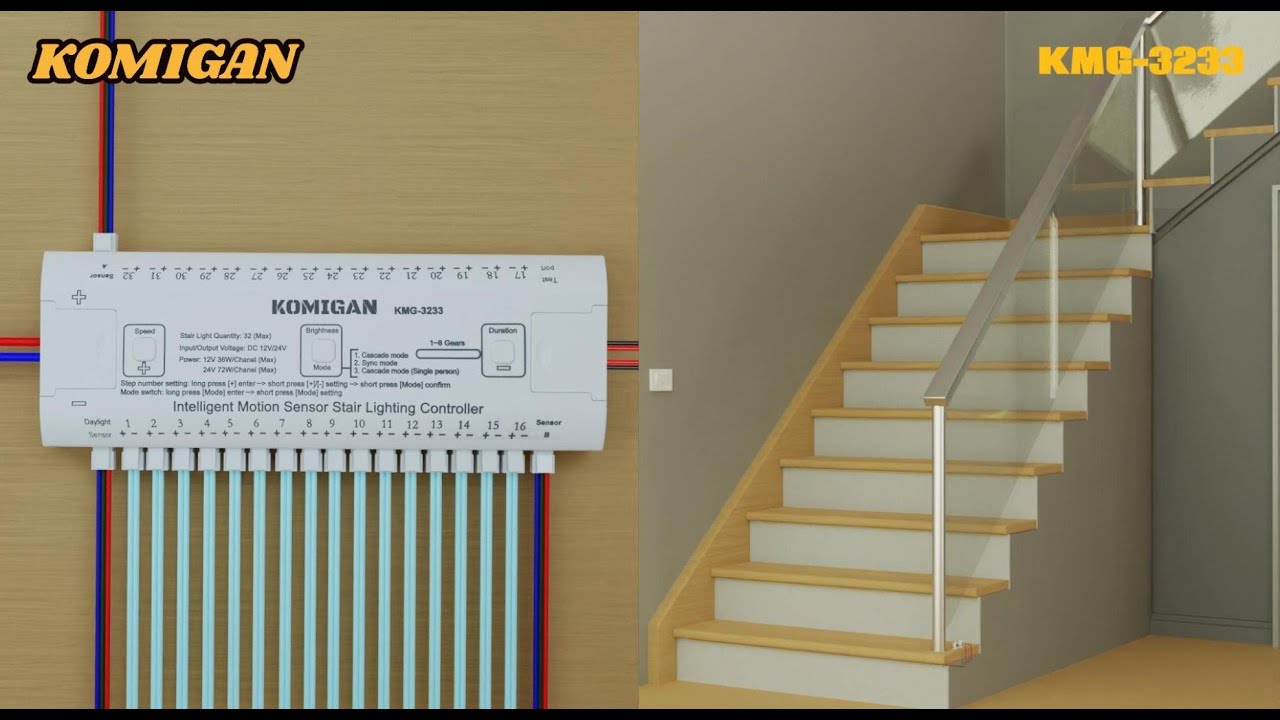
Showing 0:10–0:12 of the source video.
What happens in this clip
Carefully adhere each prepared LED strip to the underside of each stair tread. The video demonstrates applying the strips directly to the surface, ensuring they are straight and firmly pressed into place. This step will make the lighting discreetly illuminate the steps from below.
Goal: Affix LED strips to the underside of each stair tread.
What's used
Materials
- Prepared LED Strips Komigan
About the full video
This project provides detailed instructions on how to install a motion-activated LED lighting system for stairs, featuring individual LED strips for each step, motion sensors at the top and bottom of the staircase, a daylight sensor, and manual override switch panels. The system is controlled by a central intelligent motion sensor stair lighting controller and powered by a 12V DC power supply.
Step 4 of 7: Mount LED Strips
Peel off the backing from the adhesive on the LED strips and carefully press them into place, typically along the underside of each stair tread. Ensure they are firmly attached and aligned according to your plan. If the adhesive is not sufficient, you may need to use additional mounting clips or a stronger adhesive.
Other videos for this step
Staircase Lighting
This project involves installing motion-activated LED strip lights on a staircase to provide automatic illumination and enhance safety and ambiance. The process includes planning the layout, selecting appropriate materials, wiring the lights and sensors, and mounting the components.
Read the full guide Browse all guides
Planning this project? Shop Oak Valley Designs.