Final Inspection and Cleanup
From Gallery Wall · Step 8 of 8 · Video by L. M.
Showing 0:00–0:17 of the source video.
What happens in this clip
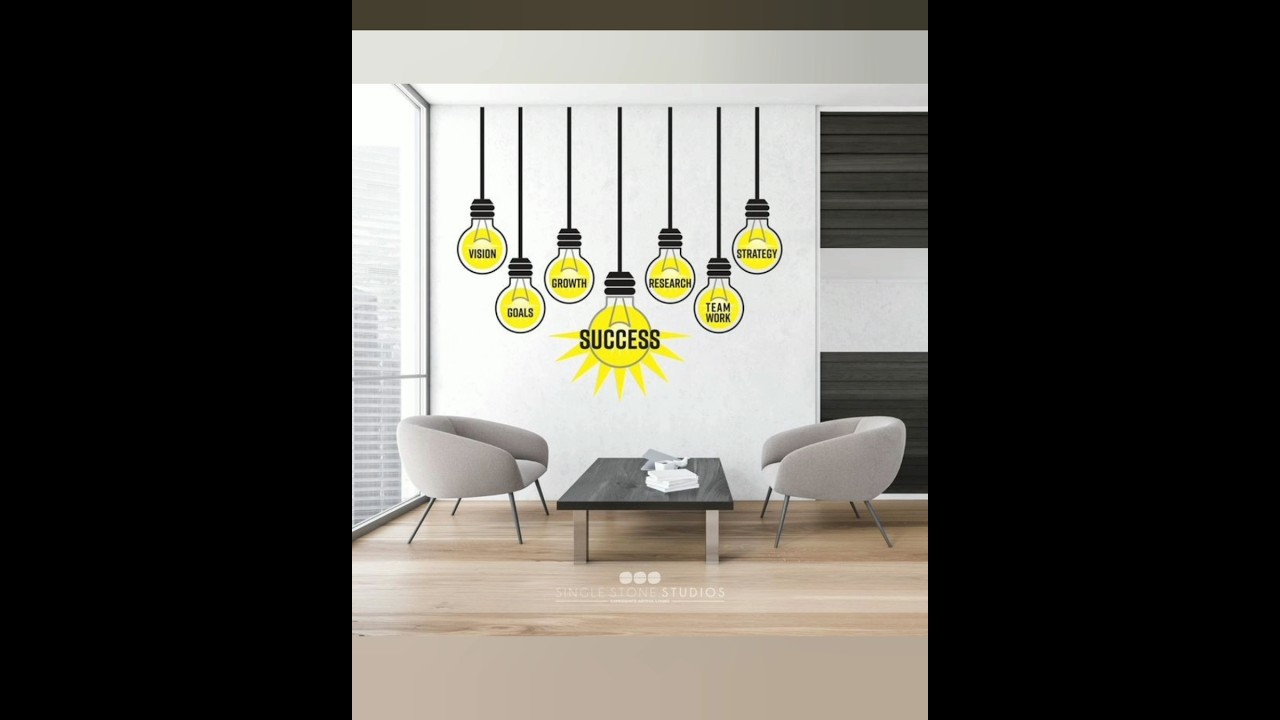
Once your wall art is completely applied and dry (if painted), perform a final inspection. Remove any remaining pencil marks with a soft eraser if they are visible. Dispose of any waste materials, such as decal backing paper, transfer tape, or used painter's tape. Step back and admire your newly transformed, inspirational space. The examples in the video showcase how such art can enhance the ambiance of a room, providing constant motivation.
Goal: Complete the project and ensure a clean, finished look.
What's used
Tools
- Soft Eraser
Materials
- Waste Materials
- transfer tape
- used painter's tape
- etc.
About the full video
This project guides you through creating motivational wall art, such as quotes or graphics, in various spaces like offices, gyms, or classrooms. The video showcases different examples of finished inspirational wall art pieces, implying a DIY process to transform blank walls into sources of motivation and aesthetic appeal.
Step 8 of 8: Clean Up and Admire
Tidy up the workspace by removing any leftover supplies, tools, or debris. Step back and admire your newly installed gallery wall along the staircase.
Other videos for this step
Gallery Wall
Plan and install a collection of framed artwork or photos on the wall along a staircase to create a visually appealing display. This involves selecting artwork, planning the layout, choosing appropriate hanging hardware, and executing the installation while considering the angled space.
Read the full guide Browse all guides
Planning this project? Shop Oak Valley Designs.