Hang the Framed Art
From Gallery Wall · Step 7 of 8 · Video by HEY MOM
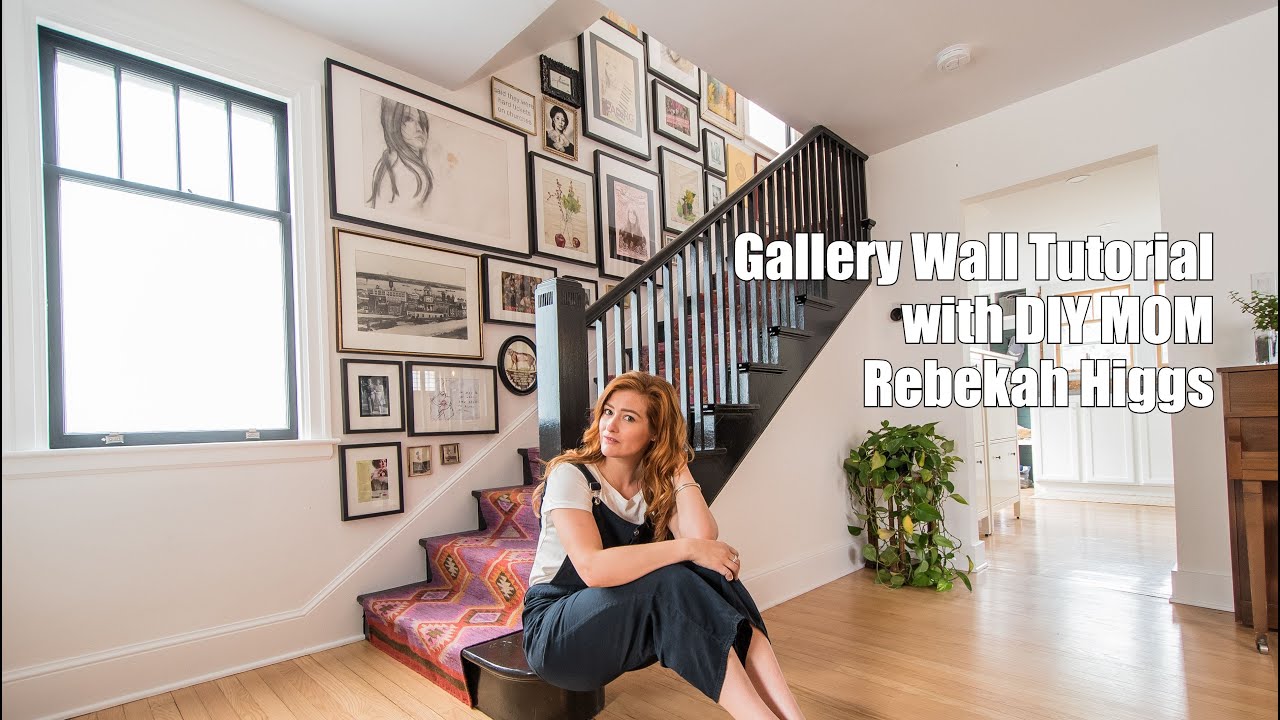
Showing 3:53–4:15 of the source video.
What happens in this clip
With all the nails or hooks securely in place, carefully remove each paper template from the wall. The templates have served their purpose, leaving behind only the correctly positioned hanging hardware. Now, take each actual framed art piece and hang it on its designated nail or hook. This method guarantees that each frame is placed exactly as planned in your dry layout, resulting in a perfectly arranged and aesthetically pleasing gallery wall.
What's used
Tools
- Framed Art
About the full video
This video demonstrates a precise method for planning and hanging a gallery wall using paper templates. By creating and arranging templates on the floor, then transferring them to the wall, individuals can visualize the layout and mark exact drill/nail holes for perfect placement of various framed artworks, photos, and memorabilia.
Step 7 of 8: Hang Artwork
Carefully lift each framed piece and hang it on the corresponding hardware. Double-check that each frame is securely seated and level. Adjust as needed to achieve the desired visual balance.
Other videos for this step
Gallery Wall
Plan and install a collection of framed artwork or photos on the wall along a staircase to create a visually appealing display. This involves selecting artwork, planning the layout, choosing appropriate hanging hardware, and executing the installation while considering the angled space.
Read the full guide Browse all guides
Planning this project? Shop Oak Valley Designs.