
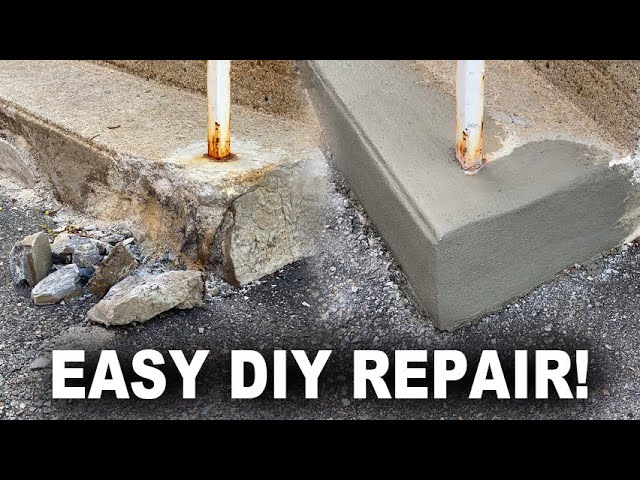
How to Repair a Chipped Concrete Step Edge
About This Guide
This project outlines the steps to repair a chipped edge on a concrete step, restoring its appearance and preventing further damage. It involves cleaning the area, applying a suitable concrete repair compound, and finishing the surface.
Tools & Materials
Lincoln Electric 14 in. Long Wooden Handled Carbon Steel Welding Wire Brush (.7 in. x 6.4 in. Bristle Area 3 x 19 Row)
XtremepowerUS 30 Gal. 125 PSI Maximum Pressure Heavy-Duty 13HP Gas Engine Piston Air Compressor
Lincoln Electric 14 in. Long Wooden Handled Carbon Steel Welding Wire Brush (.7 in. x 6.4 in. Bristle Area 3 x 19 Row)
XtremepowerUS 30 Gal. 125 PSI Maximum Pressure Heavy-Duty 13HP Gas Engine Piston Air Compressor
Steps
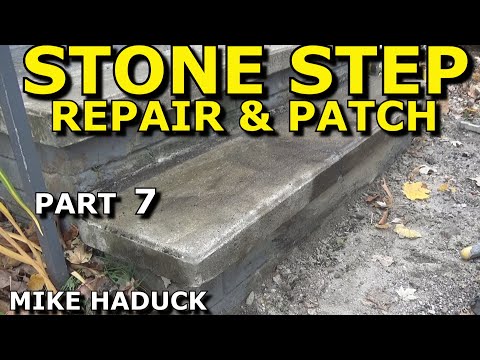
Clean the Chipped Area
Using a stiff brush or wire brush, vigorously scrub the chipped area to dislodge any loose concrete particles, dirt, or old paint. For finer dust, a shop vacuum or compressed air can be used to ensure the surface is completely clean. The area should be dry before proceeding to the next step.
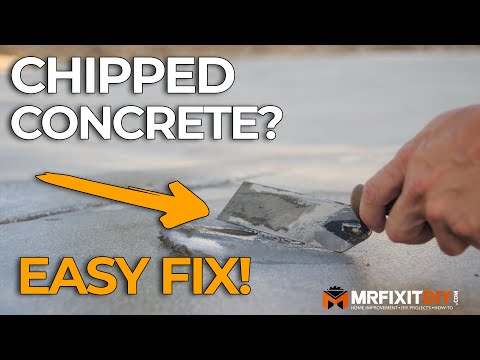
Undercut the Edge (if necessary)
If the chip has sharp, feather-edged concrete, use a chisel and hammer to slightly undercut the edges of the damaged area. This creates a small 'keyway' or 'dovetail' shape that helps to lock the repair material in place. Aim for an undercut of about 1/4 inch deep. Brush away any dust created by this process.

Mix the Concrete Repair Compound
Read the instructions on the concrete repair compound packaging carefully. In a clean mixing container, add the specified amount of powder and then slowly add the recommended amount of water. Mix thoroughly with a trowel or mixing paddle until a smooth, consistent, workable paste is achieved. Avoid mixing more than you can use within the product's pot life.

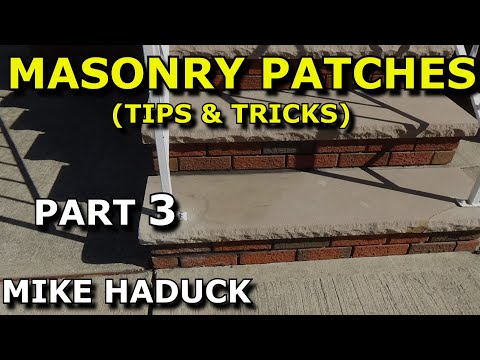
Shape and Finish the Surface
While the repair compound is still wet and workable, use a damp trowel or float to smooth the surface. Work from one side to the other, feathering the edges of the repair to blend with the surrounding concrete. Aim to recreate the original rounded or square edge profile of the step. Use a damp brush or sponge for final texturing if needed to match the surrounding concrete.

Cure the Repair
Protect the repaired area from direct sunlight, extreme temperatures, and heavy traffic while it cures. Some products may require misting with water periodically to ensure proper curing, while others should be kept dry. Refer to the product packaging for specific curing times and methods. Avoid walking on or applying any load to the repaired step until the full cure time has elapsed.
Questions about your project or which product fits? Oak Valley Designs's team is happy to help. Mon–Fri 9–5 ET
Related Guides
See All
How to Update Rental Stairs with Removable Carpet Treads
How to Update a Spiral Staircase

How to Put Carpet Treads on Already-Carpeted Stairs

How to Fix Popping Noises from Adhesive Carpet Treads on Wood Stairs

Subscribe for exclusive updates
Be the first to know about promotions, new products, and sales.