
Insert Wood Shims into Hole
From Squeaky Stair Repair · Step 4 of 7 · Video by Jonny DIY
Showing 1:47–2:12 of the source video. Watch the full video with every moment.
What happens in this clip
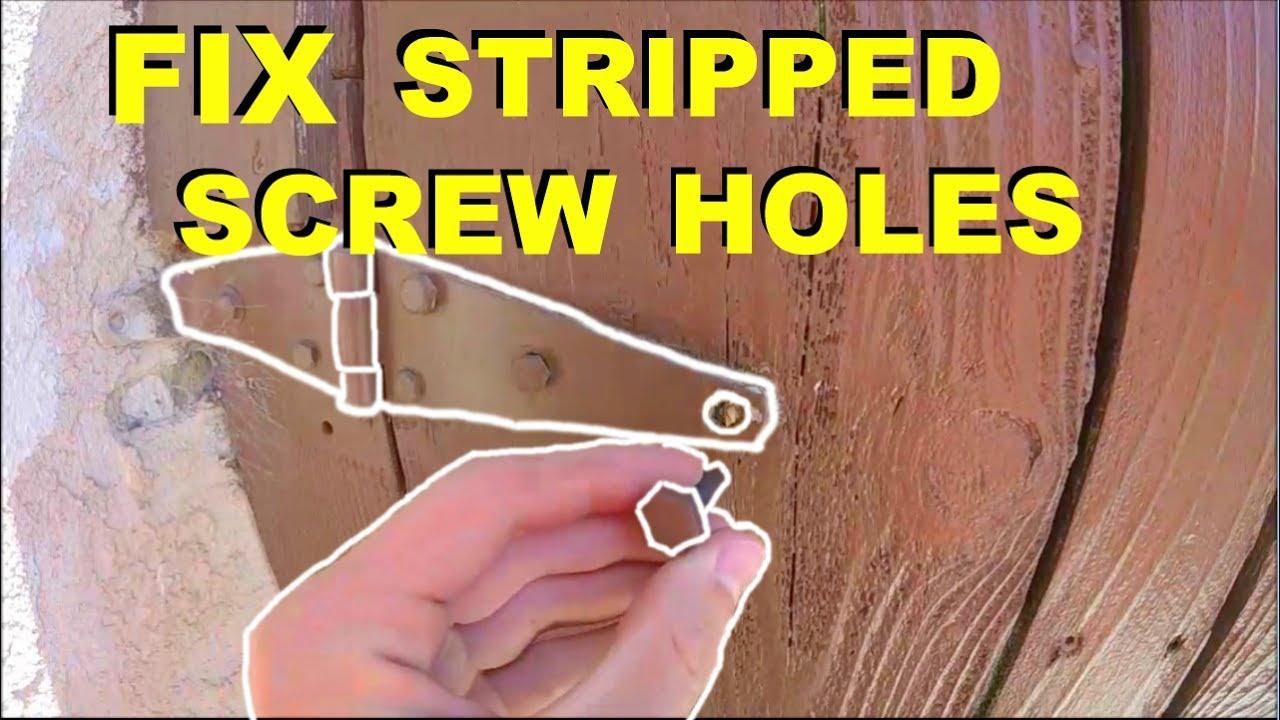
Take one of the prepared wood shims and insert it into the glue-filled screw hole. Use a hammer to gently tap the shim into the hole until it is fully seated and excess wood breaks off flush with the surface of the hinge. The adhesive will help bond the shim to the surrounding wood, effectively reducing the hole's diameter and providing new material for the screw threads.
Goal: Fill the stripped hole with wood shims.
What's used
Tools
- Hammer
Materials
- Wood Shims/Chips
About the full video
This video provides a step-by-step guide on how to repair a stripped or enlarged screw hole in wood, specifically demonstrated on a wooden gate hinge. The method involves filling the hole with construction adhesive and wood shims (or chips) to create new material for the screw threads to grip, ensuring a secure and durable fix.
Step 4 of 7: Shim Gaps
Cut thin strips of wood (shims) to fit snugly into any gaps identified. Apply a small amount of wood glue to the shim and tap it gently into the gap with a hammer until it's secure. Trim any excess shim material flush with the surface.
Every video in Squeaky Stair Repair
Step 1: Identify Squeak Source
- 0:00–0:38 Diagnose the Squeaky Stair Problem
- 0:00–0:09 Locate the Squeak
- 2:21–3:48 Diagnose Creaking Causes
Step 2: Inspect for Loose Tread or Riser
- 0:00–0:30 Locate Squeak and Assess Access
- 2:21–3:48 Diagnose Creaking Causes
- 0:00–0:38 Diagnose the Squeaky Stair Problem
Step 3: Tighten Fasteners
- 6:48–10:07 Address Additional Squeaky Spots
- 0:49–1:04 Fix Squeaks from Above (Hardwood/Laminate with Nails)
- 2:09–2:47 Drive Trim Head Screw
Step 4: Shim Gaps
- 0:54–1:14 Trim Excess Shim for a Flush Finish
- 0:11–0:13 Shim the Low Spots
- 1:47–2:12 Insert Wood Shims into Hole (this video)
Step 5: Apply Lubricant or Powder
- 0:52–2:39 Apply Powder
- 0:34–0:54 Apply Dry Lubricant to Eliminate Squeaks
- 2:51–3:25 Eliminate Creaking Floors with Talcum Powder
Step 6: Secure from Underside (if accessible)
- 0:49–1:06 Reinforce from Underside with Screws
- 1:48–2:20 Secure Risers to Treads from Behind
- 4:46–5:44 Attach Support Blocks and Secure Wedges
Step 7: Test the Repair
- 9:40–9:57 Final Check and Confirmation
- 3:30–3:44 Test for Squeaks and Fill Holes
- 0:27–0:32 Final Inspection and Testing
Questions about Squeaky Stair Repair
What are the most common reasons stairs squeak, and how does this project address them?
Stairs typically squeak due to loose treads or risers rubbing against the stair frame, or when fasteners become loose, creating friction and movement. This project directly tackles these issues by tightening connections, shimming gaps to eliminate movement, and applying lubricants to reduce friction at contact points.
What specialized tools or materials will I need beyond standard DIY equipment for this project?
While basic screwdrivers and pliers are essential, you'll also need a nail set to recess nails, a framing hammer for precise adjustments, and a utility knife for trimming shims. Specific materials include wood shims, scrap wood blocks for support, angle brackets for reinforcement, and #10 3-inch wood screws.
How difficult is this project for a beginner, and what's the estimated time commitment?
This project is considered beginner-friendly as it primarily involves diagnosis and simple mechanical fixes. The estimated 4-hour timeframe is generally achievable, but locating the precise source of the squeak can sometimes be the most time-consuming part of the process.
What should I do if I can't access the underside of my stairs to secure components?
If the underside is inaccessible, focus on top-side solutions. You can drive screws through the top of treads into risers or stringers, or use shims and adhesive between loose components from above. Specialized anti-squeak kits, which often involve small screws or plugs inserted from the top, are also available.
Are there any common mistakes to avoid, or safety tips to keep in mind while repairing squeaky stairs?
A common mistake is failing to accurately pinpoint the squeak's source before attempting a fix, which can lead to ineffective repairs. For safety, ensure the staircase is well-lit and clear of obstructions, mark any steps temporarily out of use, and keep tools securely placed to prevent tripping hazards.
Can I use any type of lubricant or powder, or are there specific recommendations for eliminating stair squeaks?
For lubrication, talcum powder or powdered graphite are highly effective for reducing friction between wood components without creating a greasy mess. Avoid using oily lubricants, as these can attract dust and grime, potentially worsening the squeak over time or staining the wood.
Squeaky Stair Repair
This project addresses the common issue of squeaky stairs by identifying the source of the noise and applying targeted fixes to eliminate it. The process involves a systematic approach to diagnose the cause, which can range from loose treads or risers to friction between wood components, and then implementing appropriate solutions such as tightening fasteners, shimming gaps, or applying lubricants.
Read the full guide Browse all guides
Planning this project? Shop Oak Valley Designs.

Subscribe for exclusive updates
Be the first to know about promotions, new products, and sales.